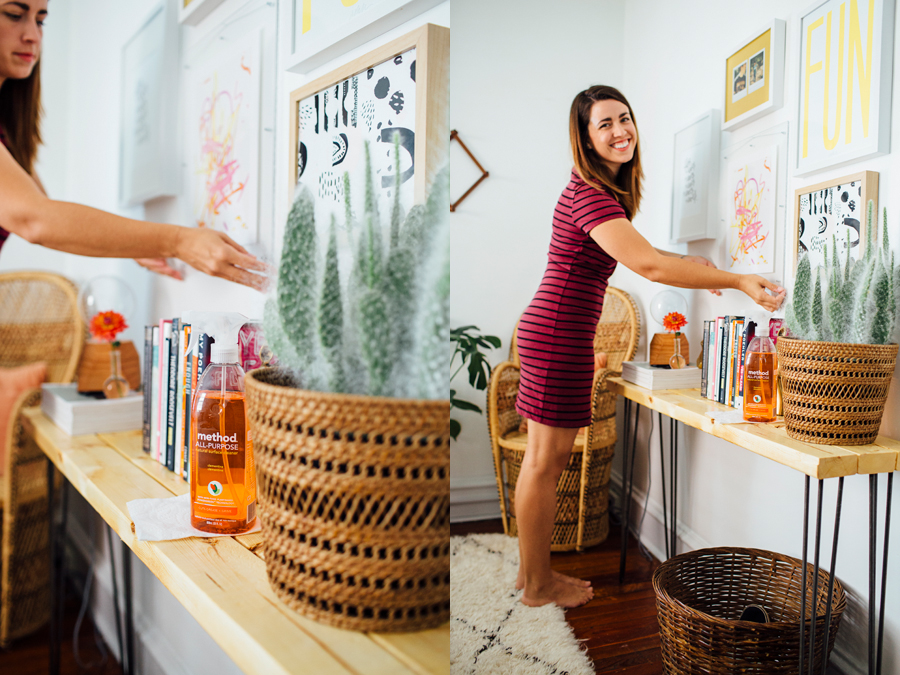
I want to start off by letting you all know that I am partnering with method on this post, and although this content is sponsored, all opinions are my own. With that in mind, let me tell you that I freakin' love method. Just come over and dig through my closets (or my shopping cart at Target) and that'll be confirmed. Soaps and cleaners and dishwasher pods, each smelling better than the last. So, naturally, I was honored when method reached out and challenged me to #fearnomess. It's also not a surprise that when I thought about a mess, I instantly thought about our bedroom. 😬
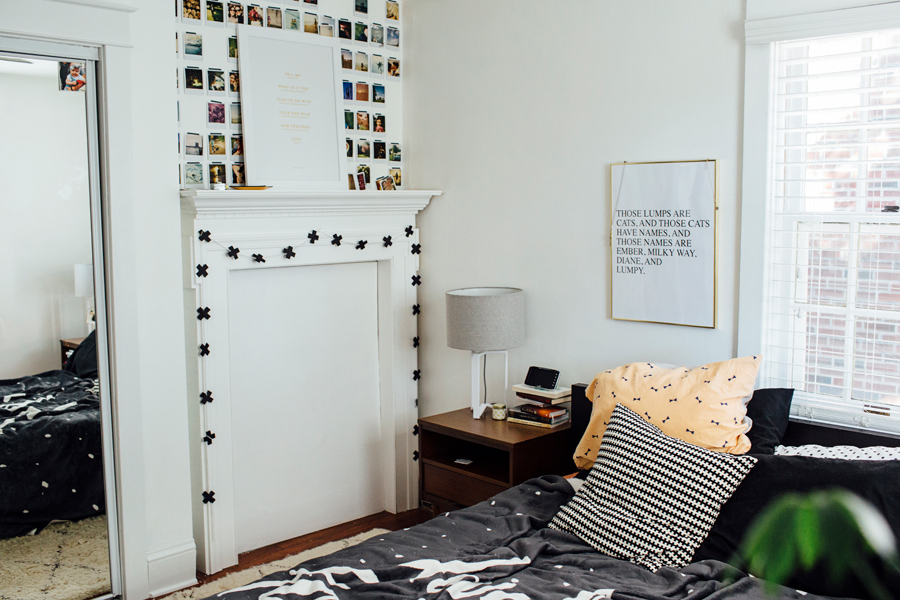
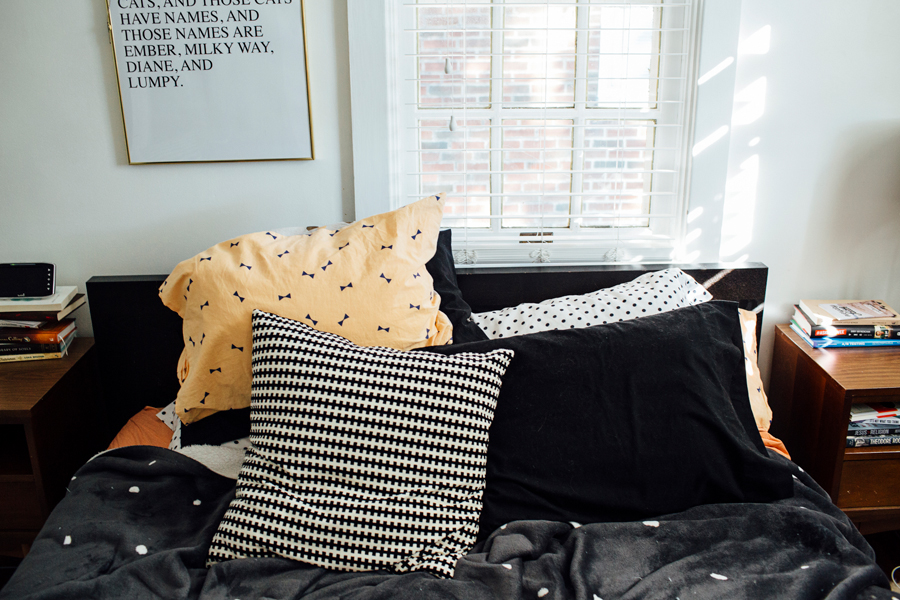
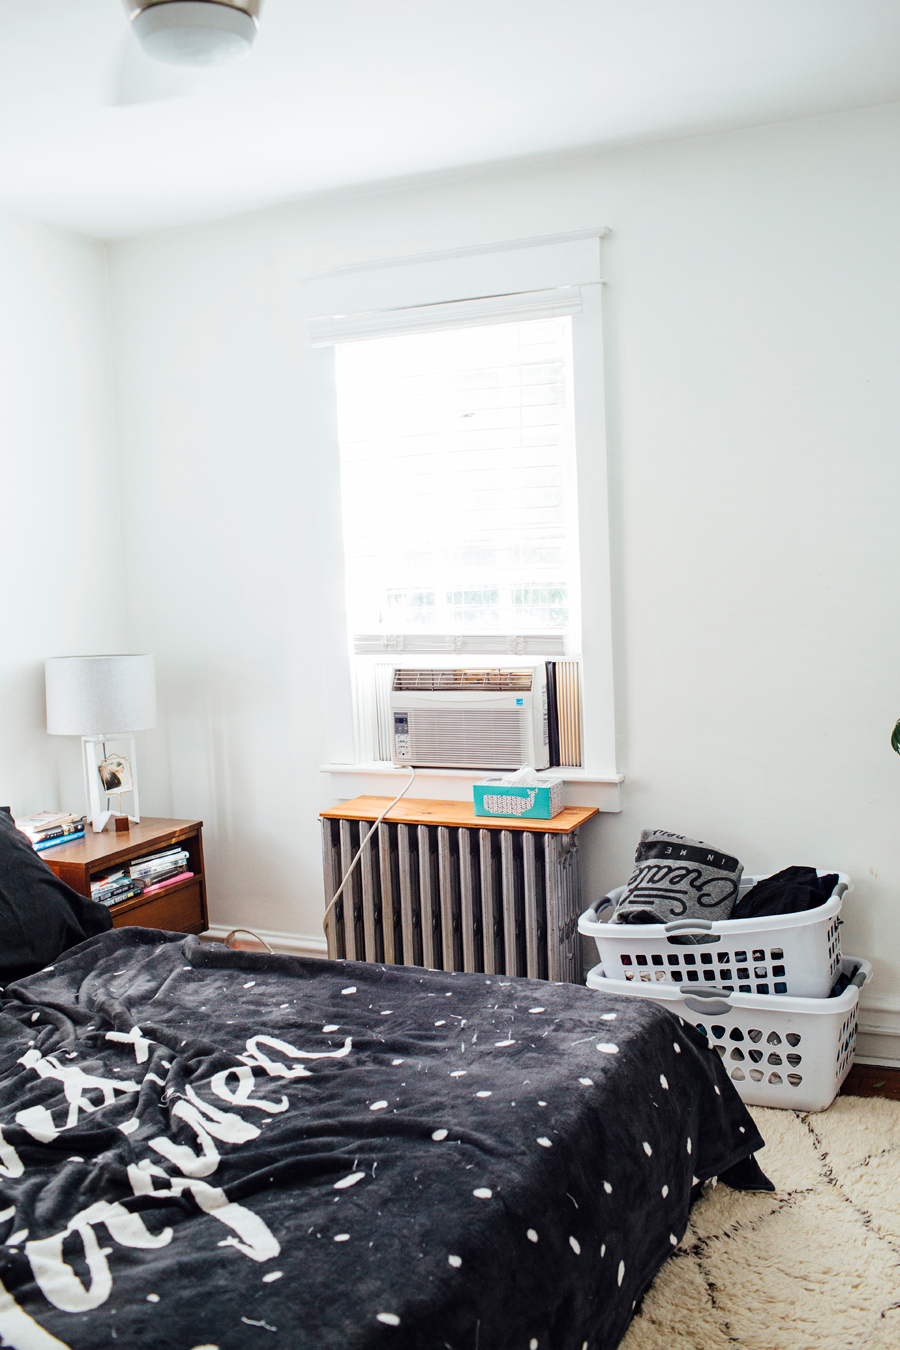
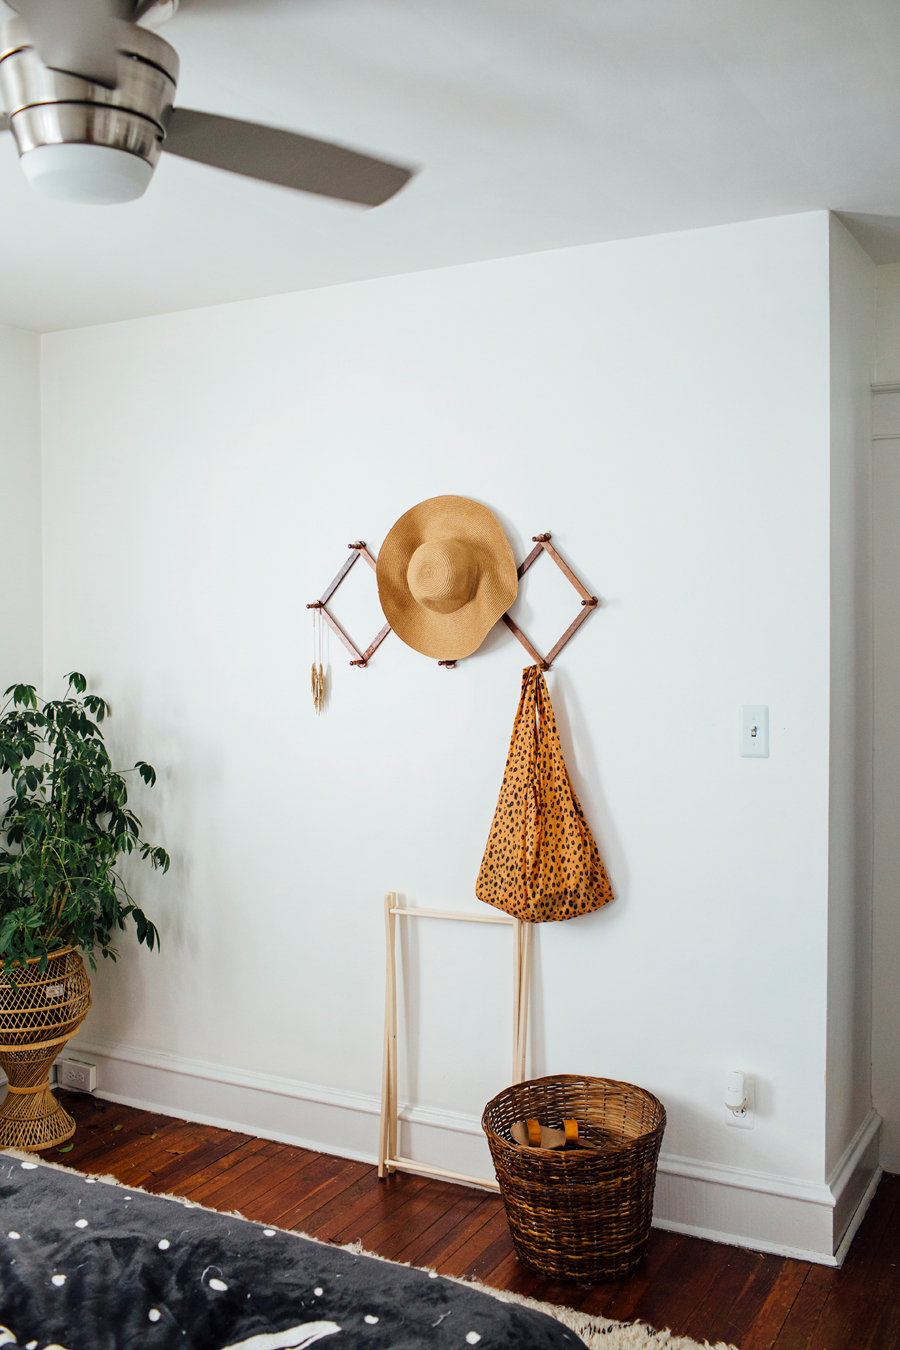
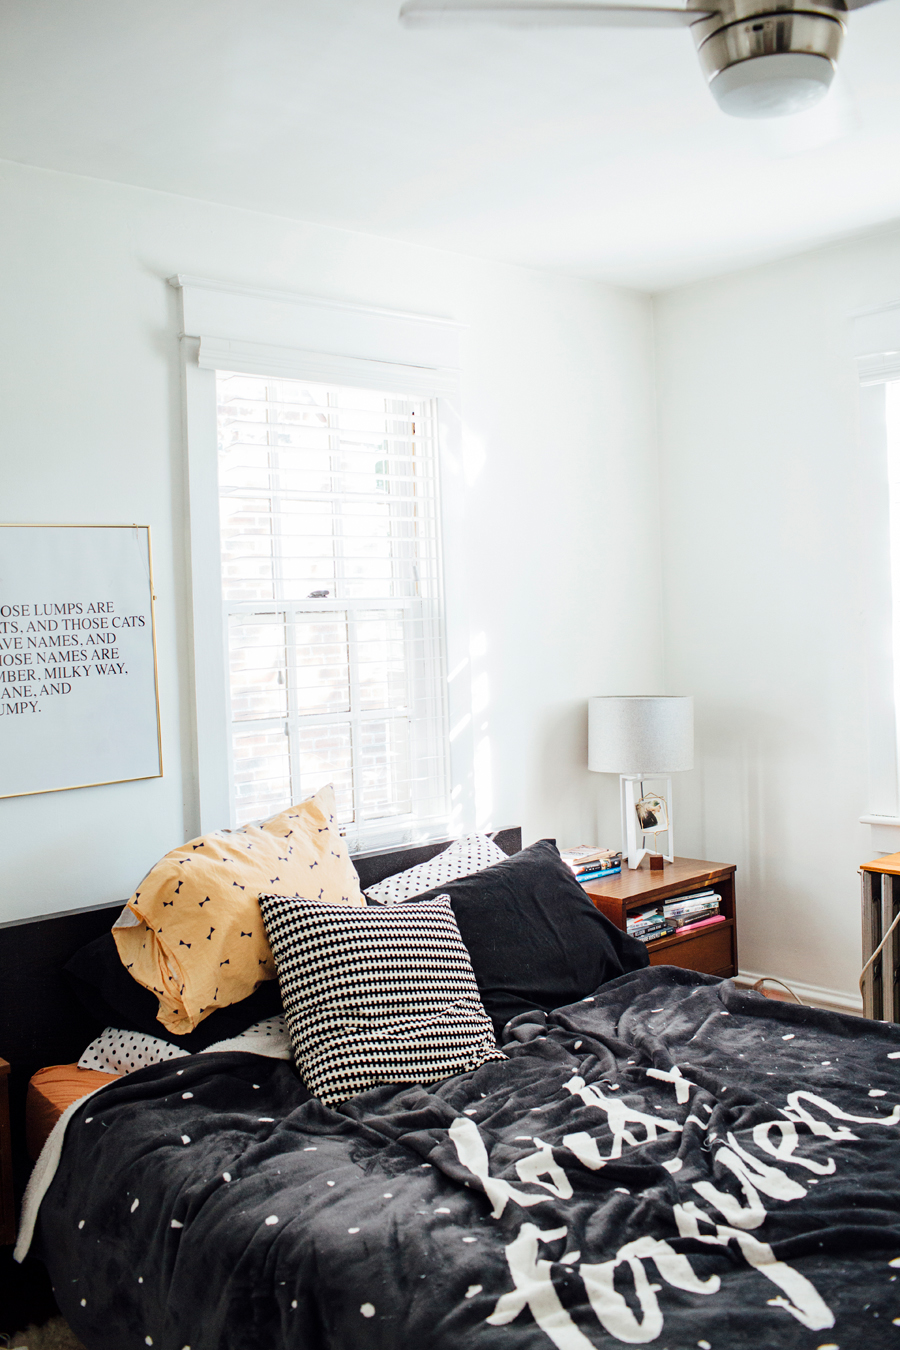
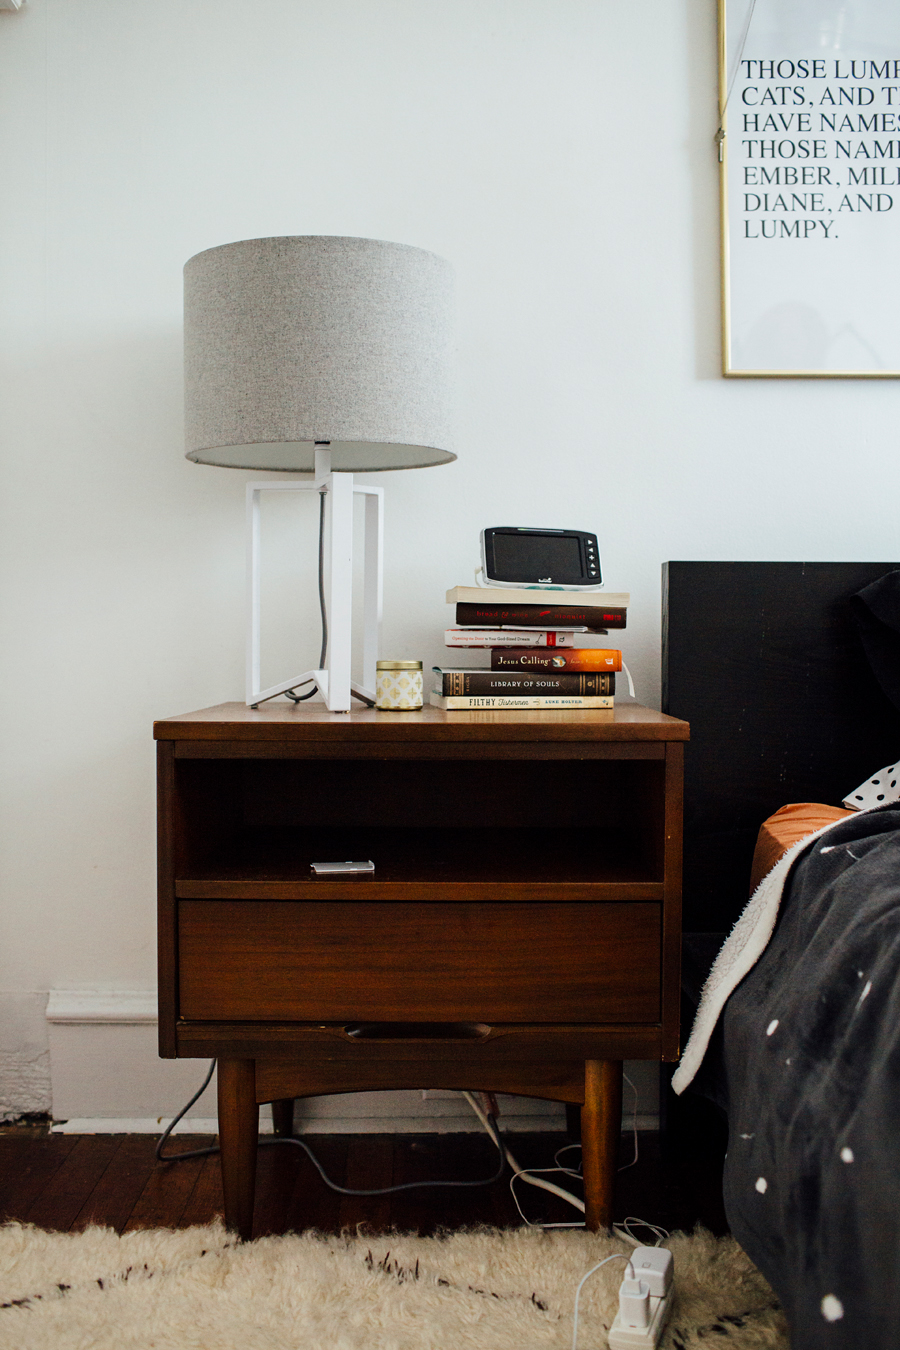
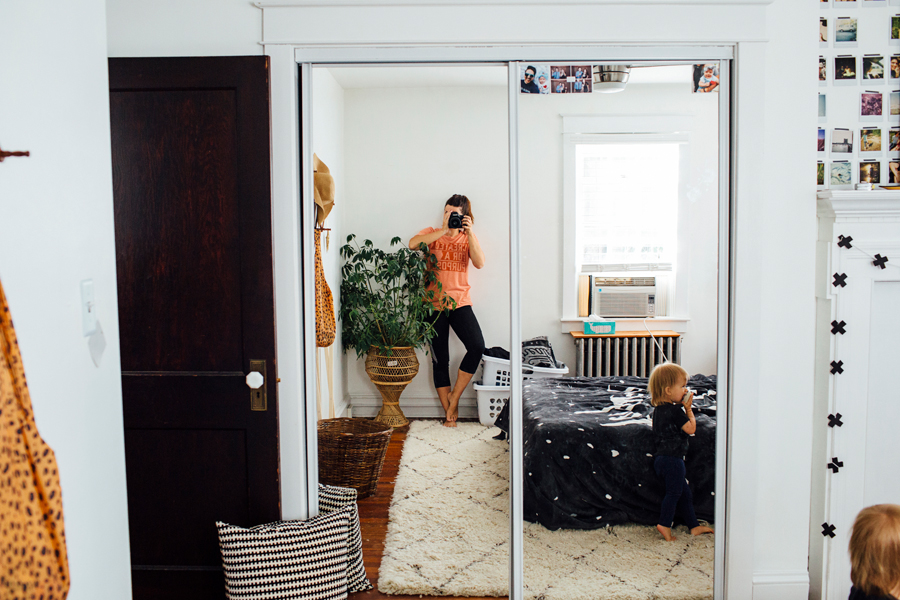
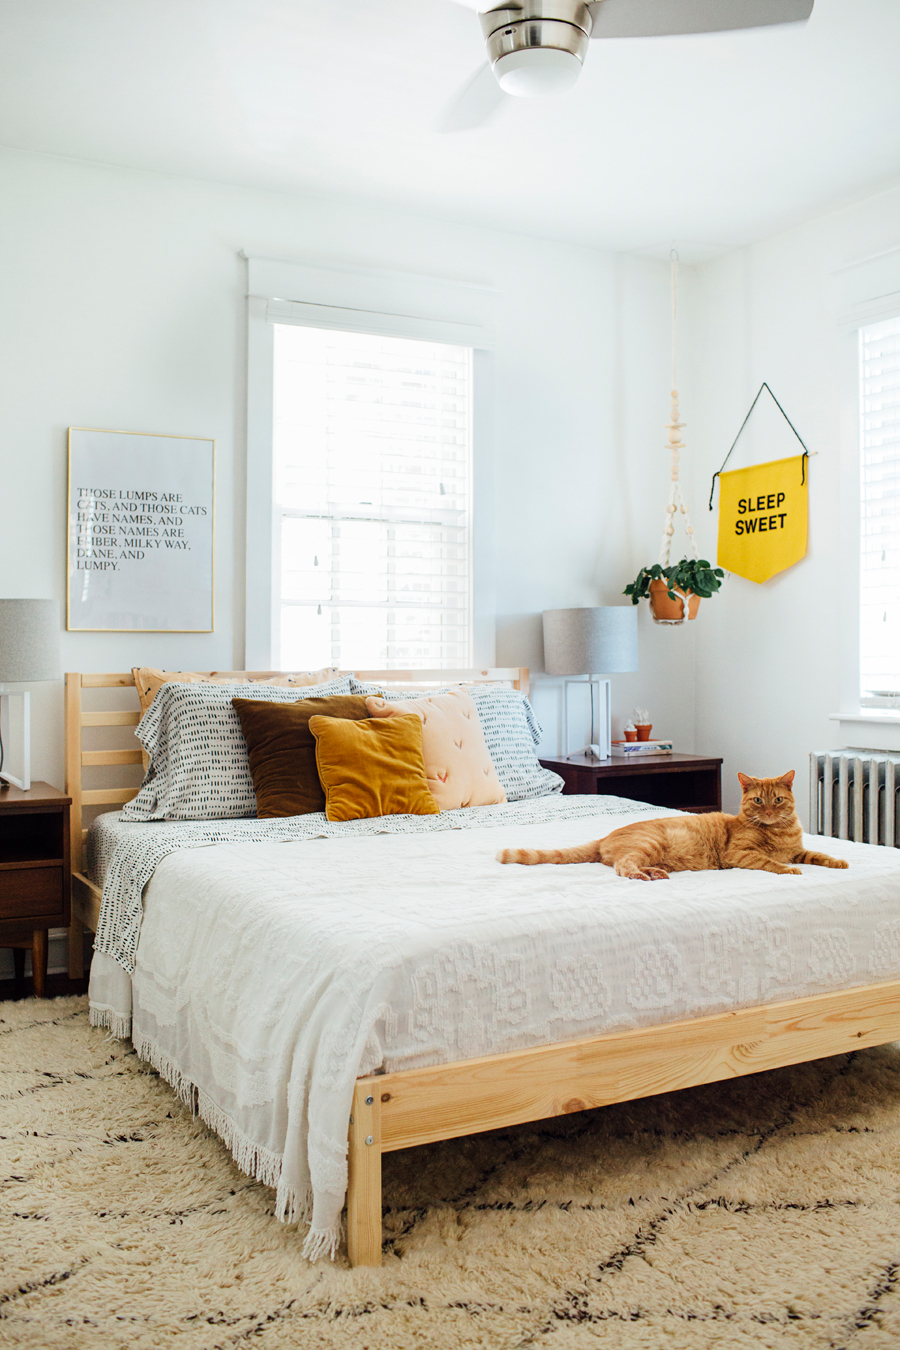
Our bedroom has long been the forgotten room in our home. Over time, every other piece of dark/black furniture in our house has been replaced, except our bed frame -- which left our bedroom feeling darker than I'd like and heavy. Our room gets beautiful morning light, but I just felt like nothing was pulled together, the room was boring, and it was always messy... which I'm sure you can see for yourself in the "before" images below.
Insert the #fearnomess challenge and I was READY. TO. GO. Get a fresh looking bedroom and have it smell like magical clementine in the process? Win, win.
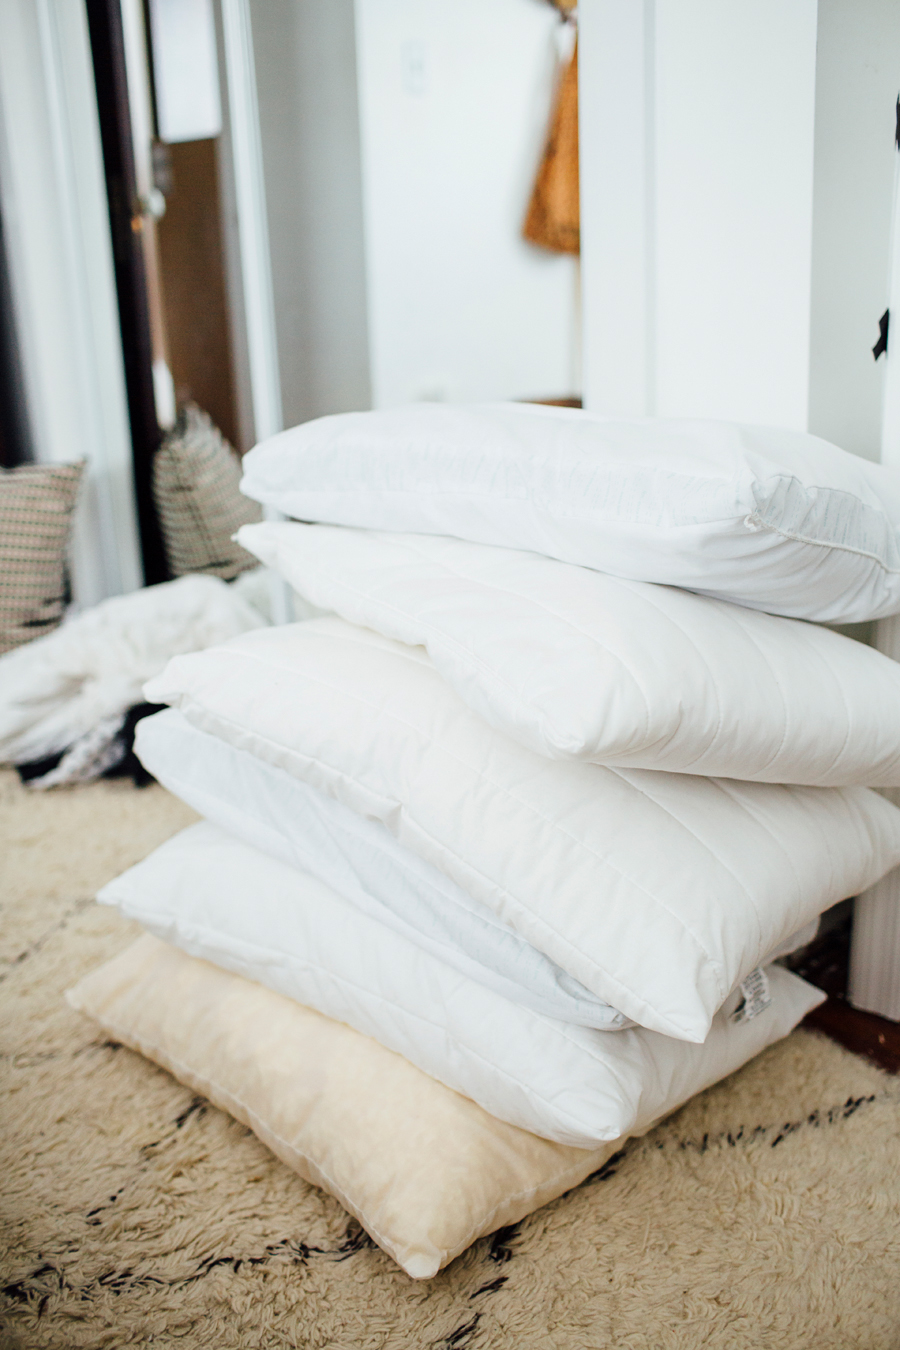
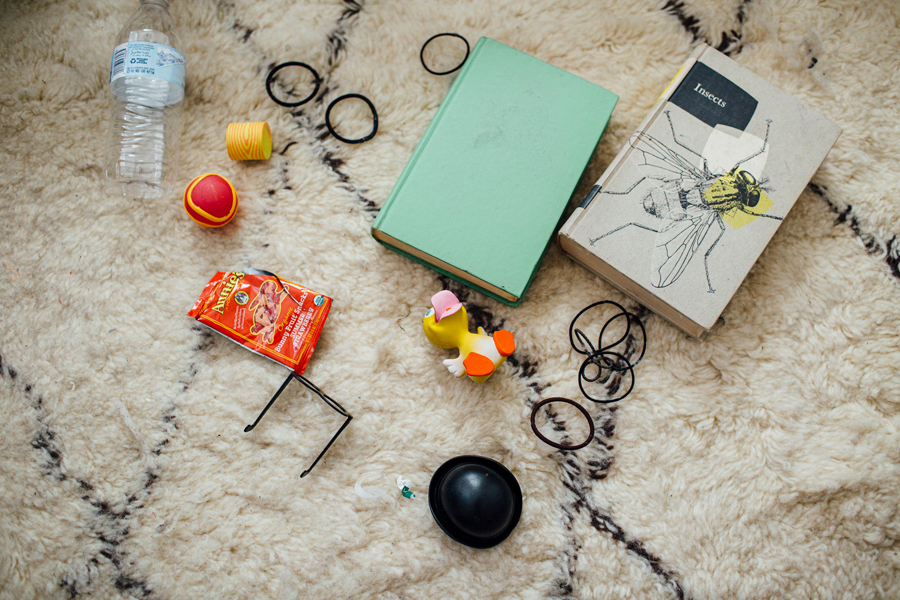
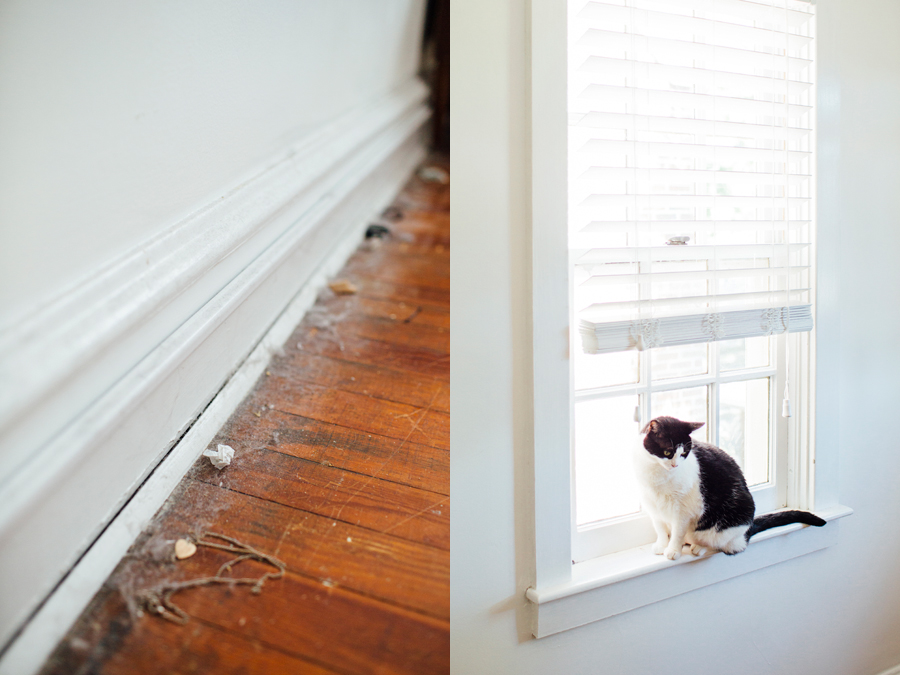
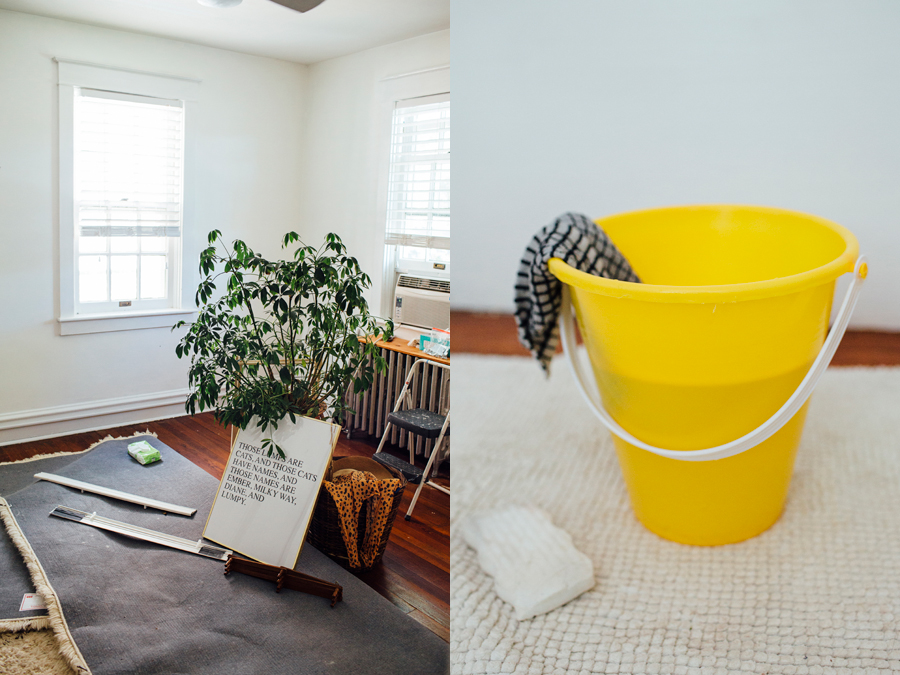
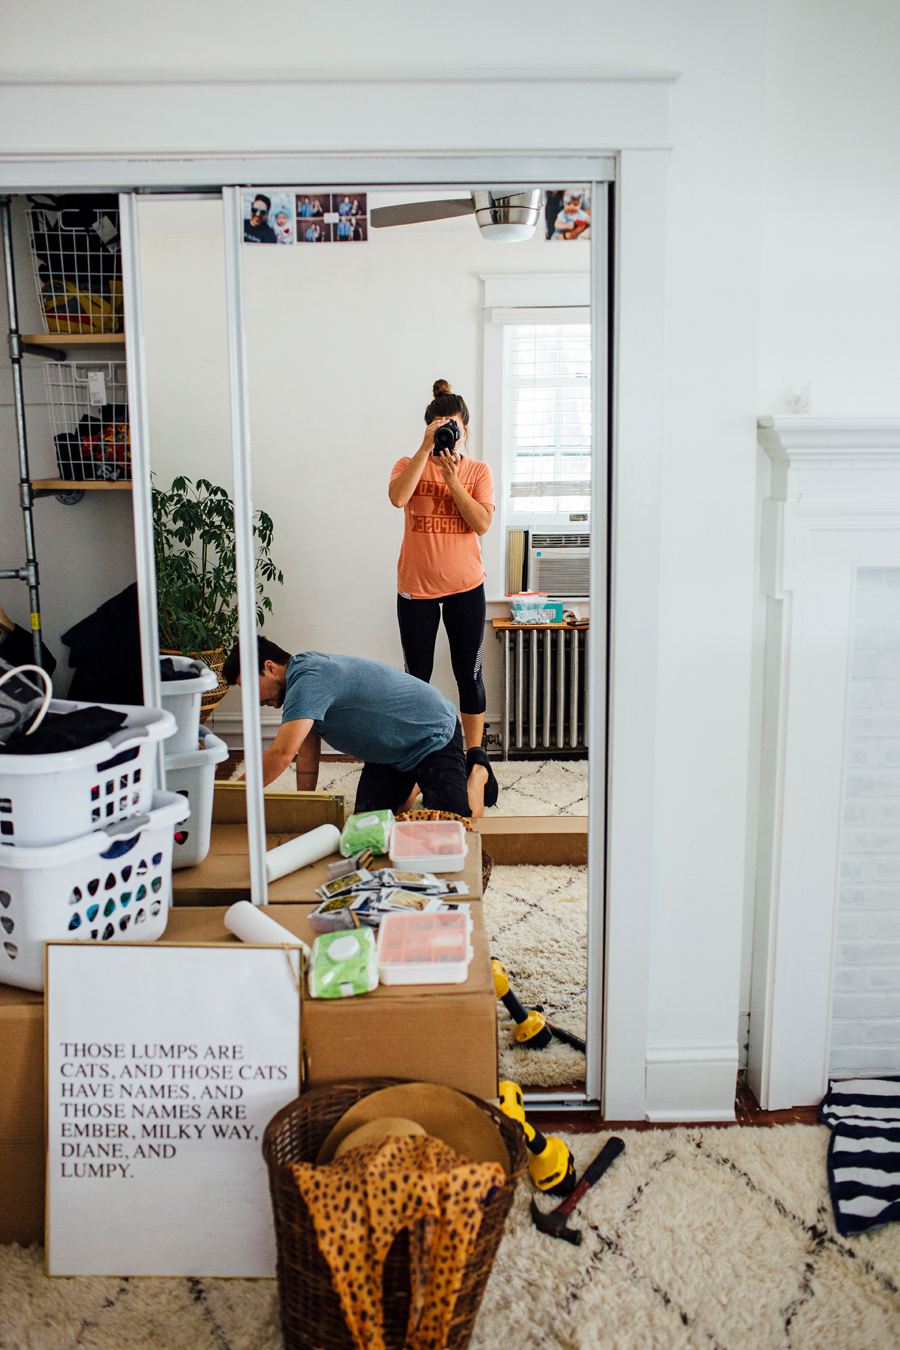
We started by taking almost everything out of the room, stripping the linens off our bed, and taking apart the old bed frame. Behind the bed, which probably hadn't been cleaned in yearrrrrs, was so gross. Under our bed was more mess - bobby pins, books, toys, wrappers. 😂
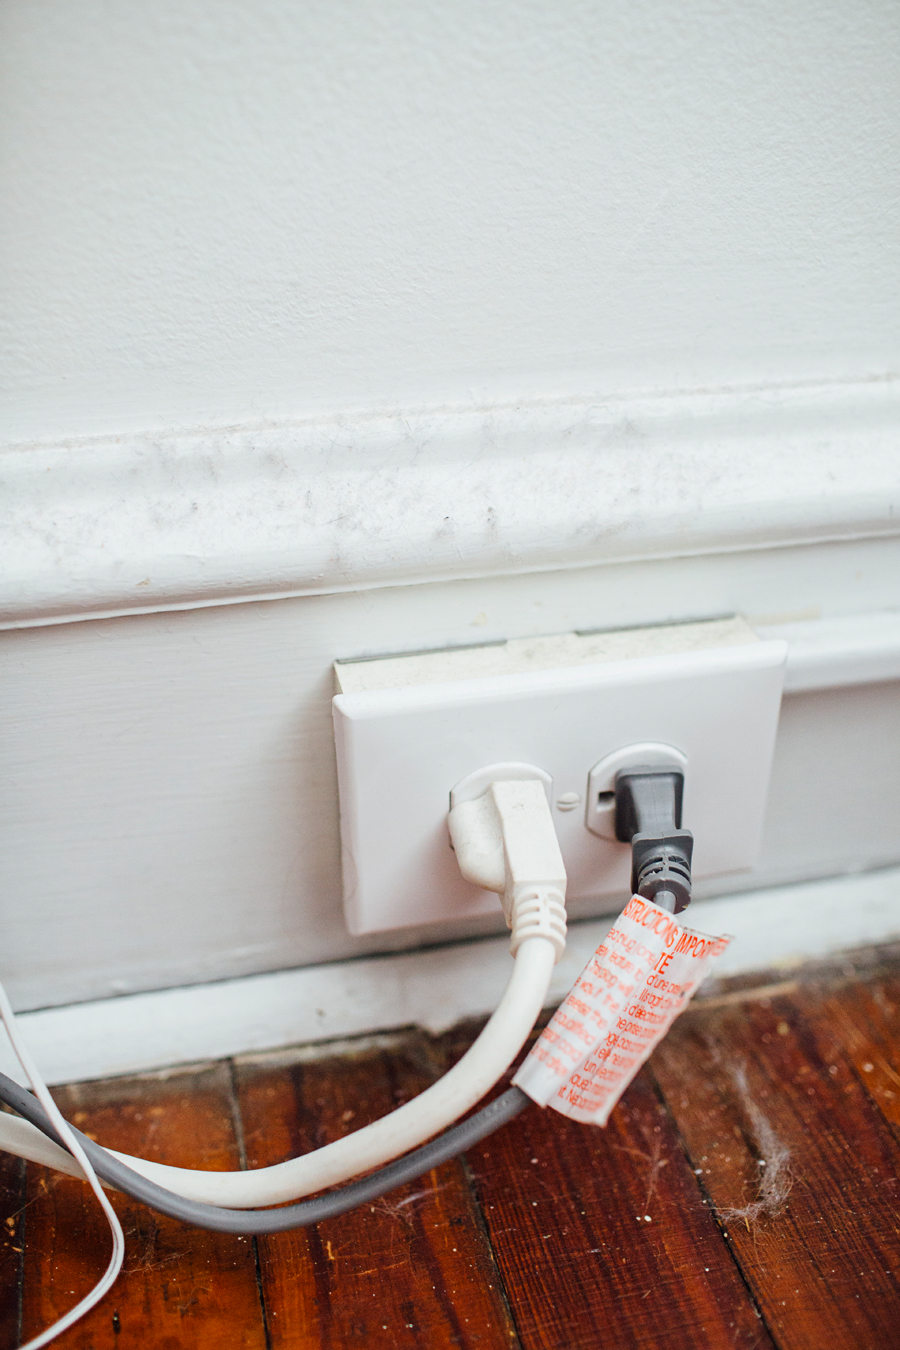
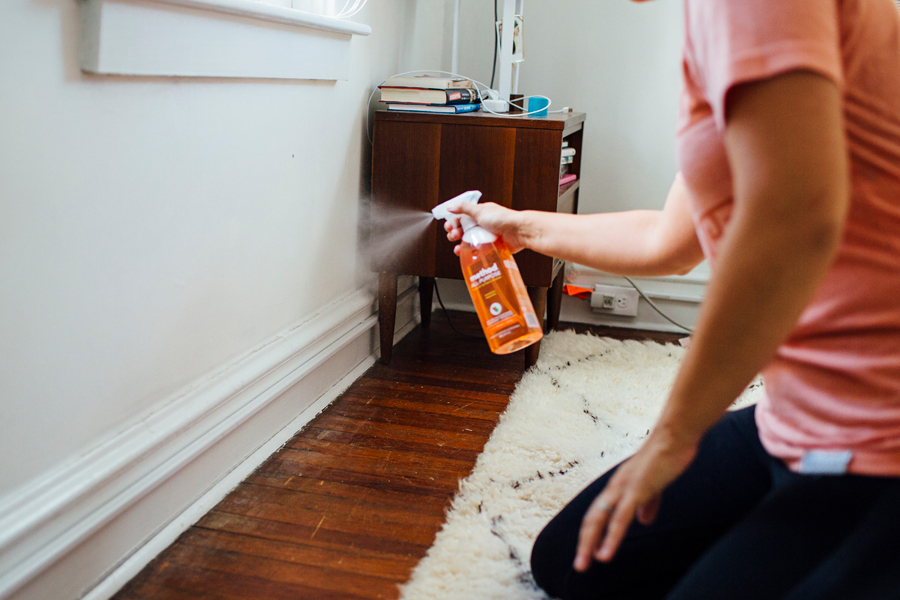
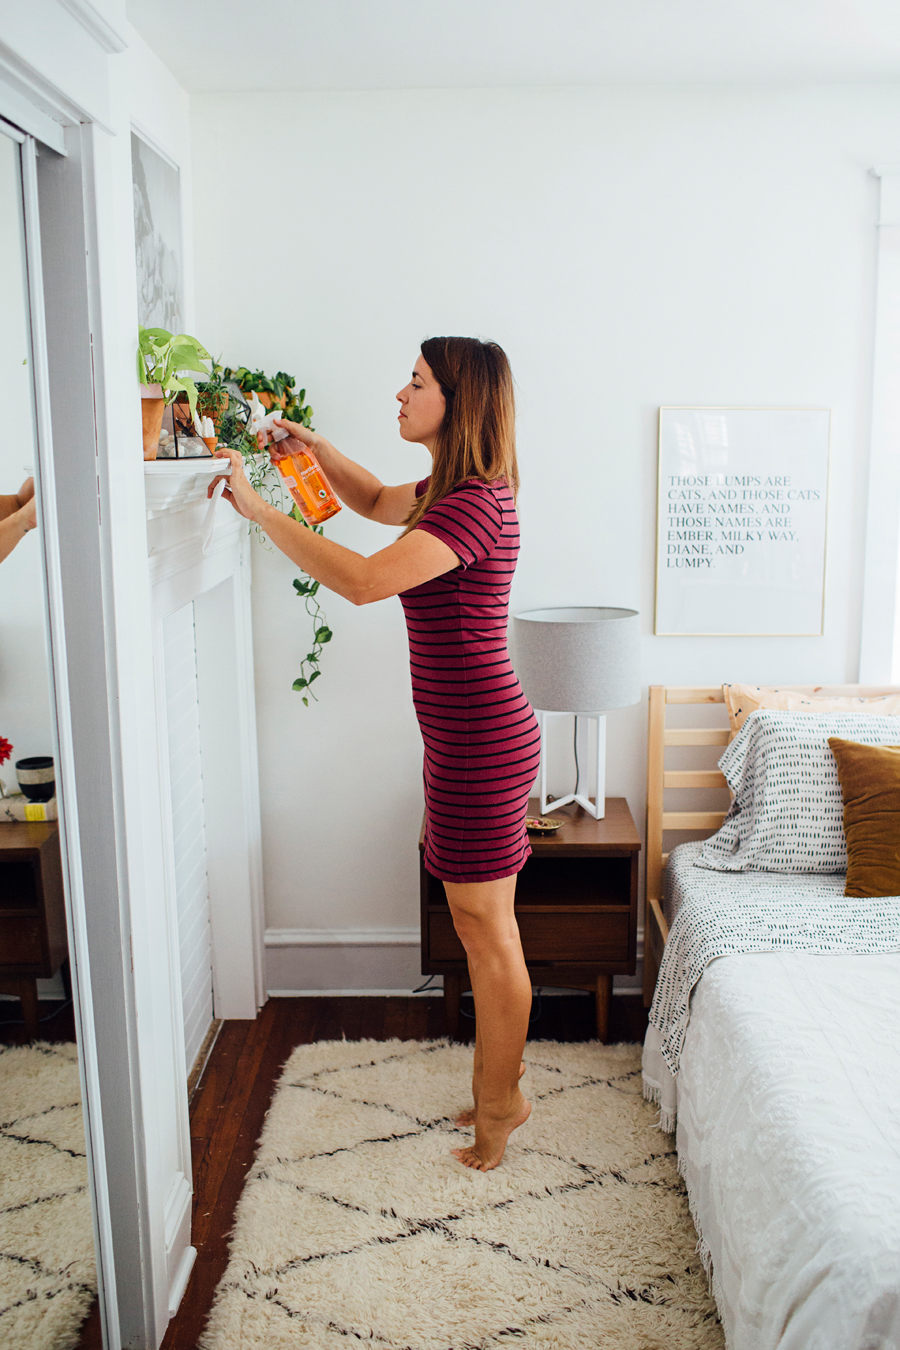
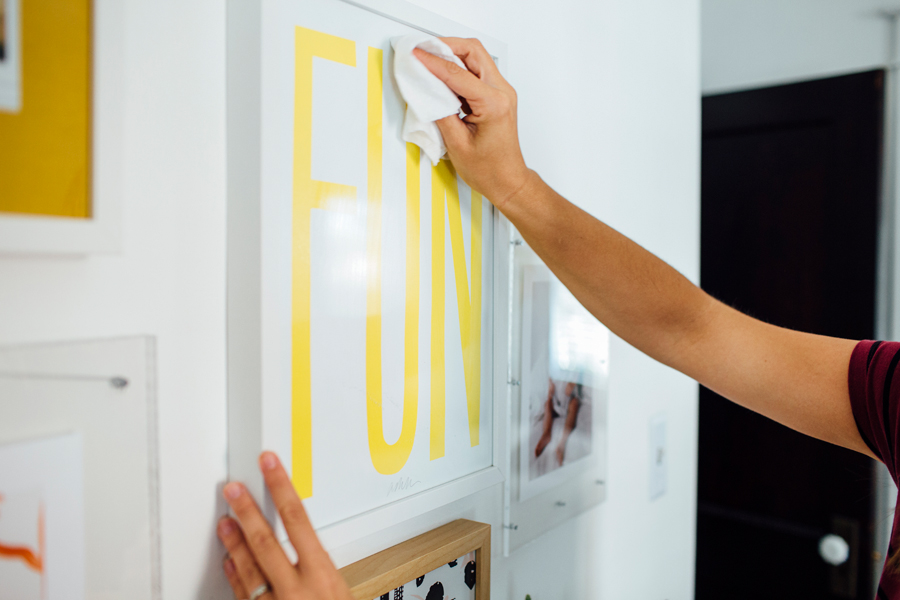
Once the old bed frame was out of the way, I got to work cleaning. And I washed everything. Even the walls, which were so dusty and gross. Our house was built in 1929 and most of the walls are plaster.... giving them just enough texture to hold onto dust and dirt over time. After about an hour of cleaning, the room looked and smelled amazing, we were ready to start bringing the fun projects into the room!
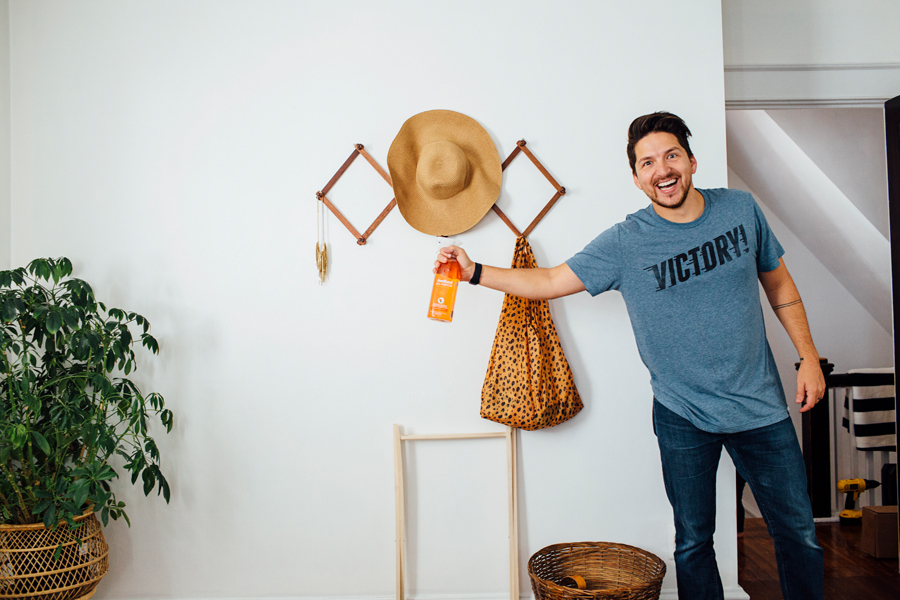
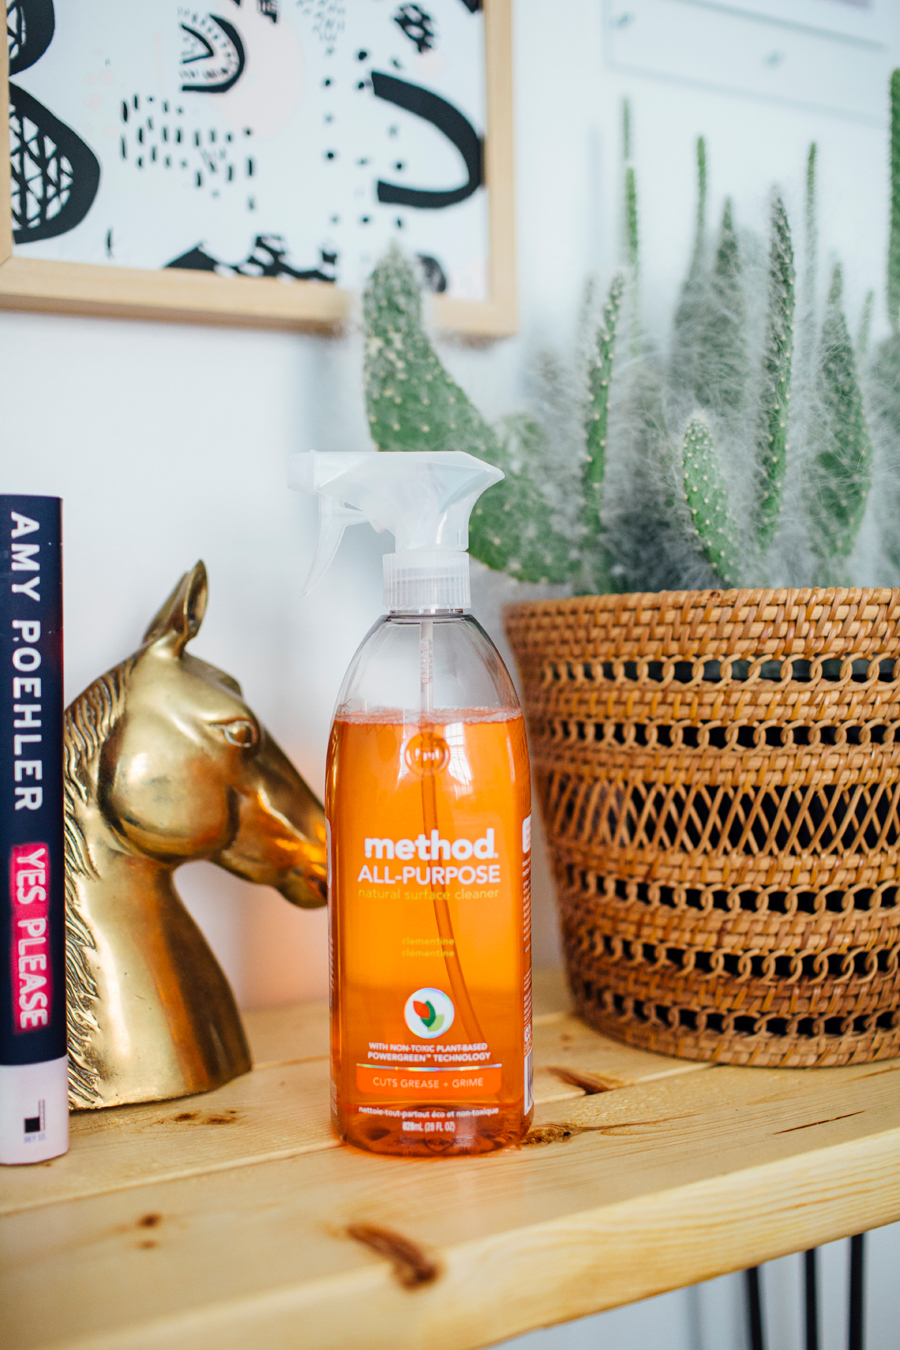
Note: Penny looking down in judgement at the floor while I clean. June smacking T.J. on the head for comedic value, saying "boinggggg". And T.J. cassssually posing with the all-purpose cleaner while I'm trying to take my "before" photos.
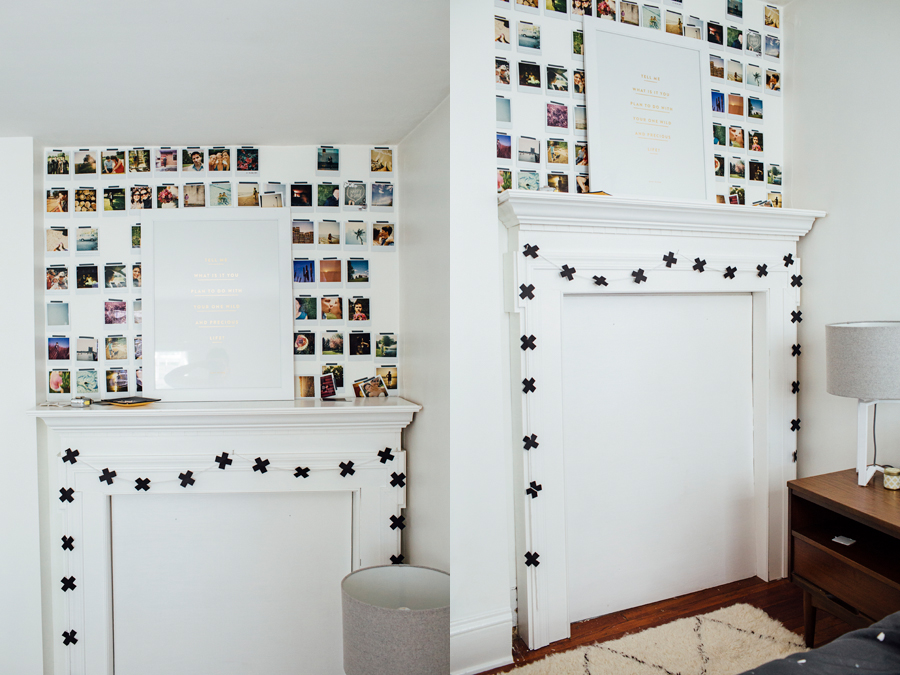
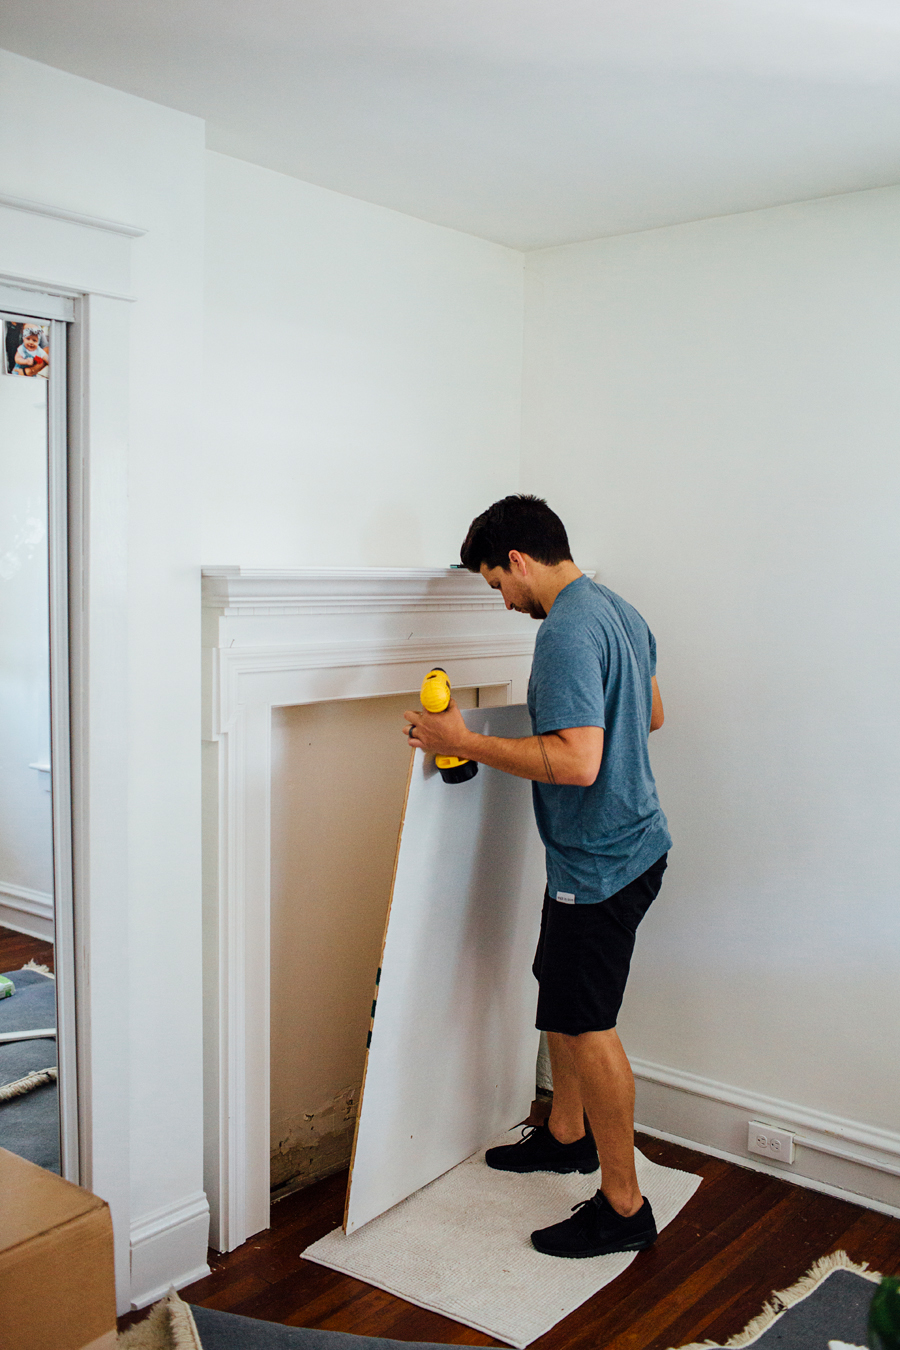
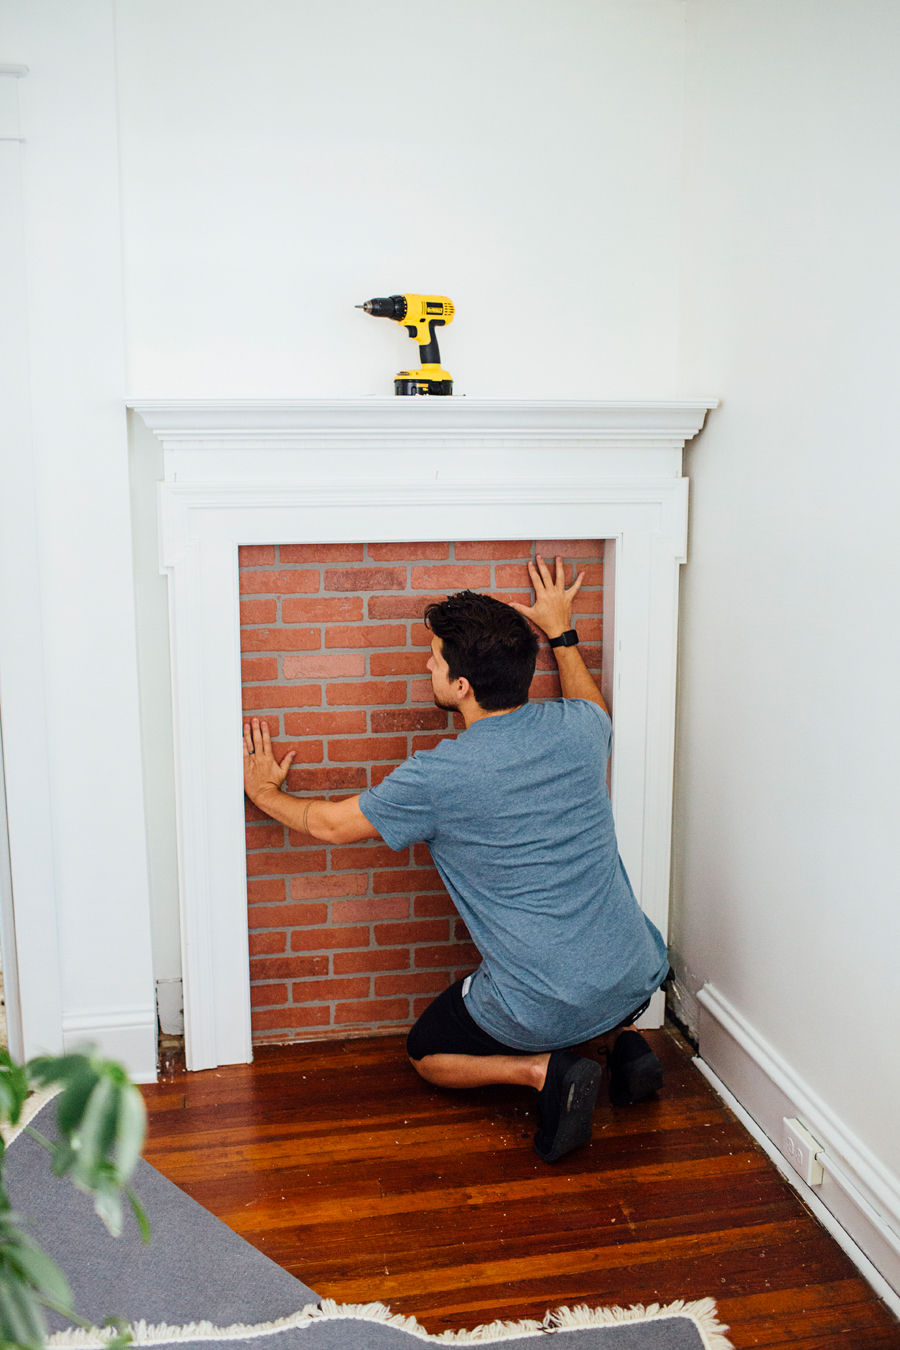
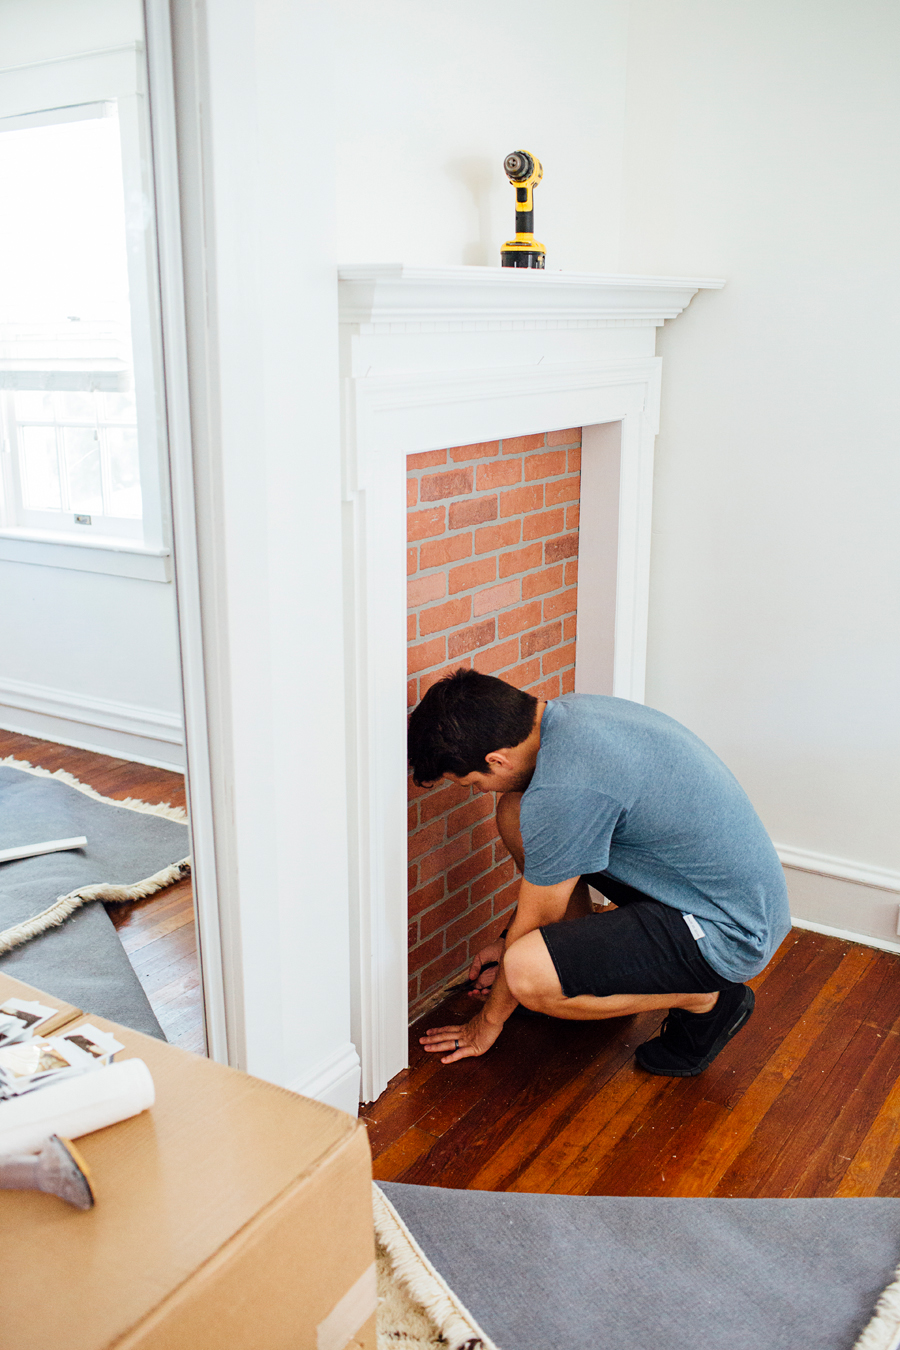
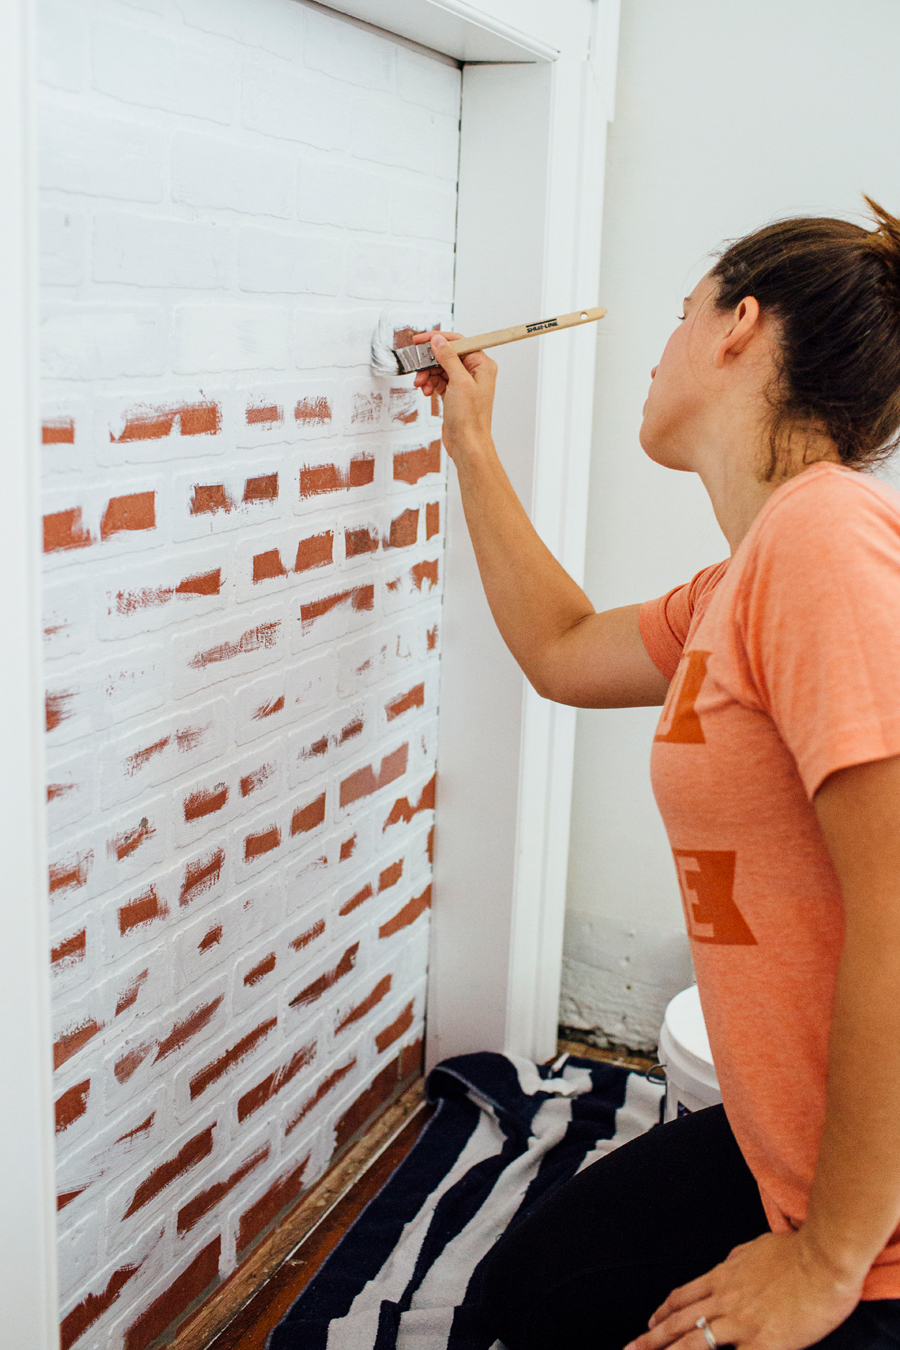
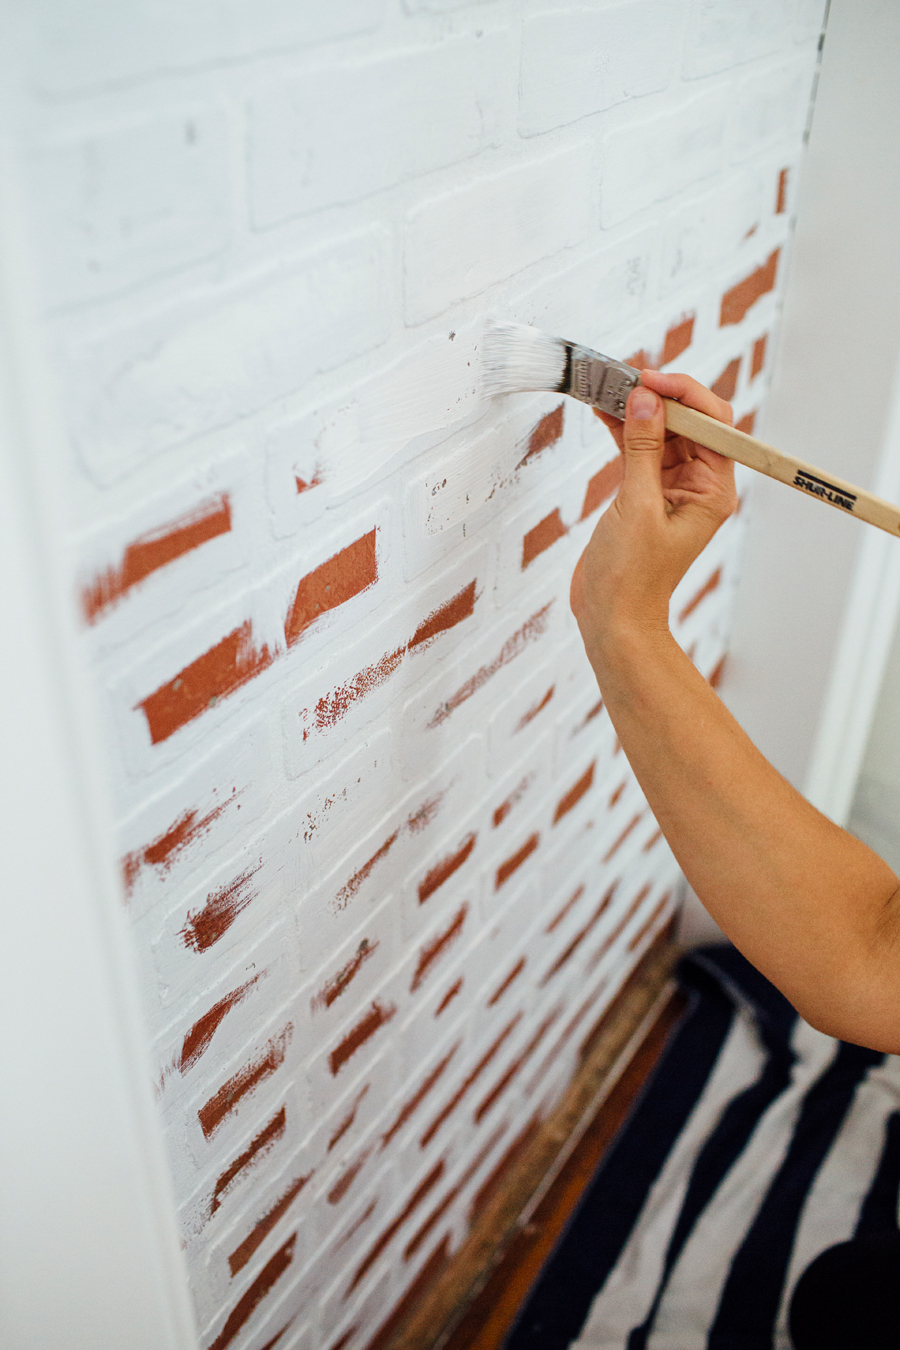
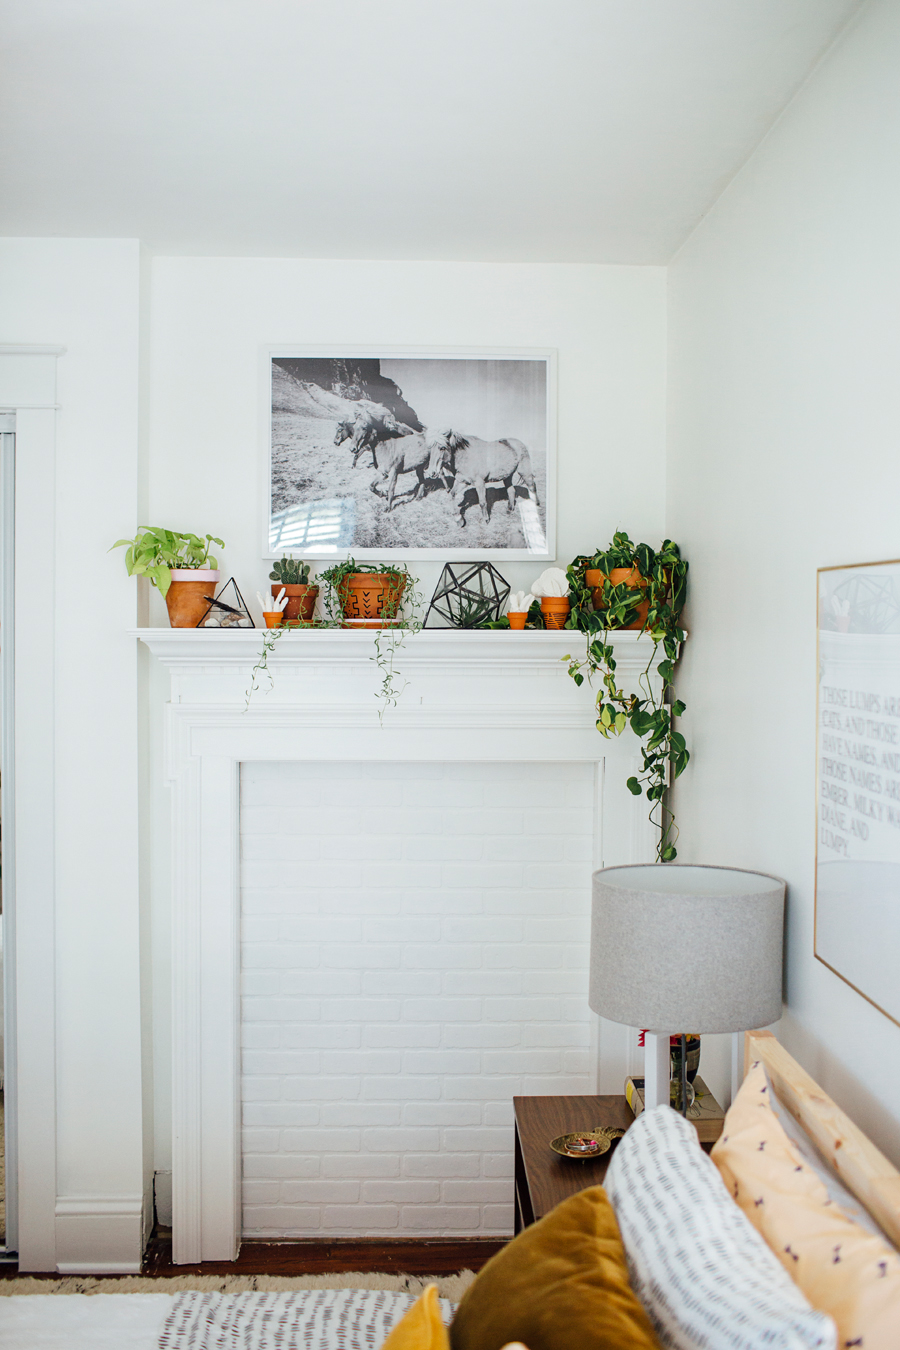
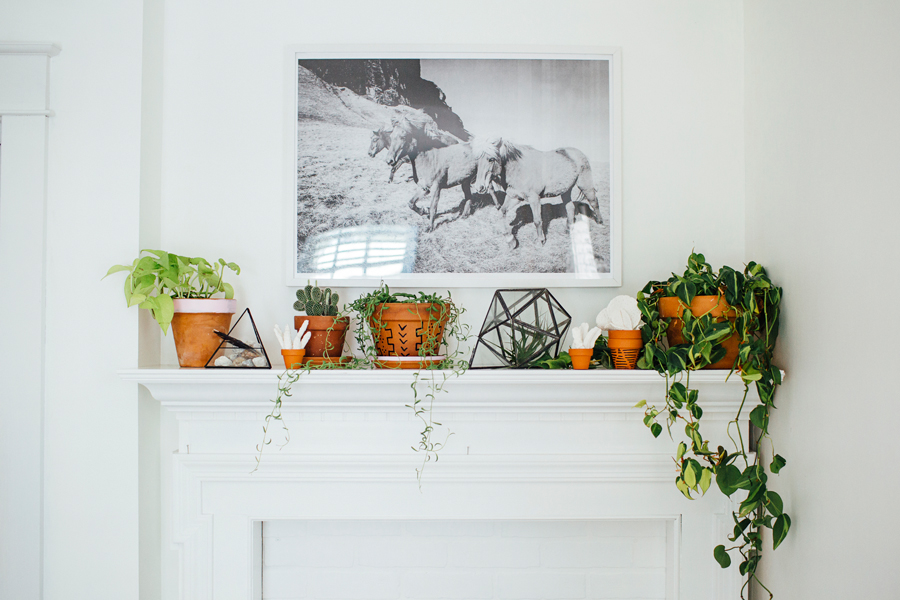
Years ago we replaced a heavy and dated looking built in bookshelf in our room with this mantle that I found at a yard sale down the block for only $12! And ever since, I've wanted to add the faux brick inside the mantle. So, T.J. took out the boring piece of plywood that had been there, and we replaced it the brick! I love it. It adds so much more character to the mantle!
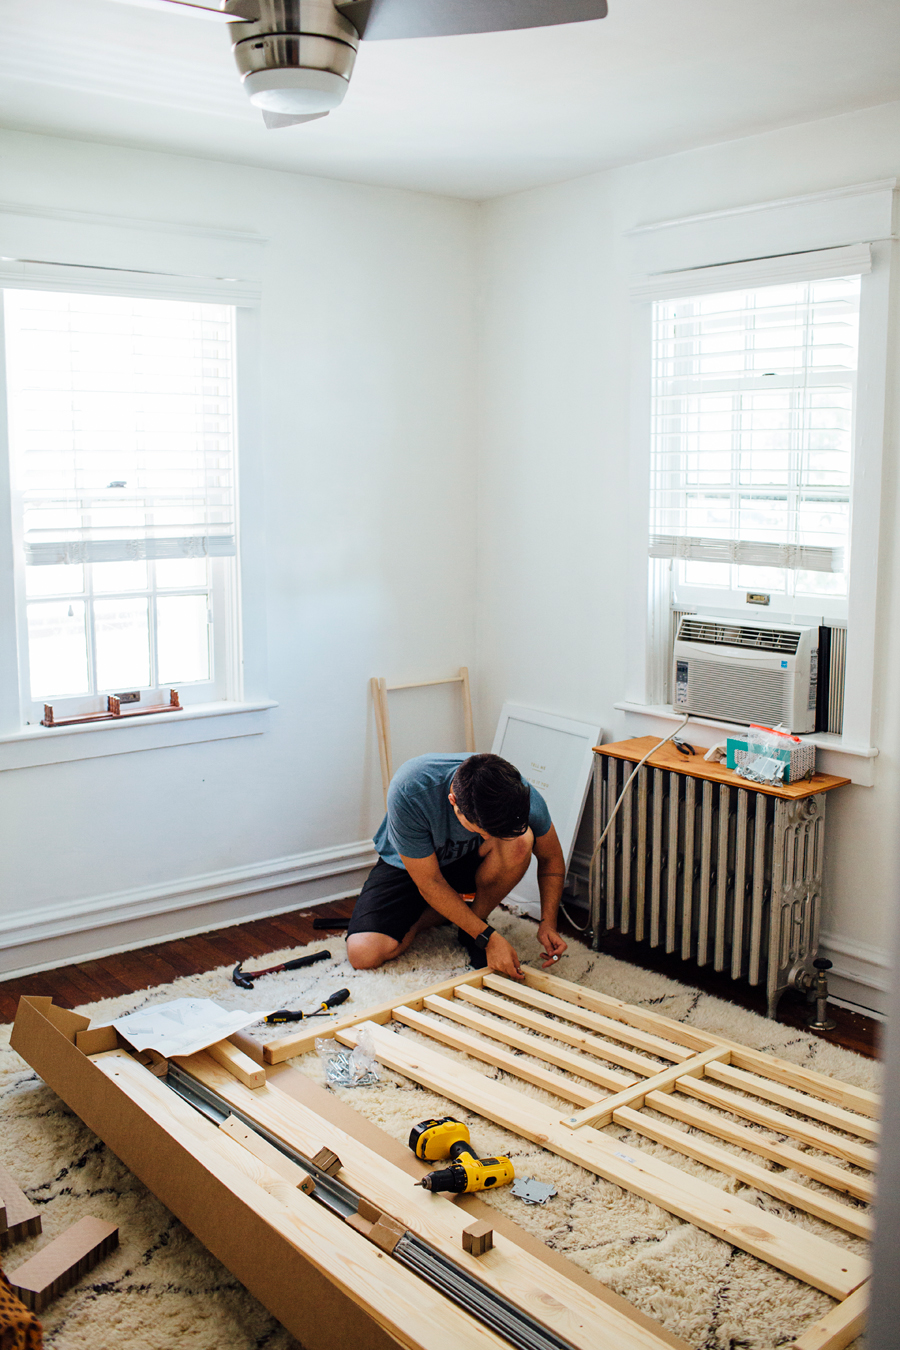
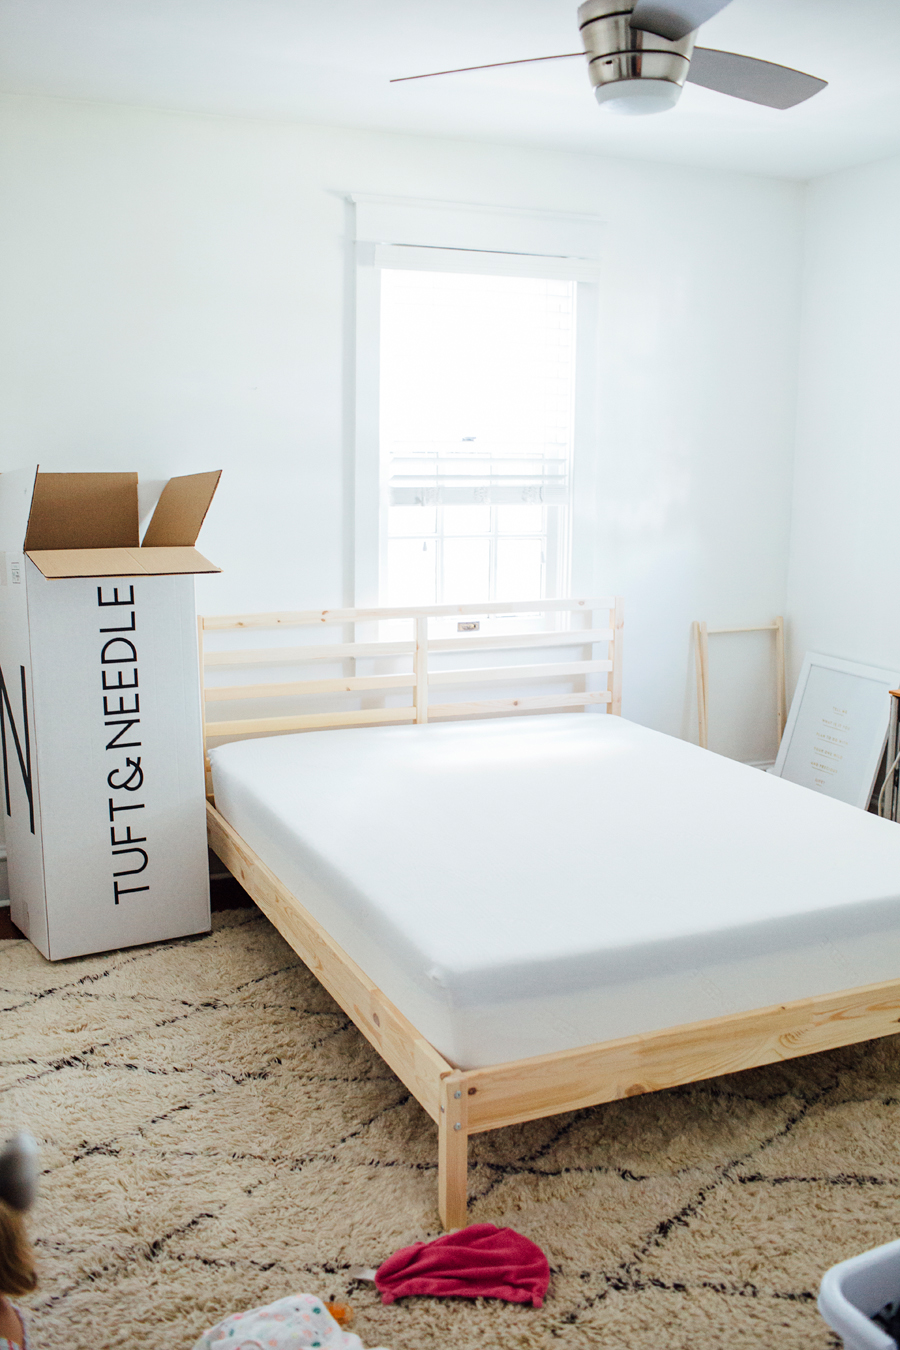
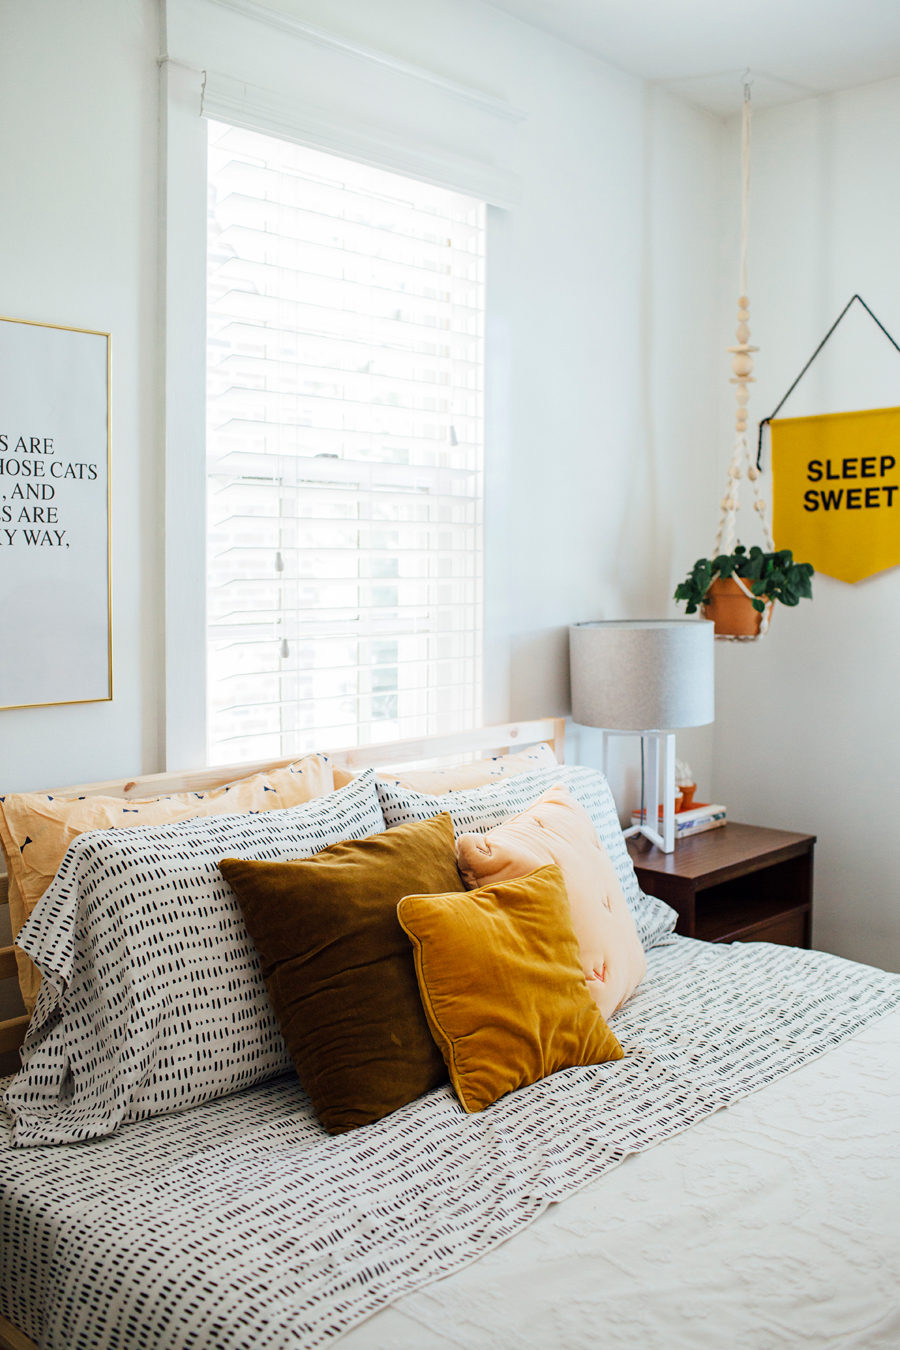
While I put two coats of white paint on the new mantle insert, T.J. started building our new bed from Ikea. Once that was complete, we unboxed our amazing new mattress from Tuft & Needle (more on this to come!).
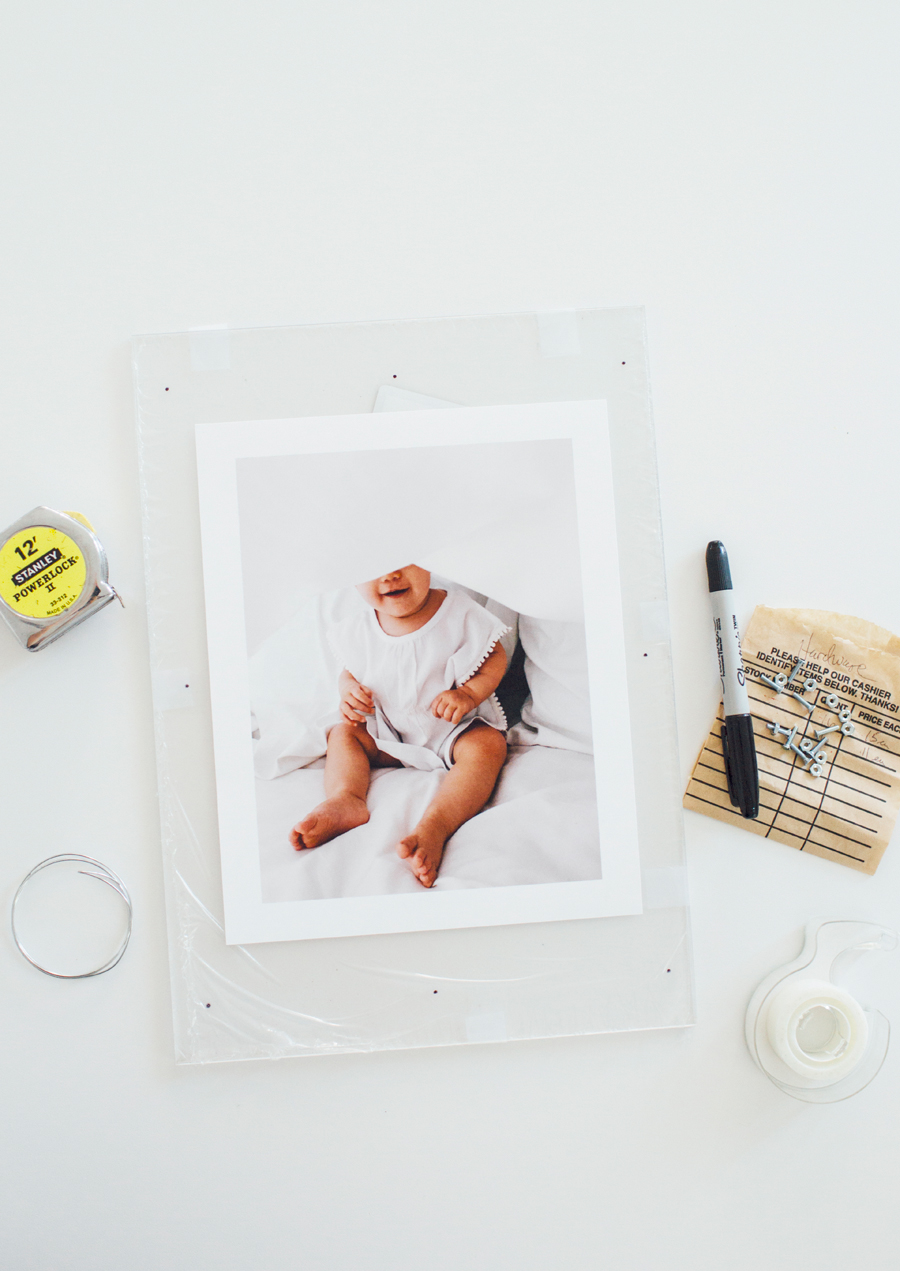
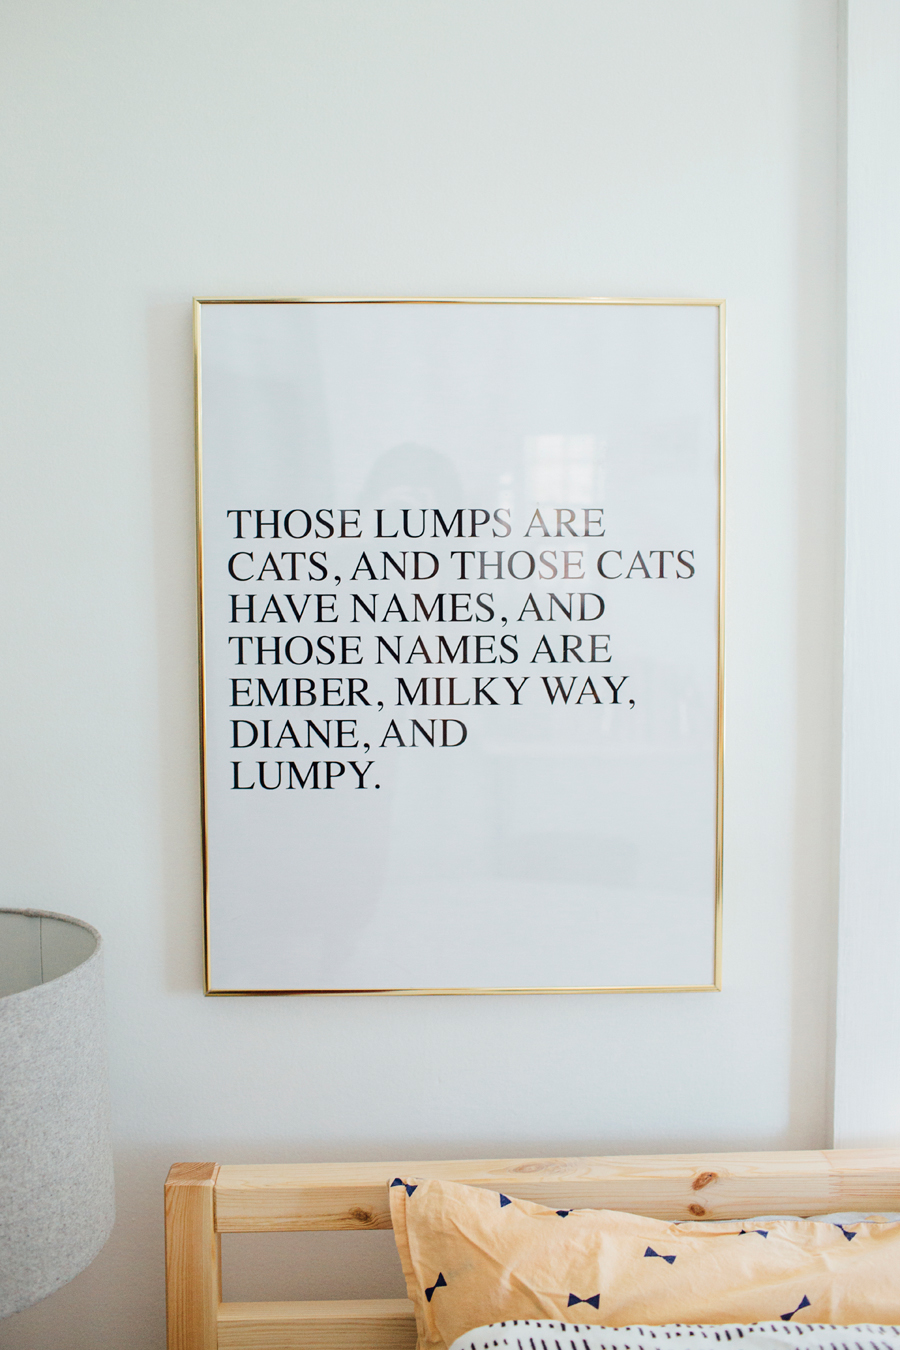
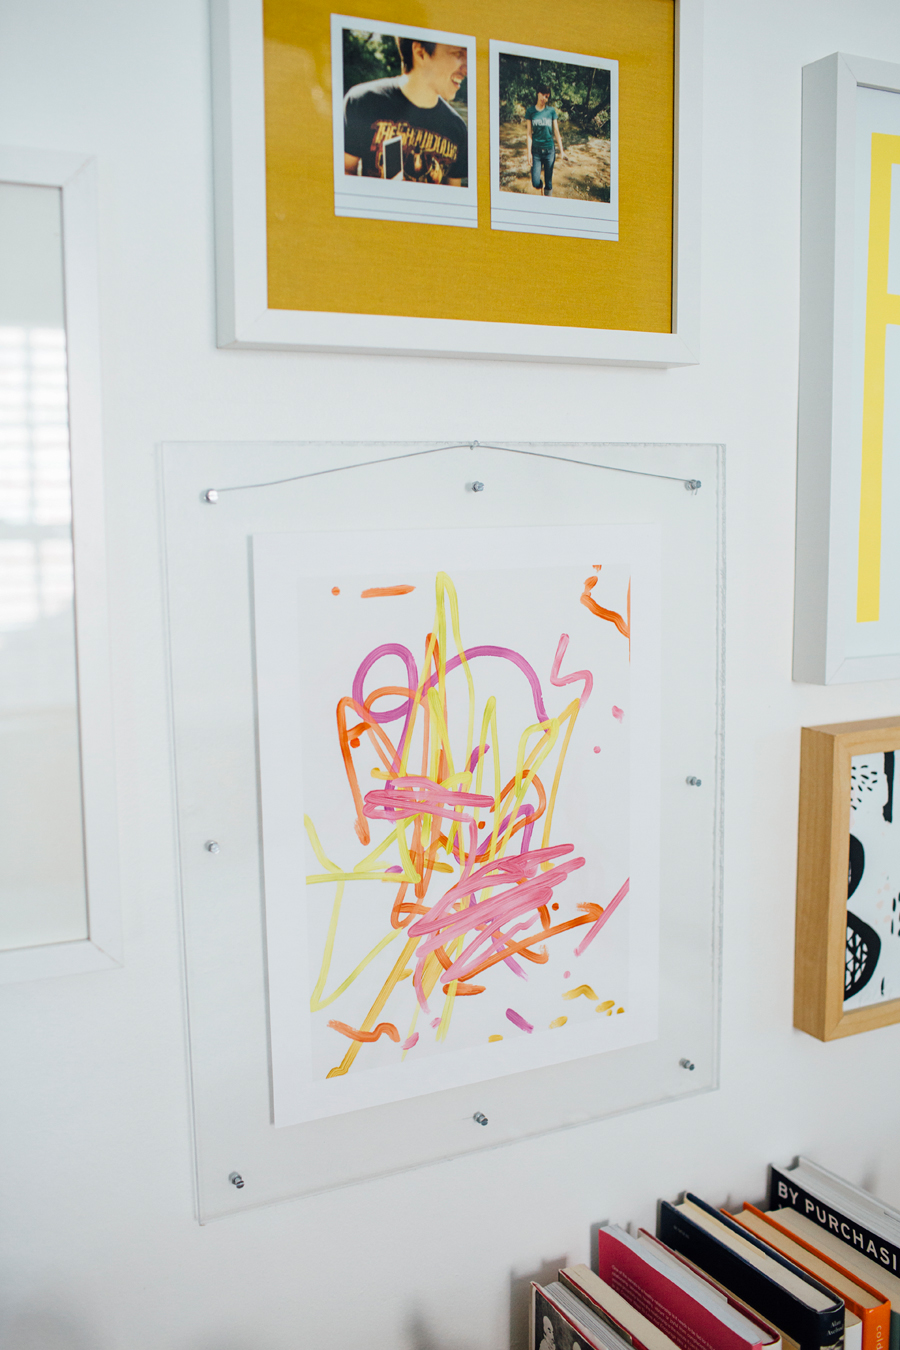
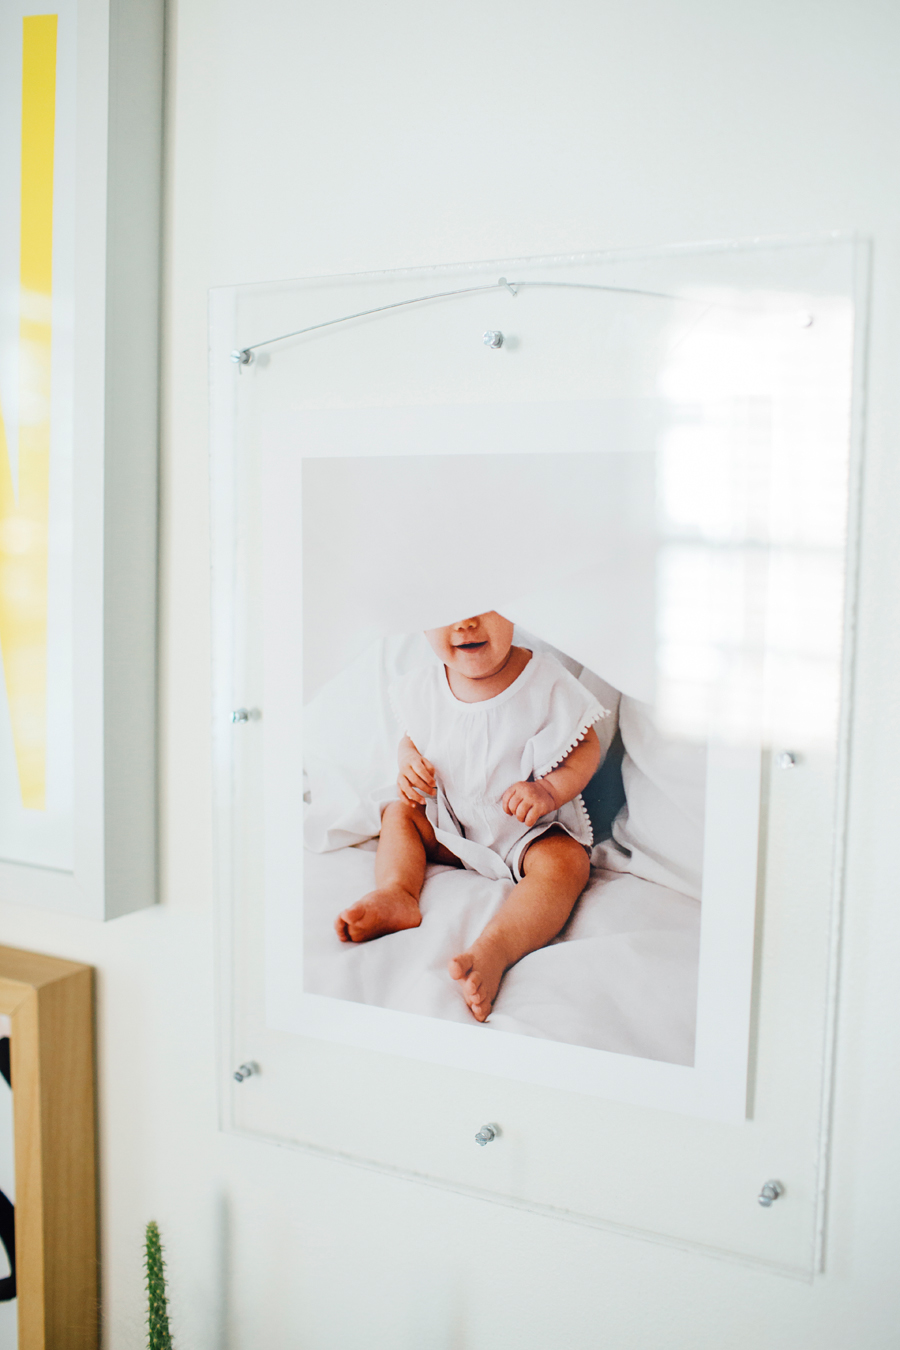
I knew I wanted our room to feel lighter and brighter, but I also wanted it to have more personality. For being a photographer, I barely have any photos printed and hanging in our home. (Womp, womp.) I printed one of my favorite photos of June, from our trip to Hawaii, along with one of her iPad drawings and made plexi glass frames for them. (Tutorial to come +)
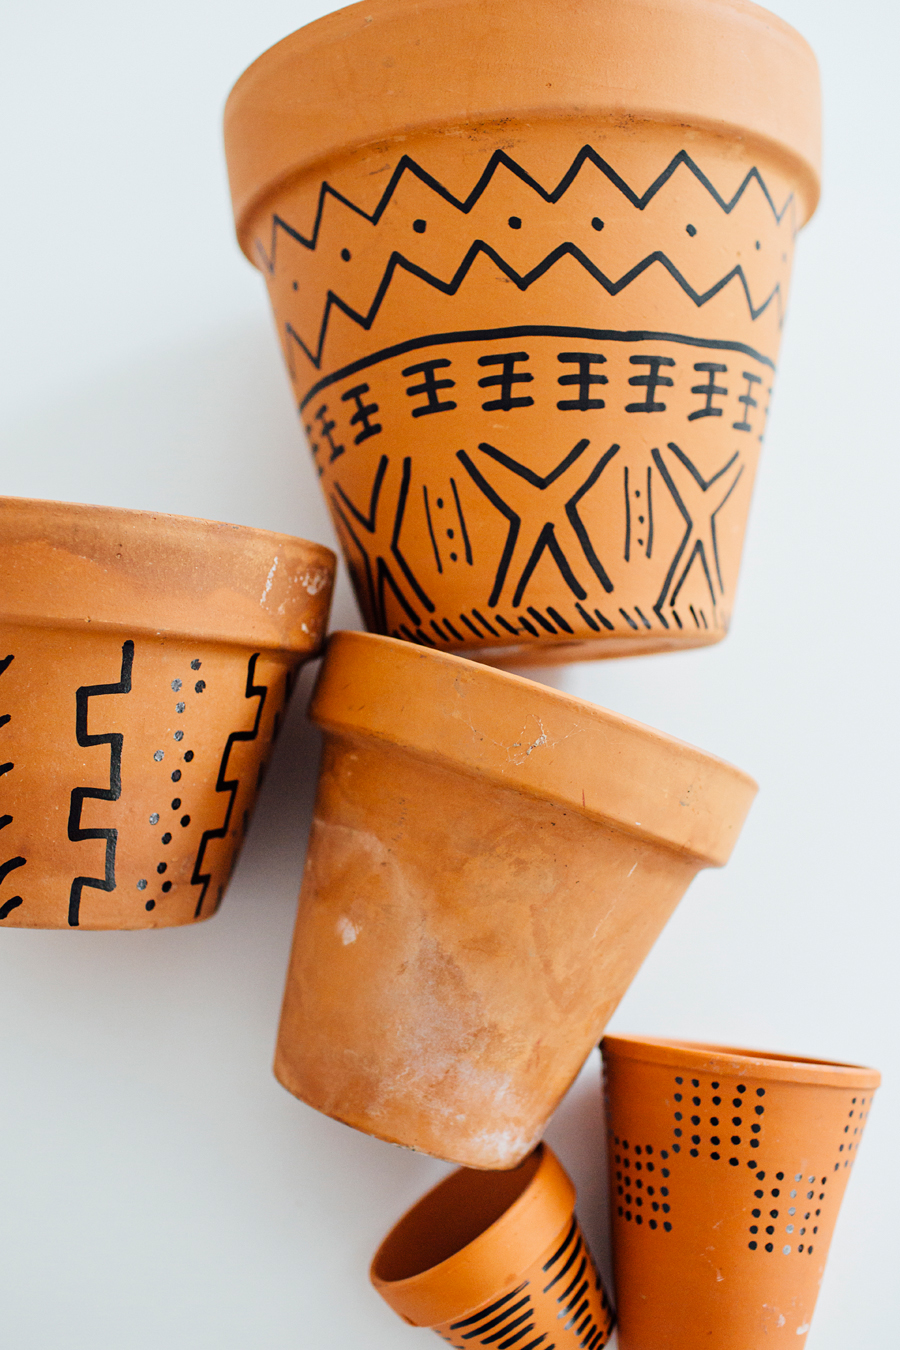
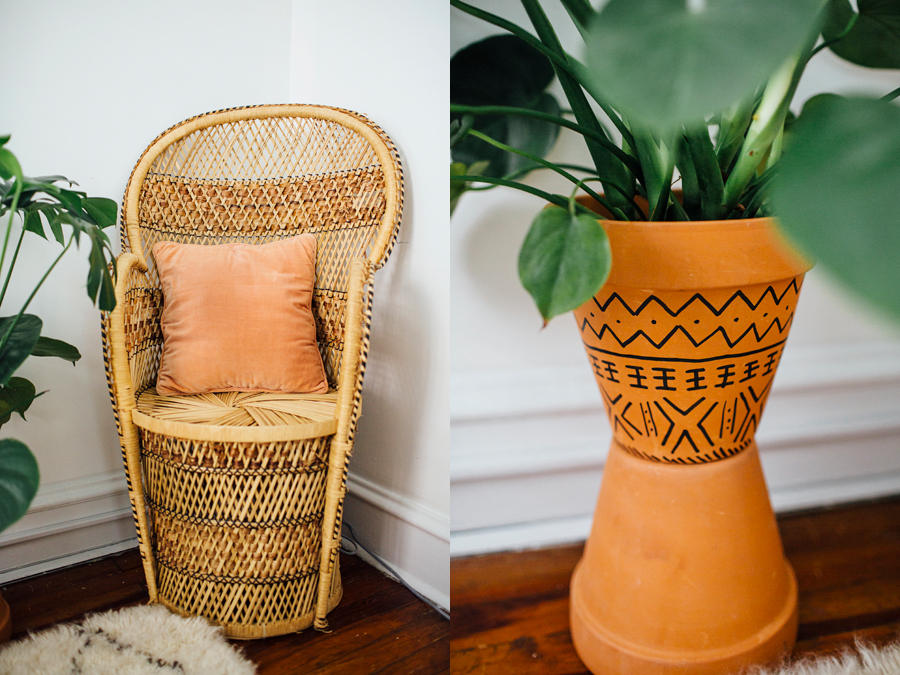
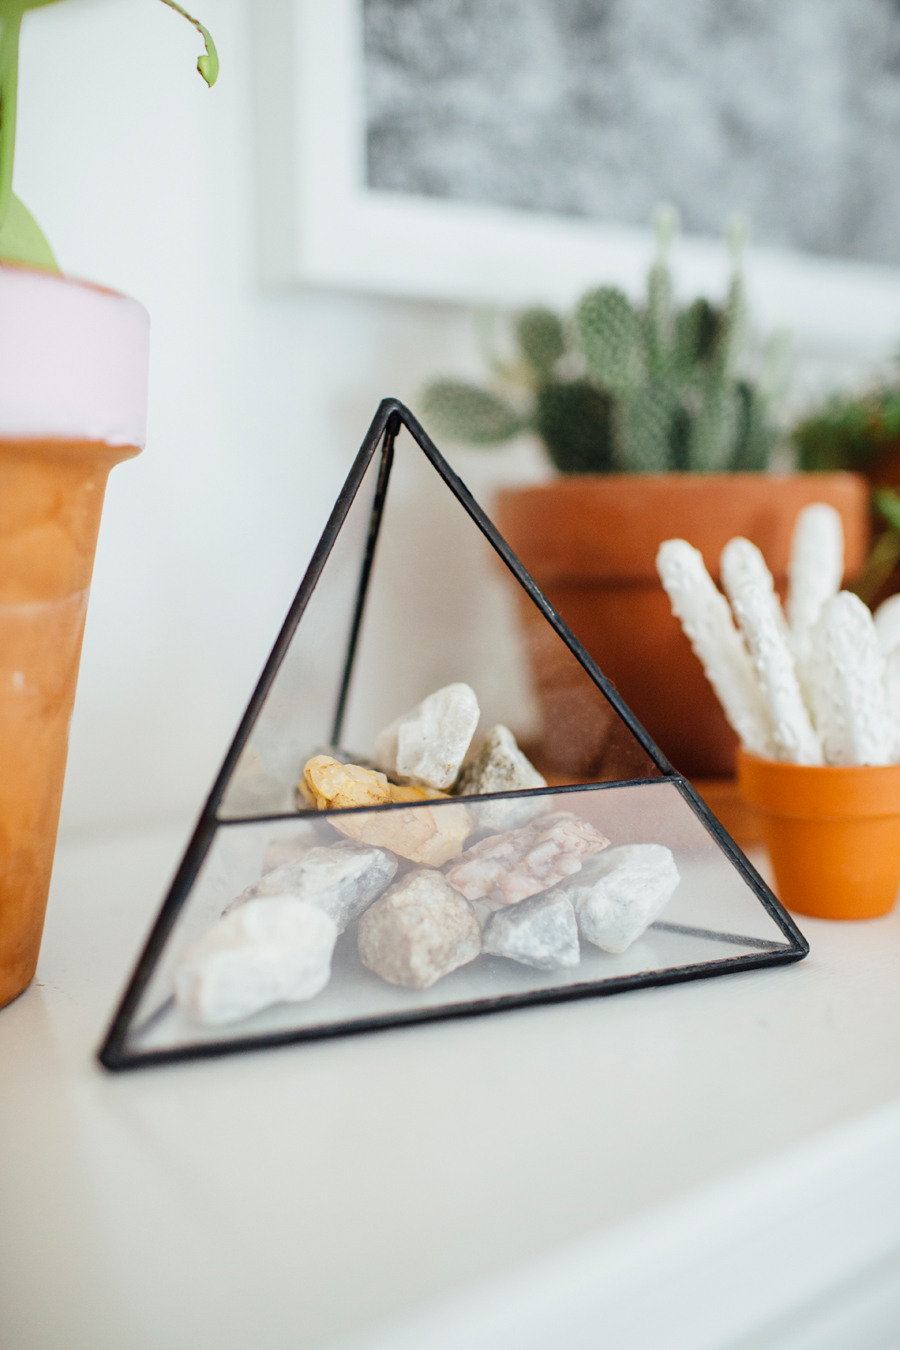
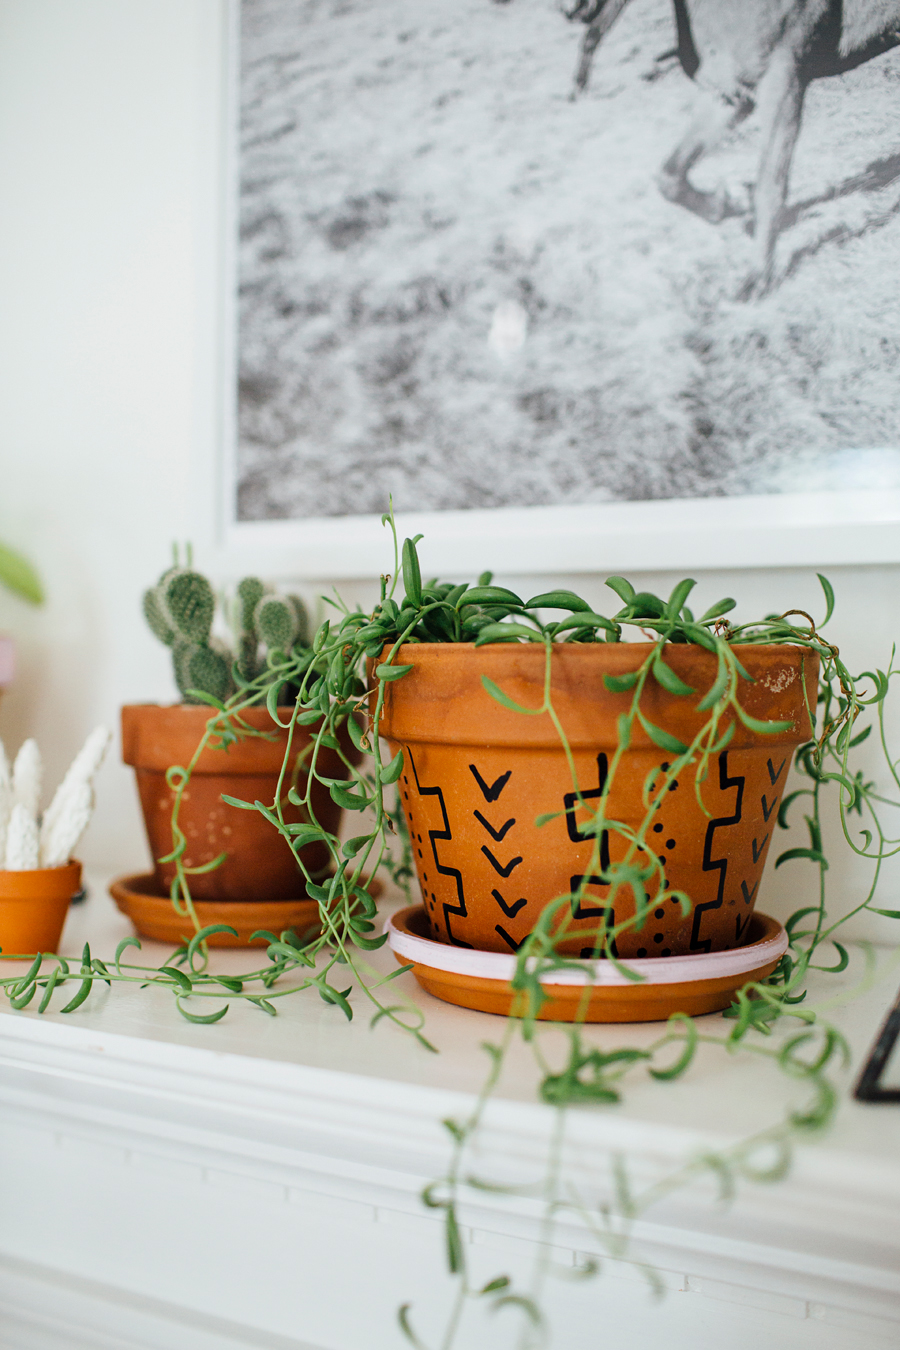
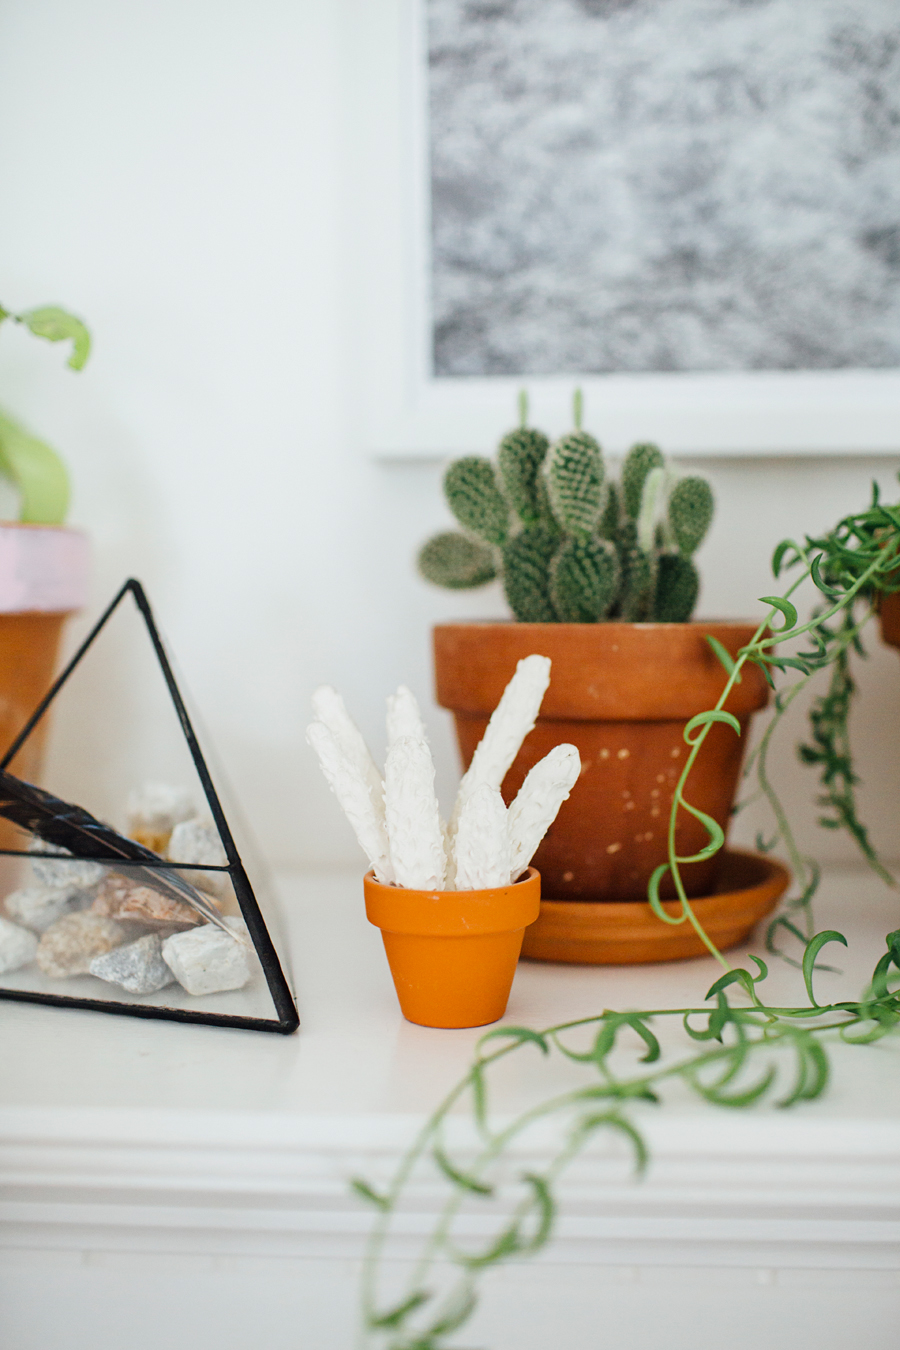
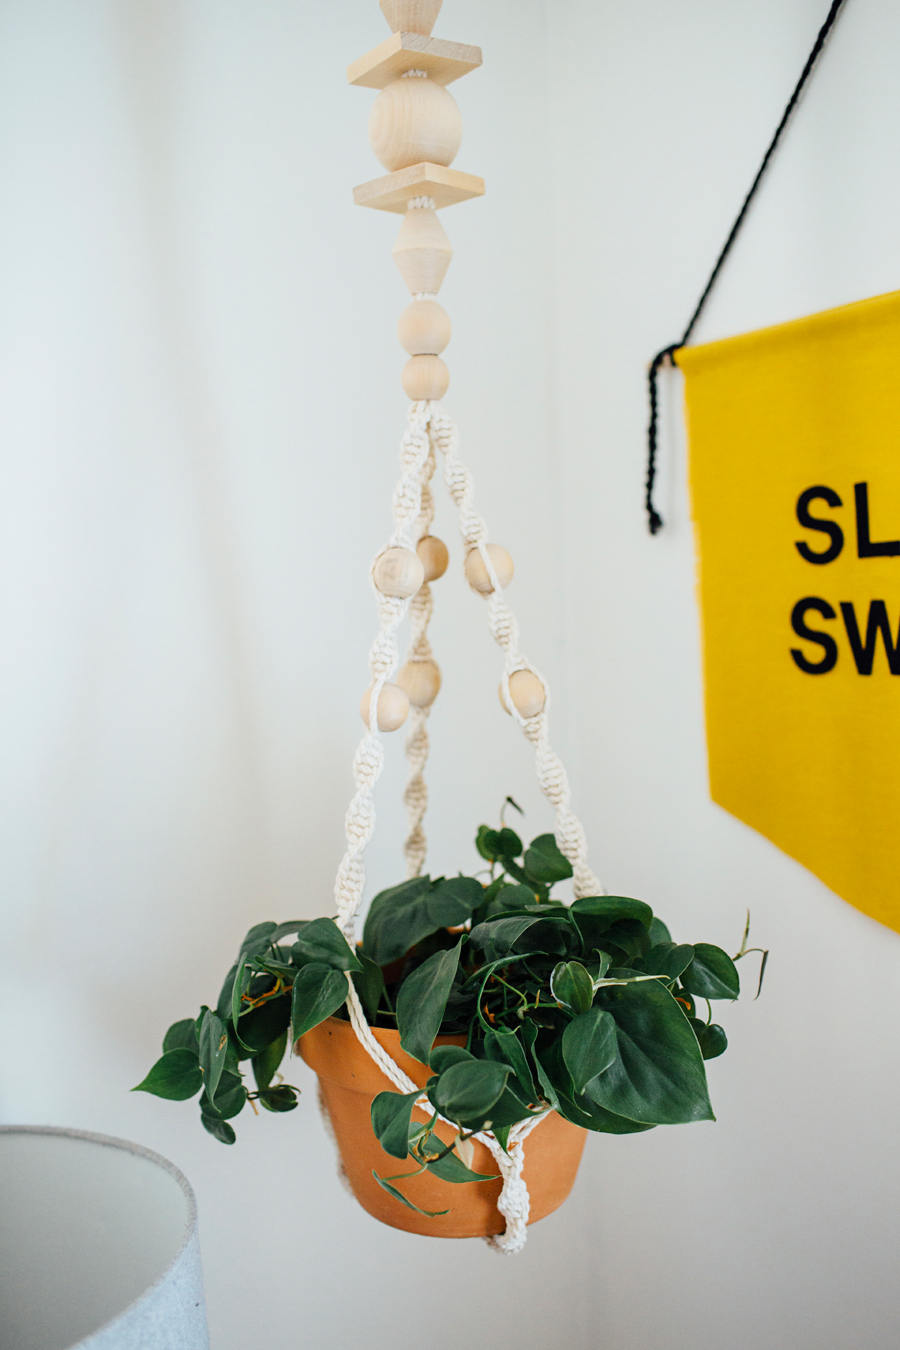
Then I gathered a handful of terra cotta pots from our yard/garage, washed them off and drew on them with a sharpie paint pen. Seriously, there isn't anything you can't make cooler with a sharpie paint pen.
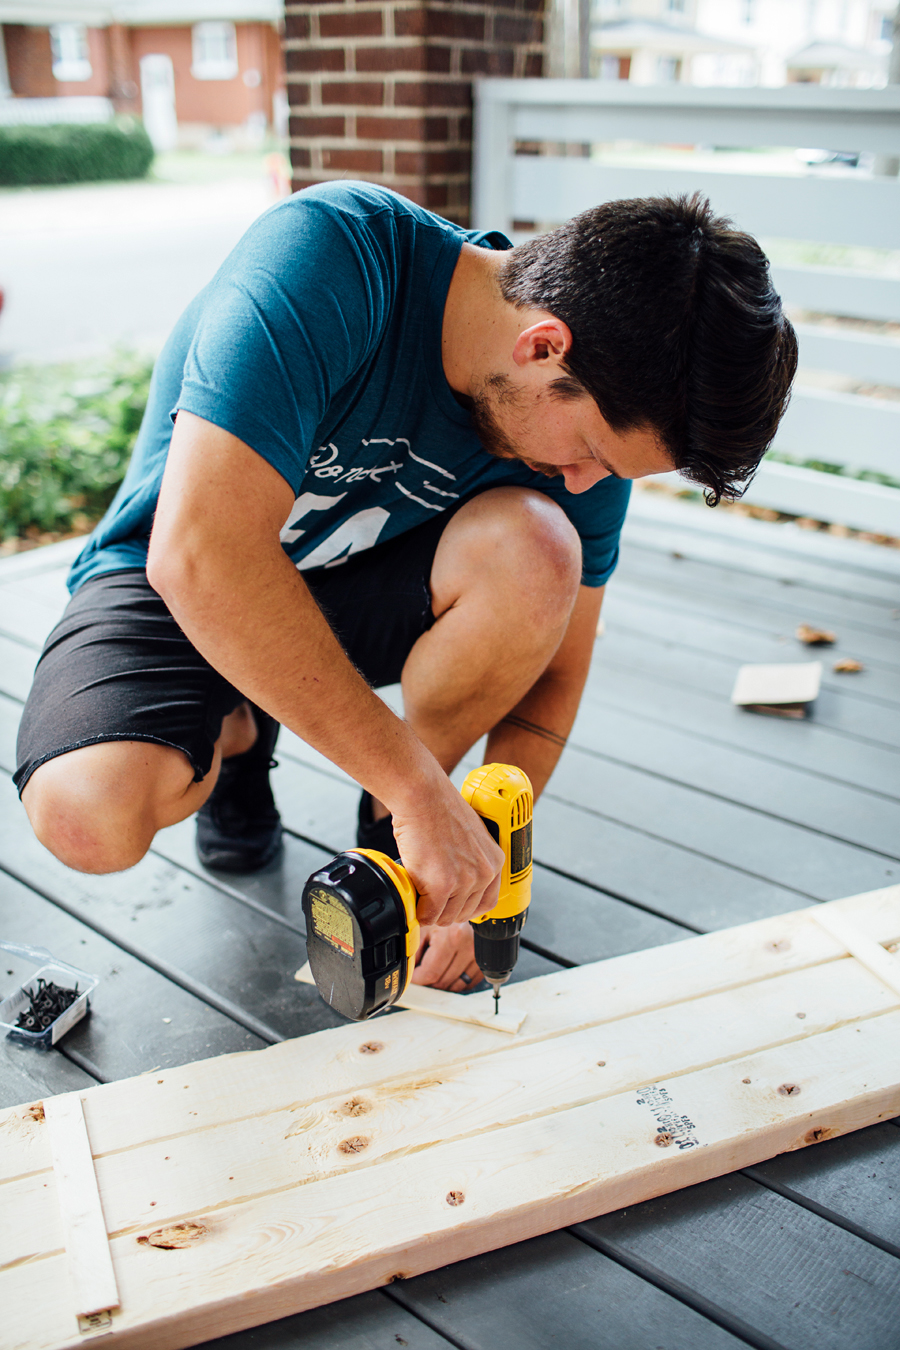
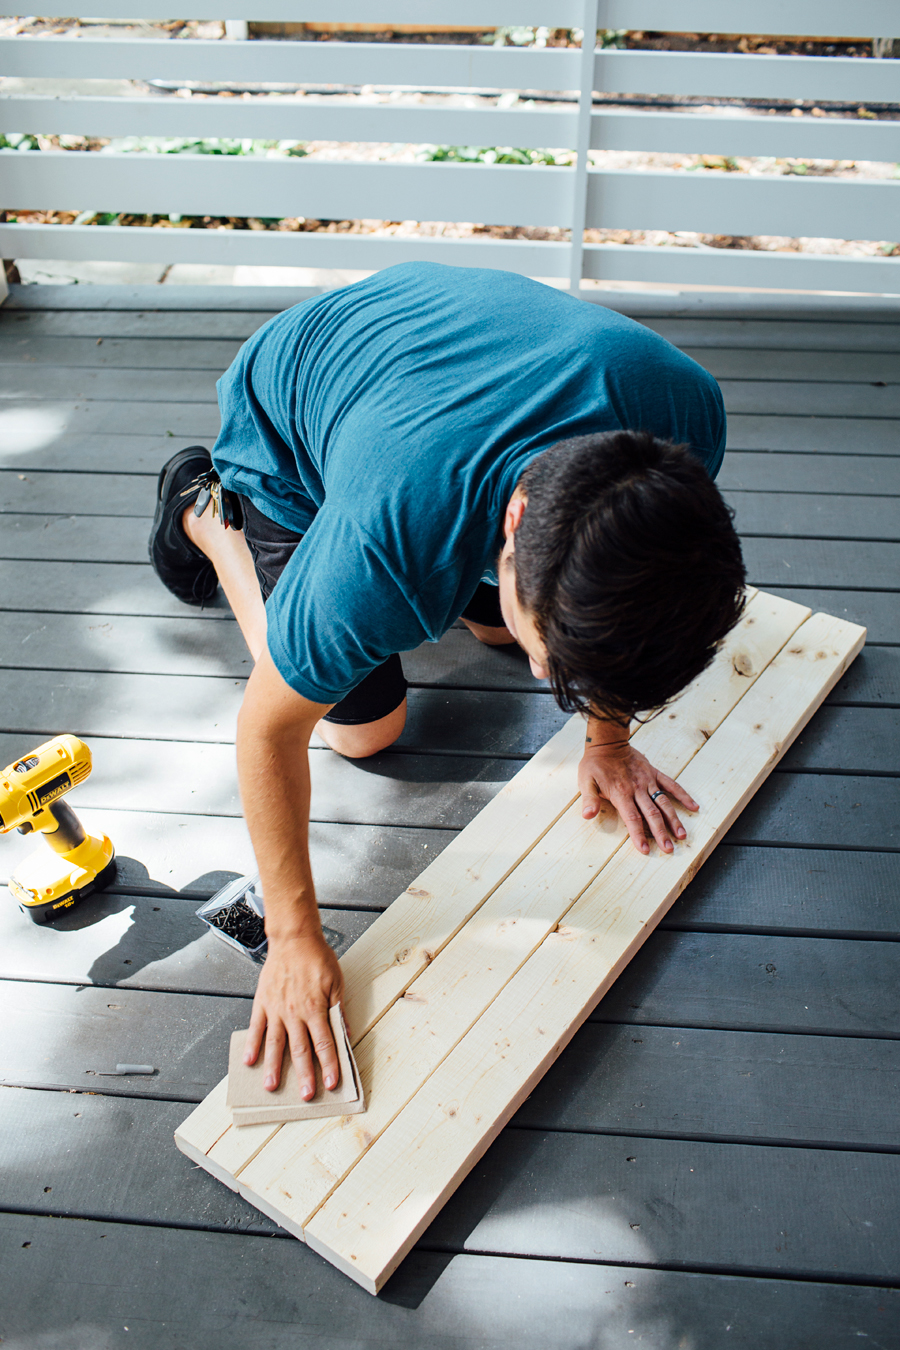
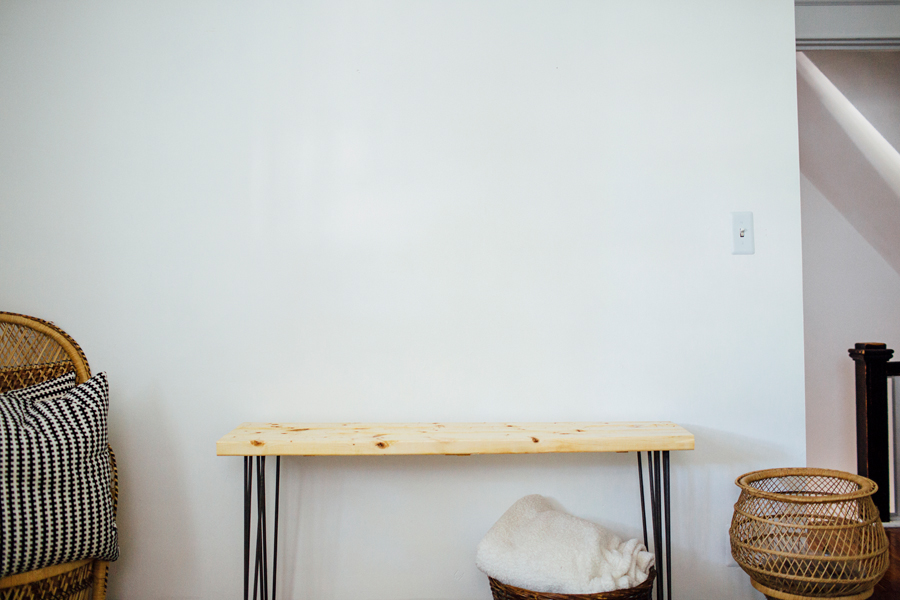
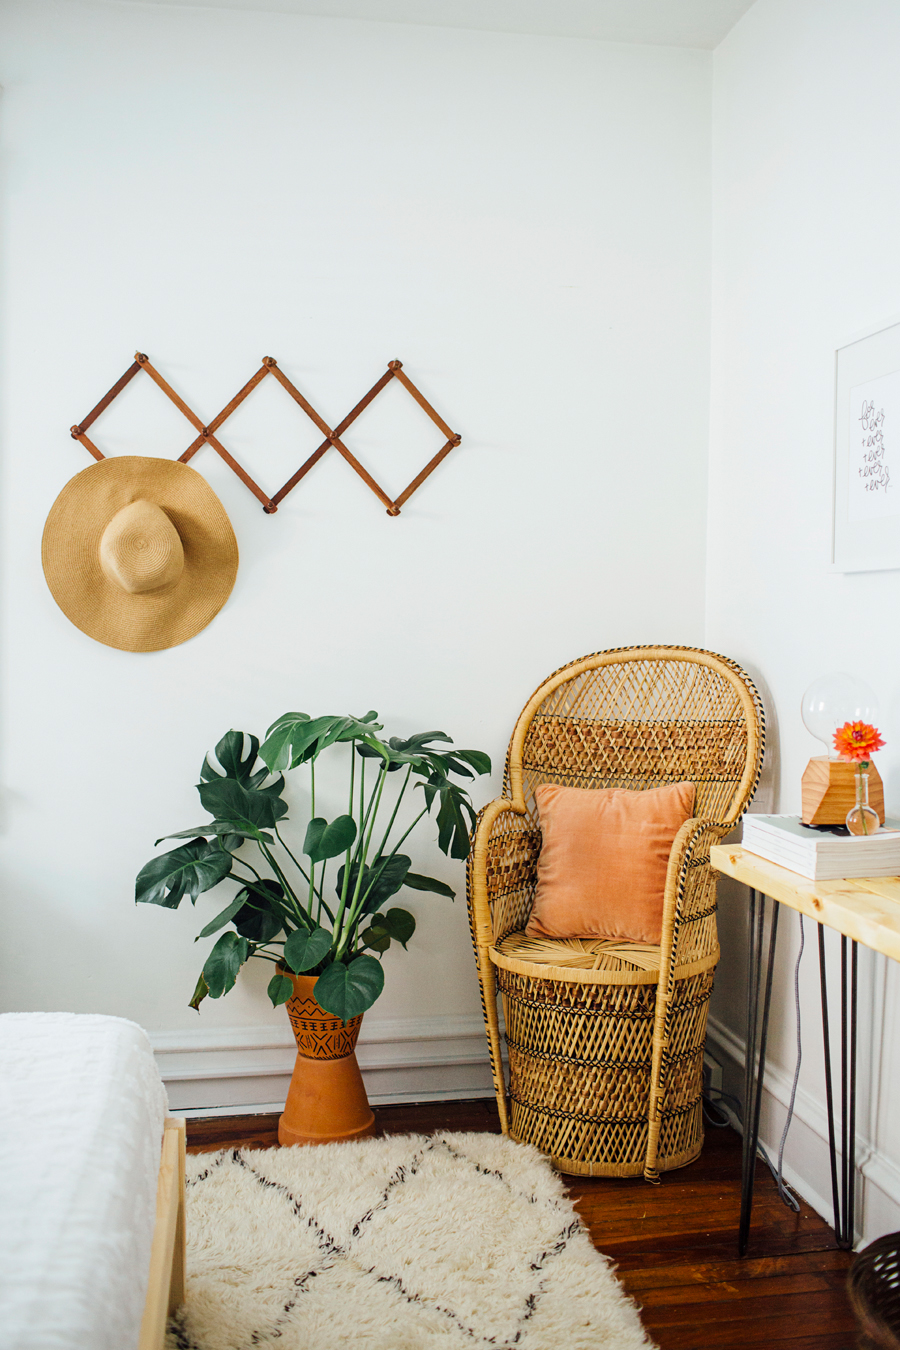
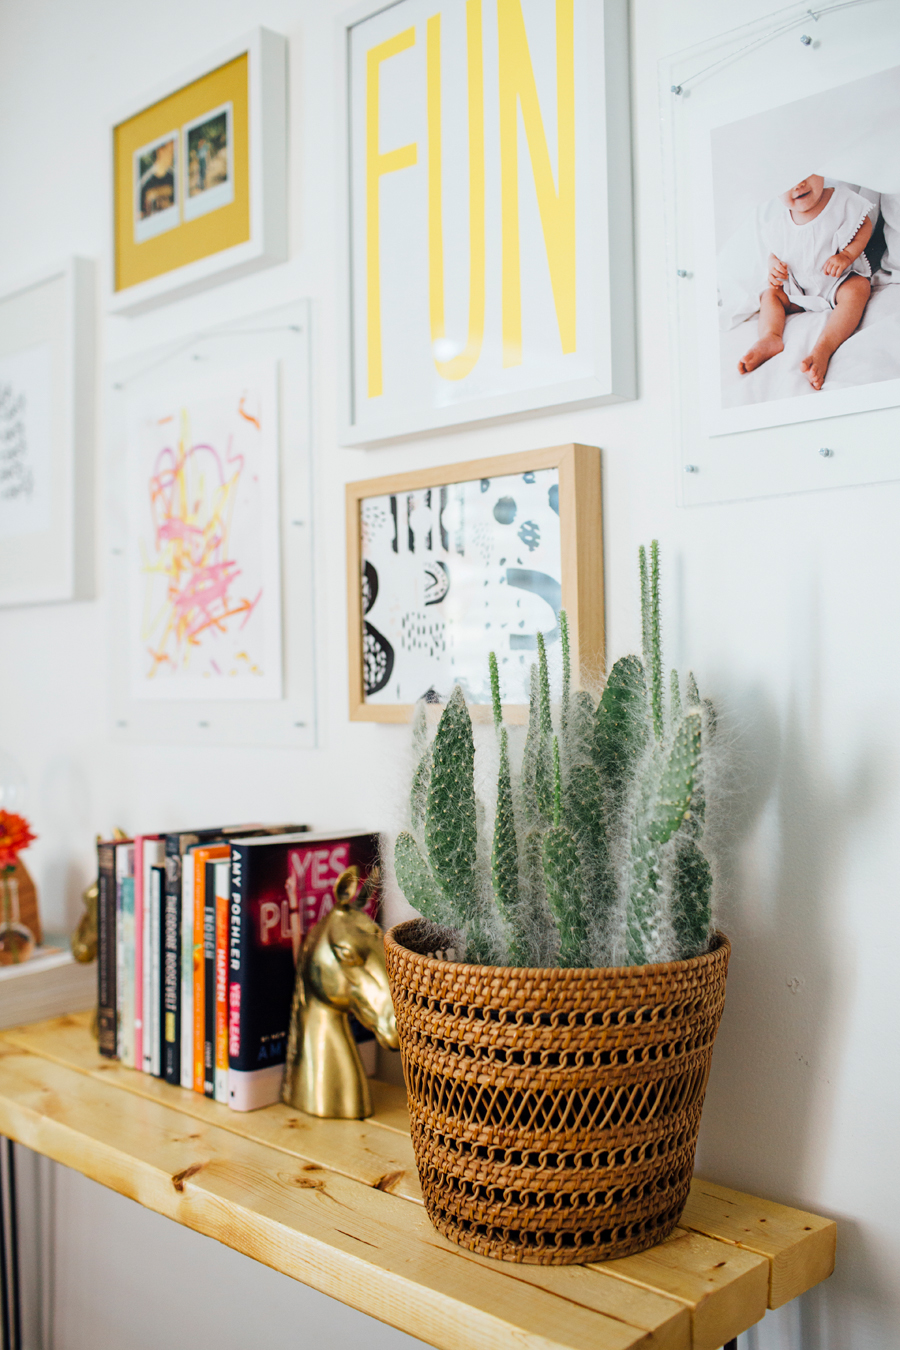
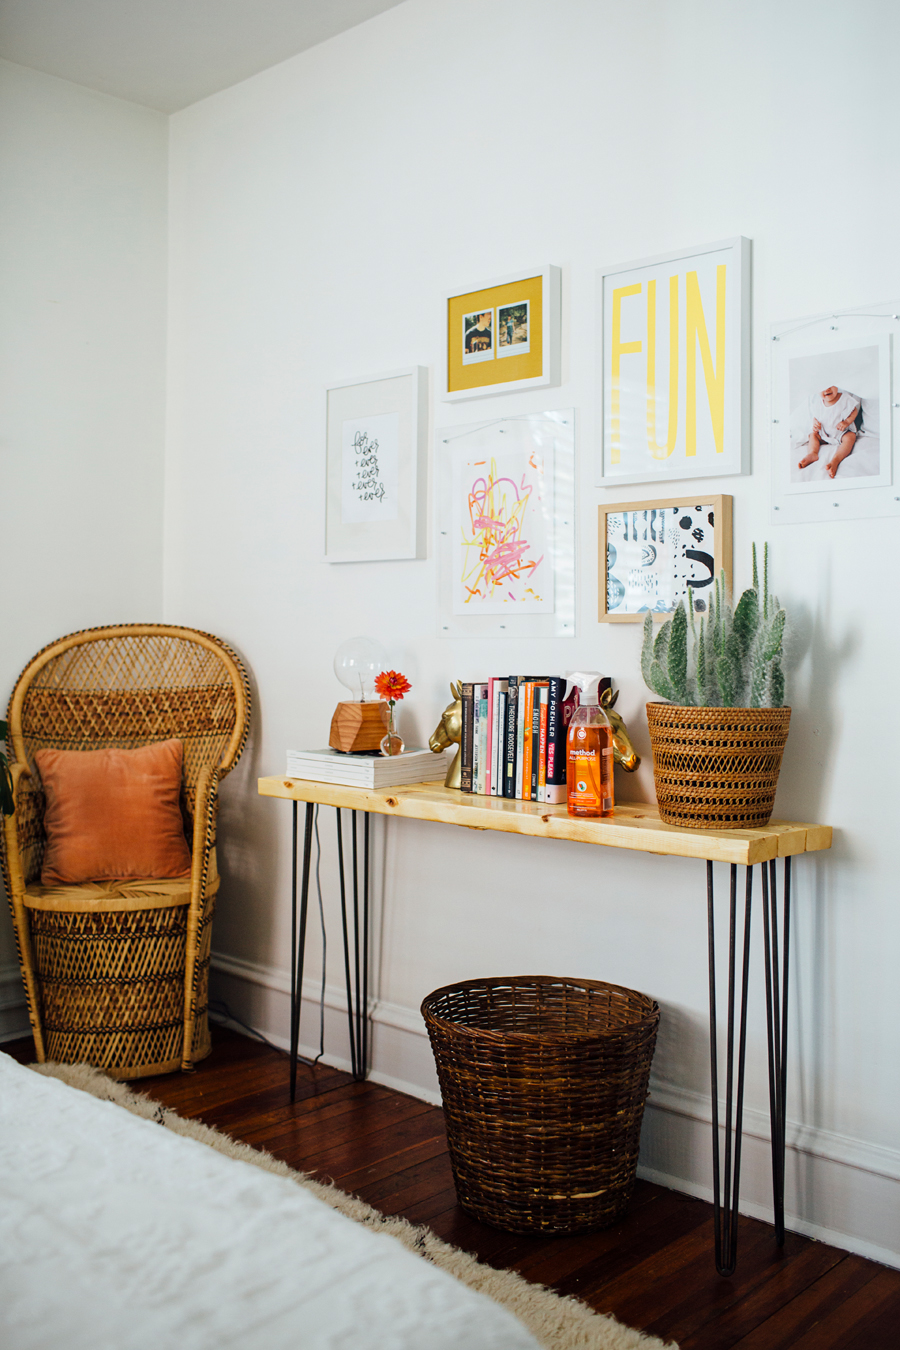
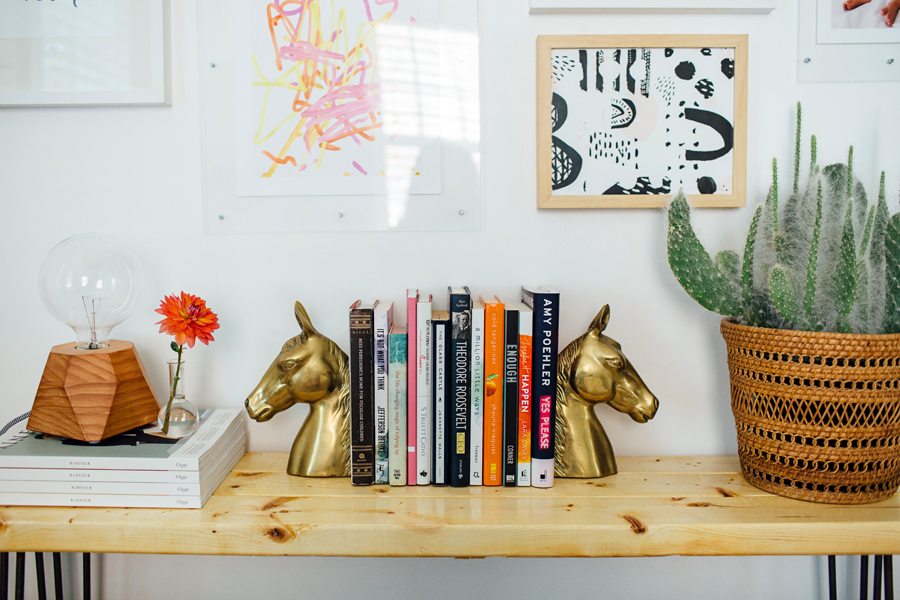
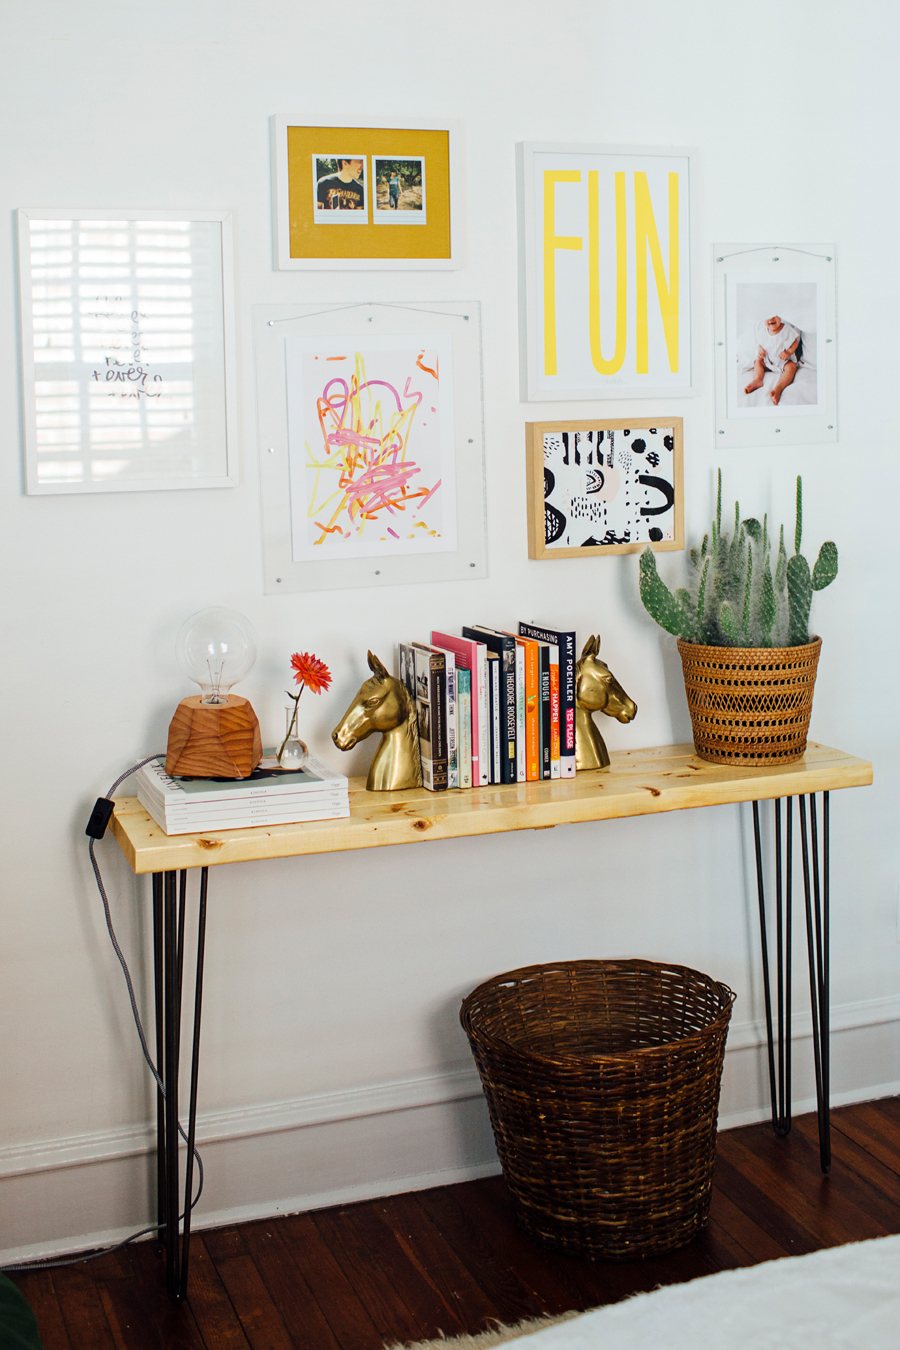
Other than our mantle, there really wasn't any furniture in our room that could hold plants, photos, books, etc. So I decided to make a table! Well, I decided to screw together a few pieces of wood and attach them to these awesome hairpin legs we already had lying around. Since I already had the legs, the whole project only cost me $4.34! Yasssssss.
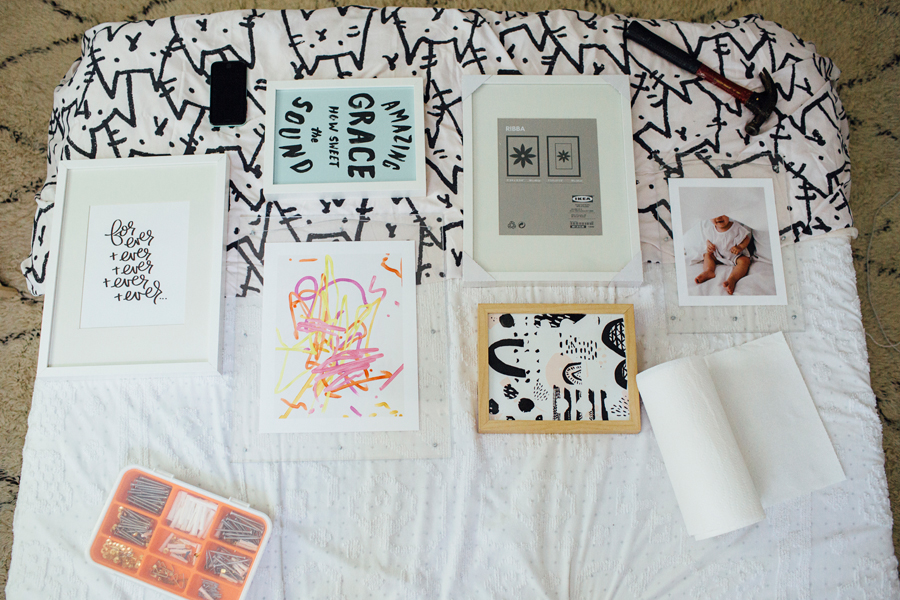
Once the table was in place, I placed the gallery wall frames into a design on my bed, and then transferred that layout to the wall above said table. Finally! Some personality in our room! I also framed two polaroids of T.J. and myself that we took of one another on our 2nd date. 😍
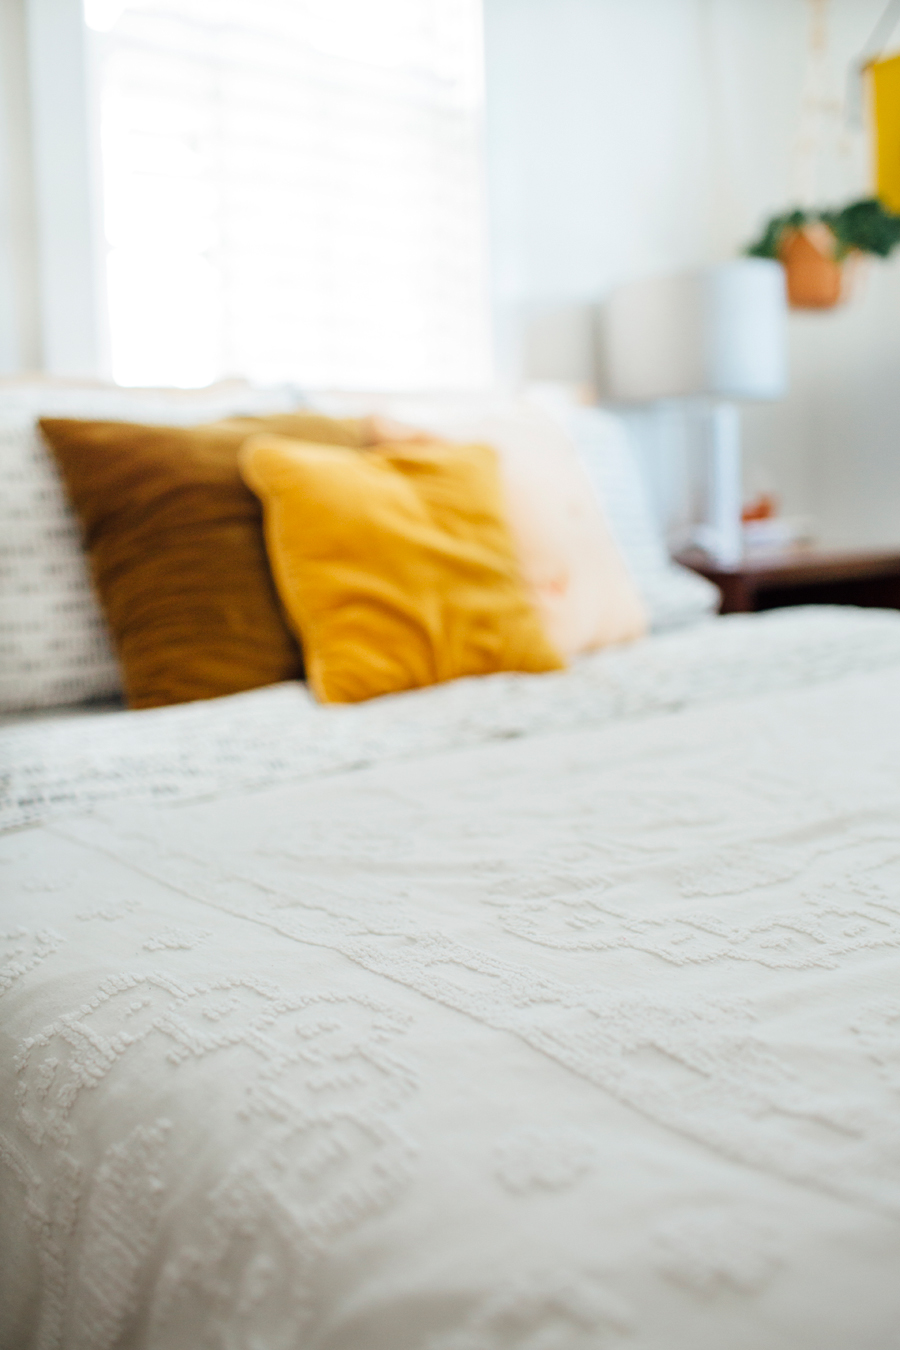
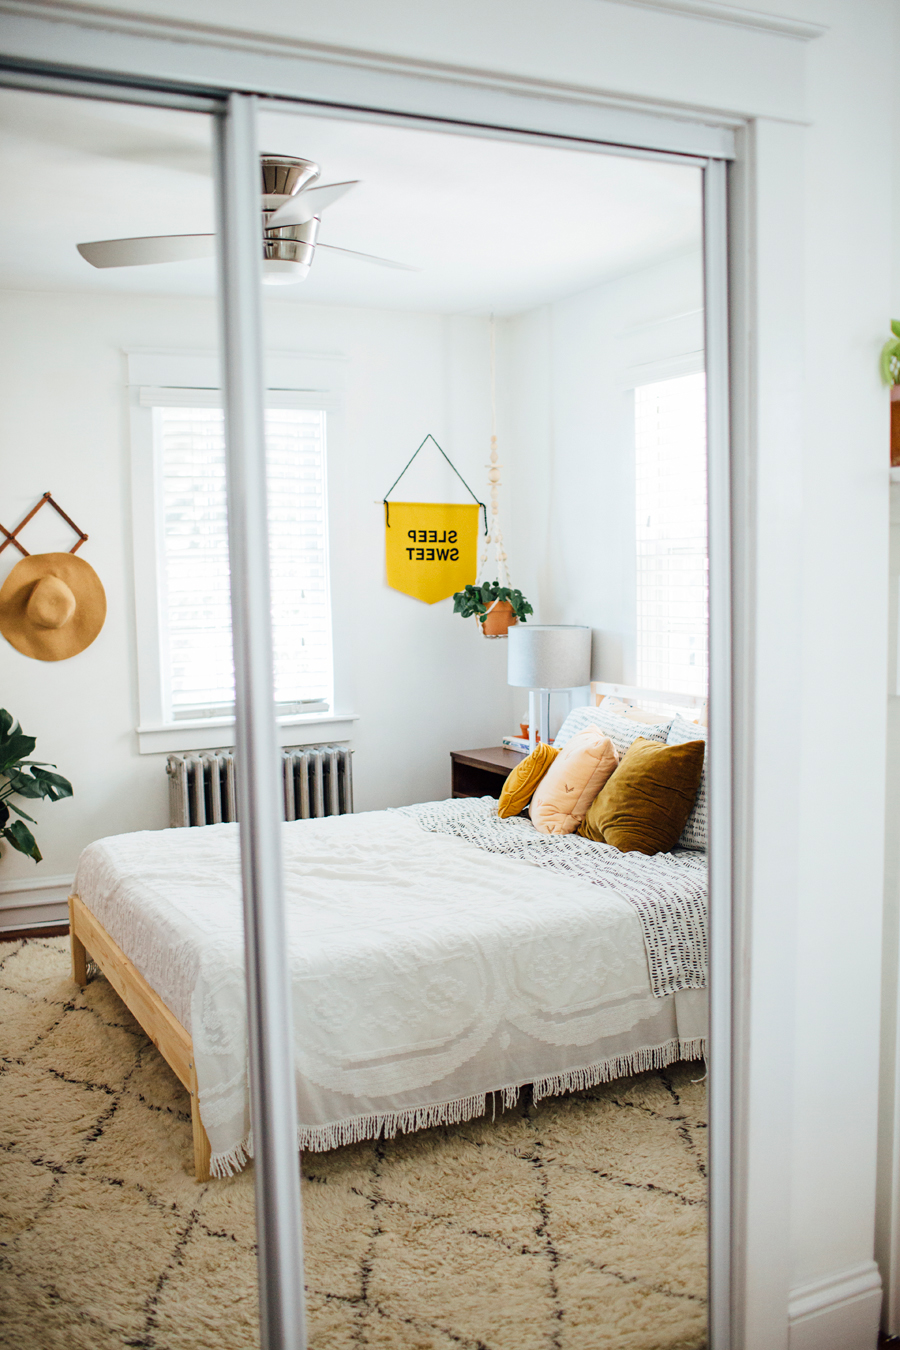
With the frames in place, I added the final artwork, and the remainder of finishing touches on the room! And before we knew it - voila! - a brand new bedroom. TAKE THAT MESS!
I have always loved that method is animal friendly. Their products are formulated to put the hurt on dirty without harming furry friends - which, in our case, is four cats. I am in full support of no animal testing or animal bi-products. Yay method!
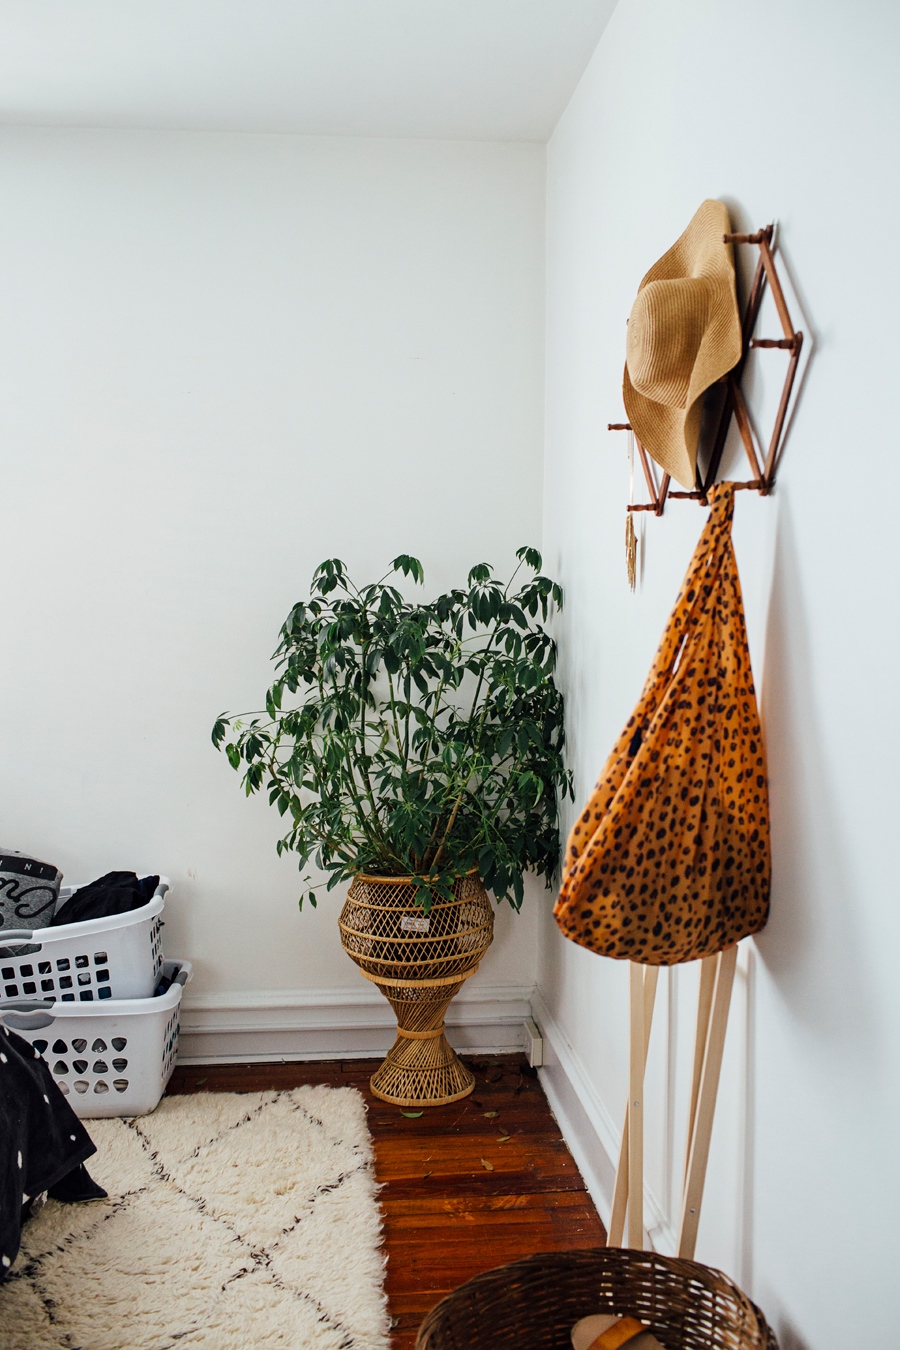
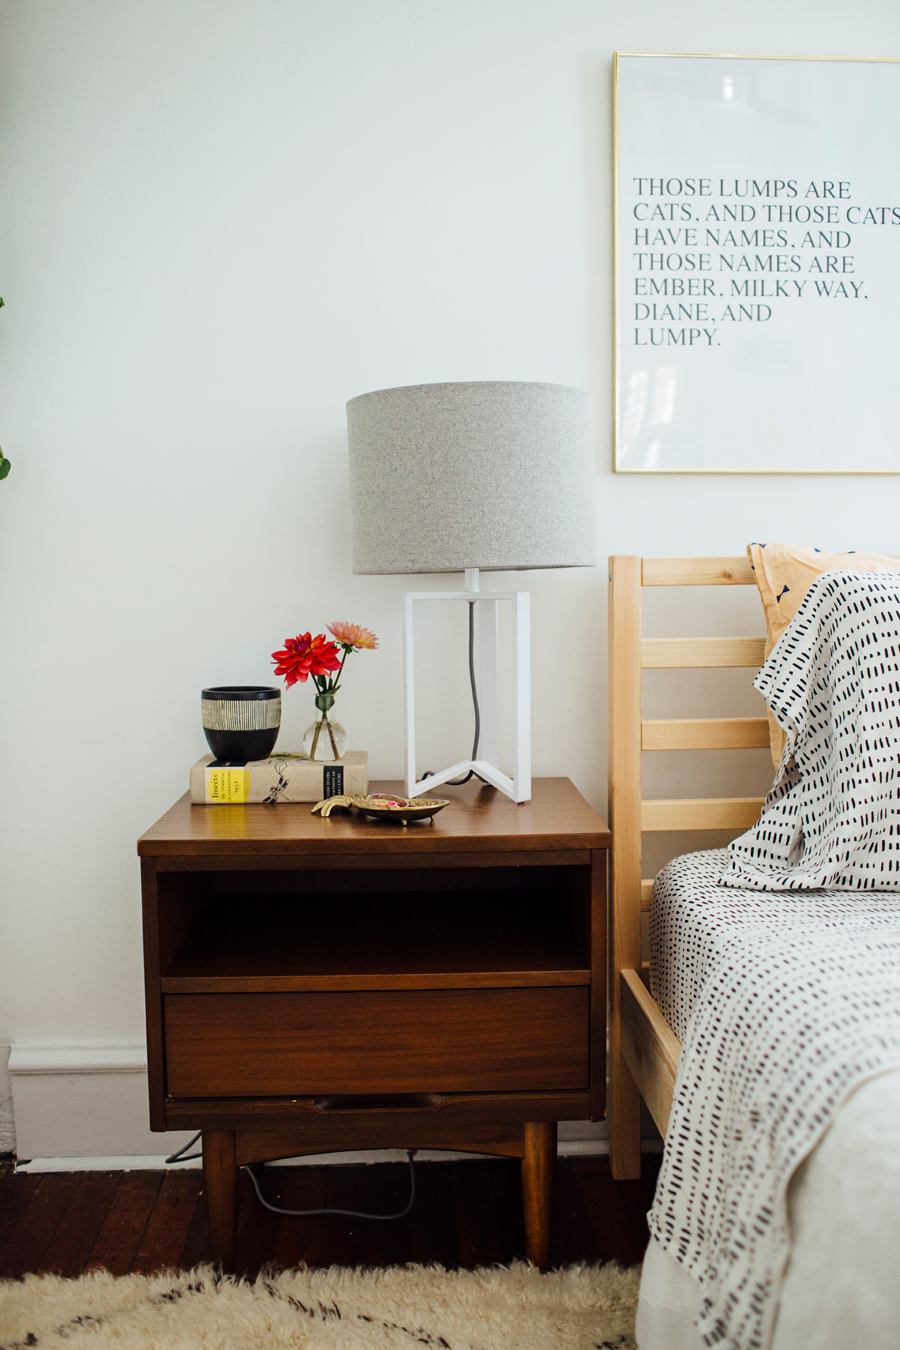
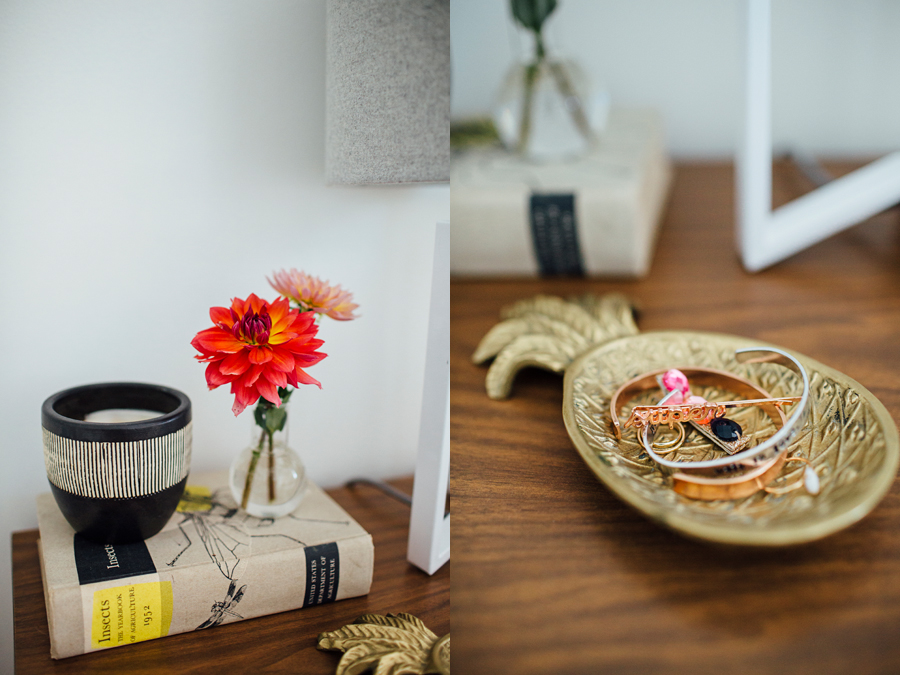
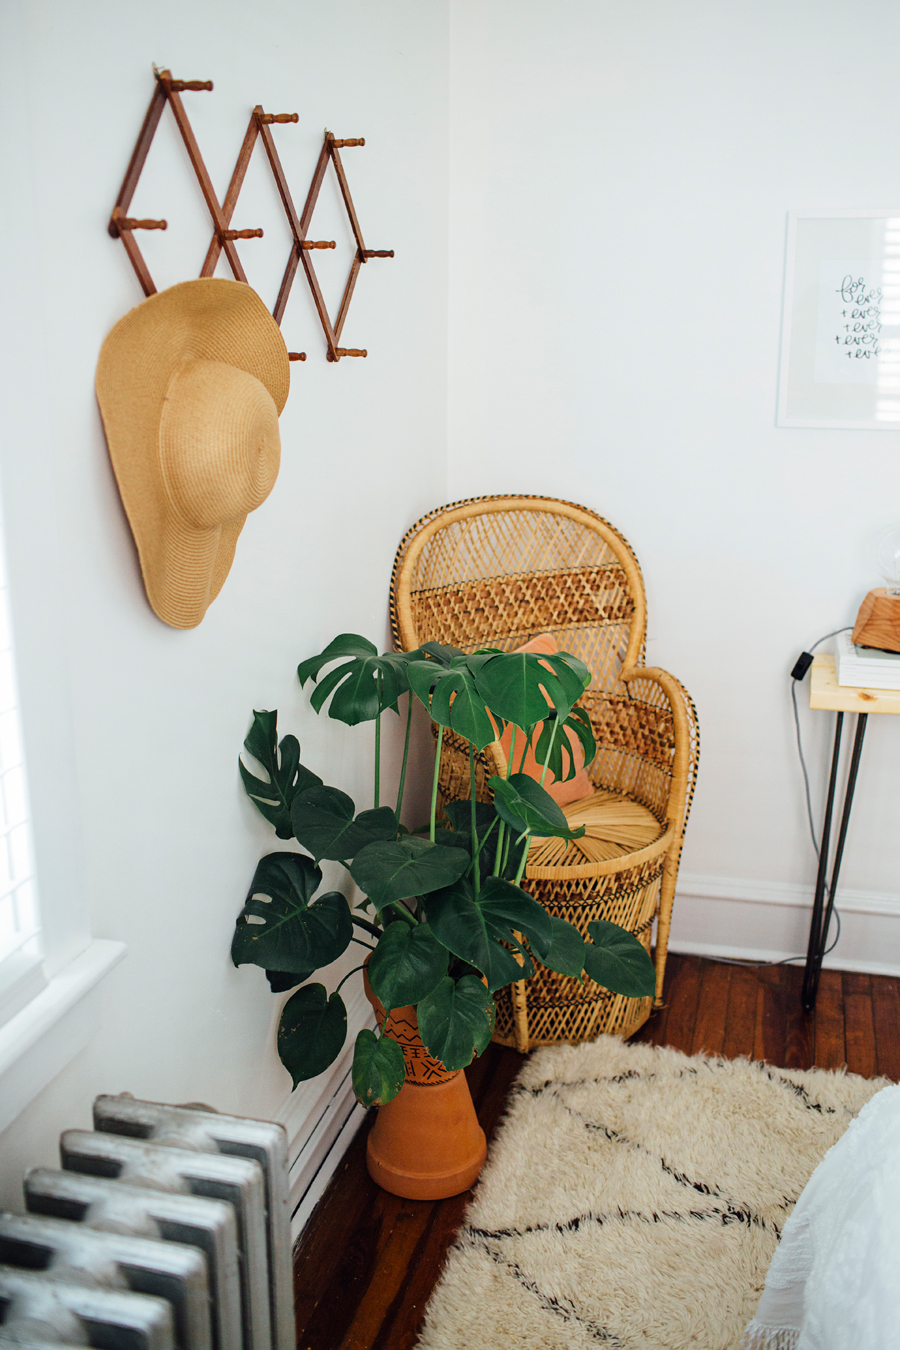
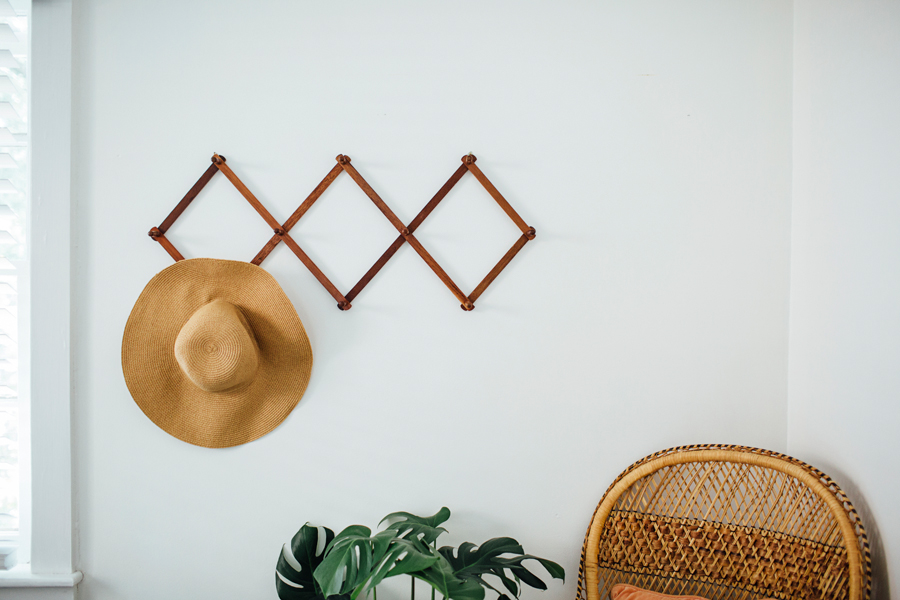
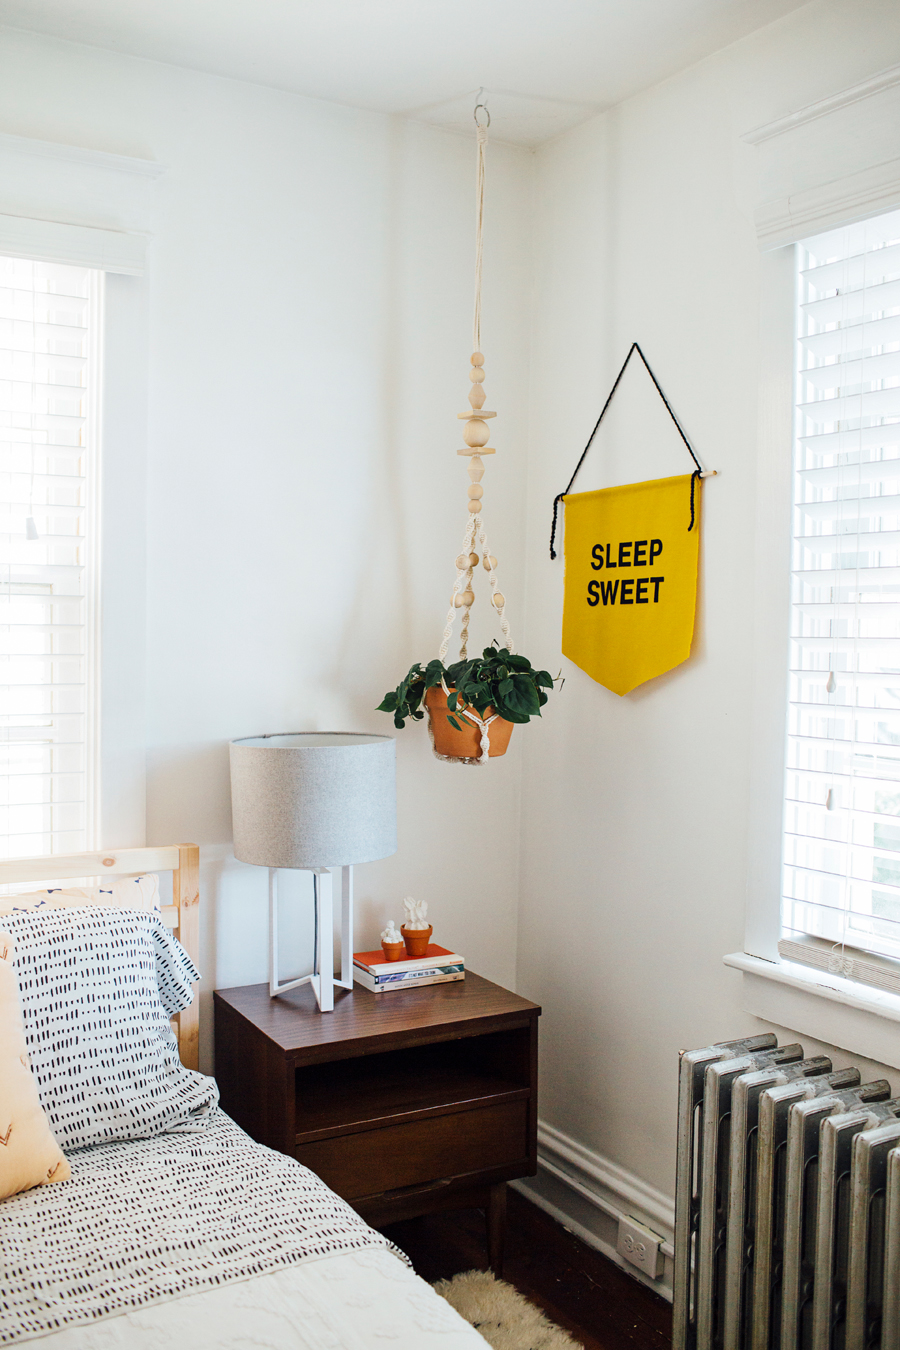
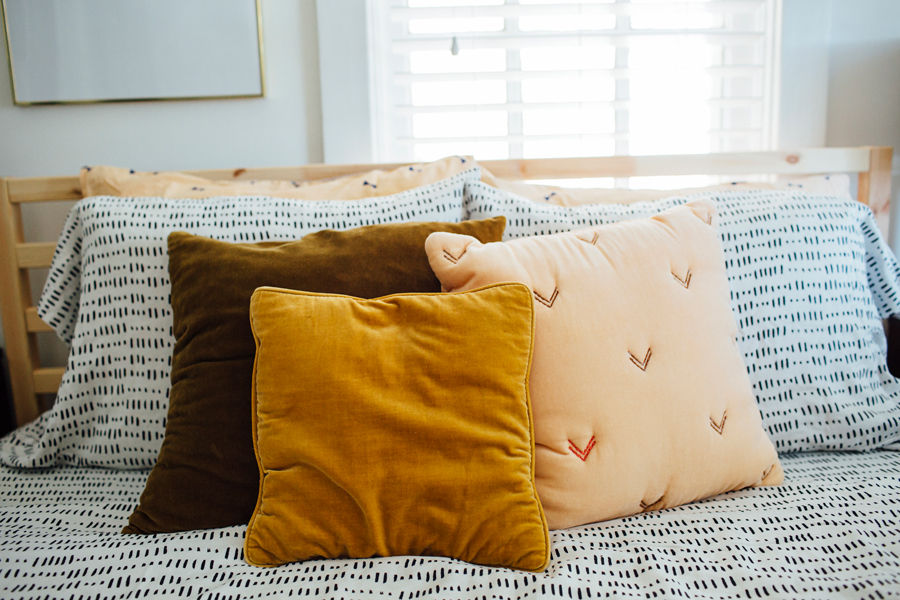
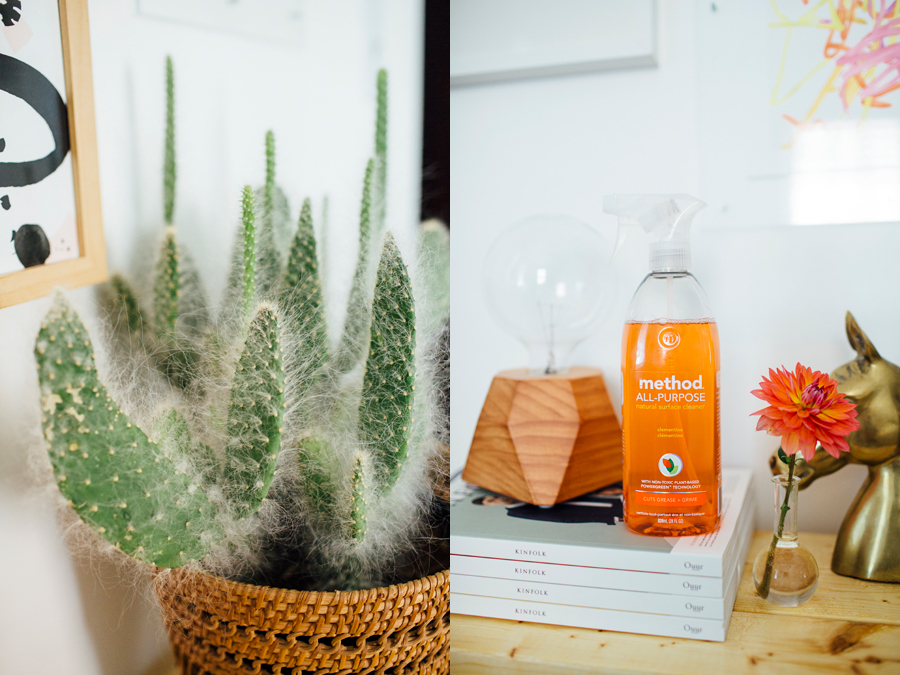
And of course I had to have lots of thrifted items in the new room. So, here's a quick list of those items: night stands, peacock chair, velvet pillows, terra cotta pots, basket for cactus, horse book ends, basket for our shoes (below table), vintage bed spread and the pineapple dish on my nightstand!
I found a free image of horses online and fell in love with the idea of printing it really big, in black and white, to frame above the mantle! I took the file to Office Max and had them print it on their blueprint printer and it only cost me $2.08. That's my kinda art!
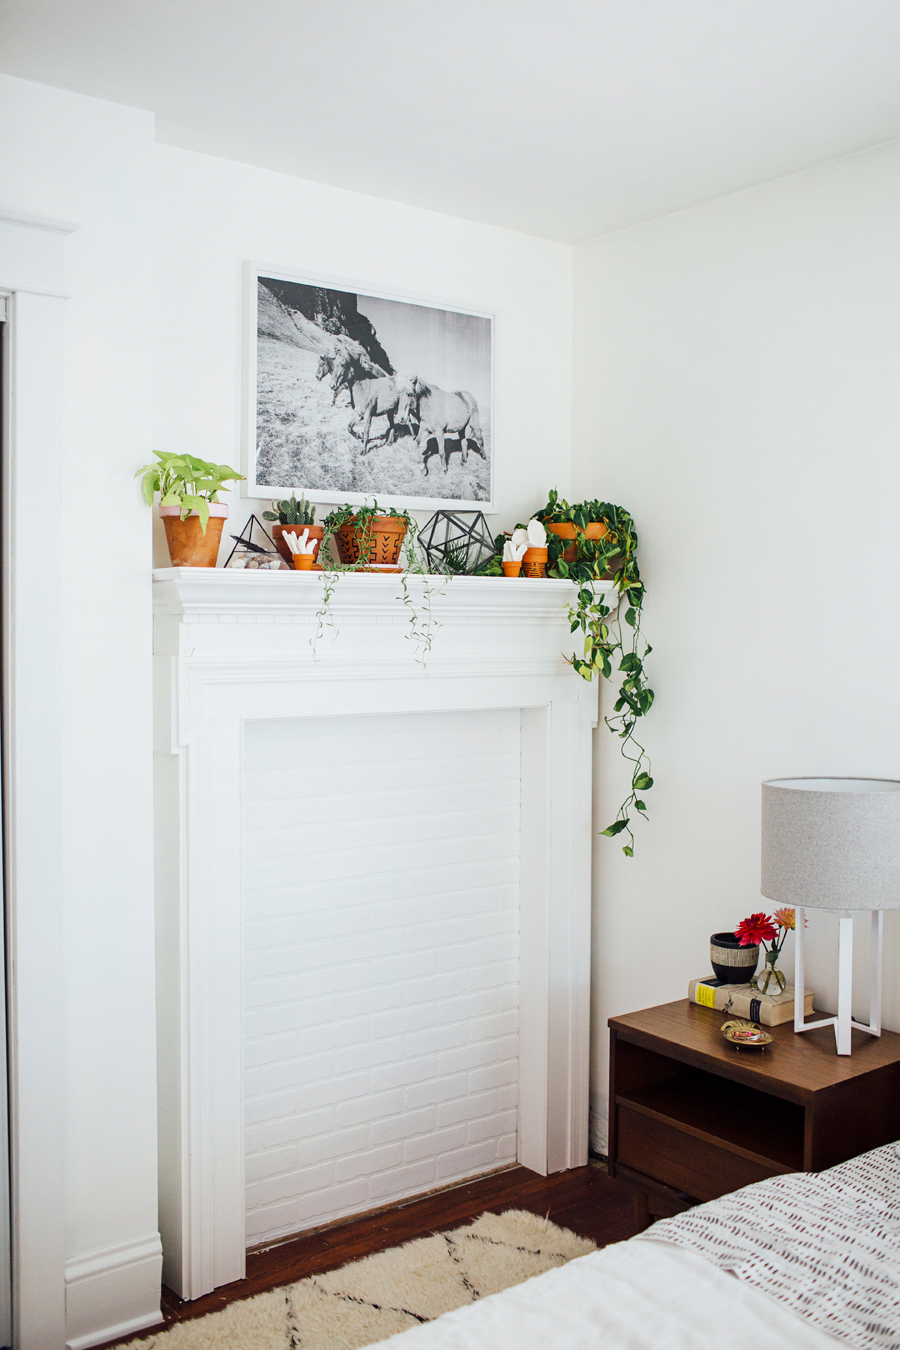
I love waking up every morning to see the gallery wall with June's art and picture, along with some of my favorite pieces from friends, in our ever-growing art collection.
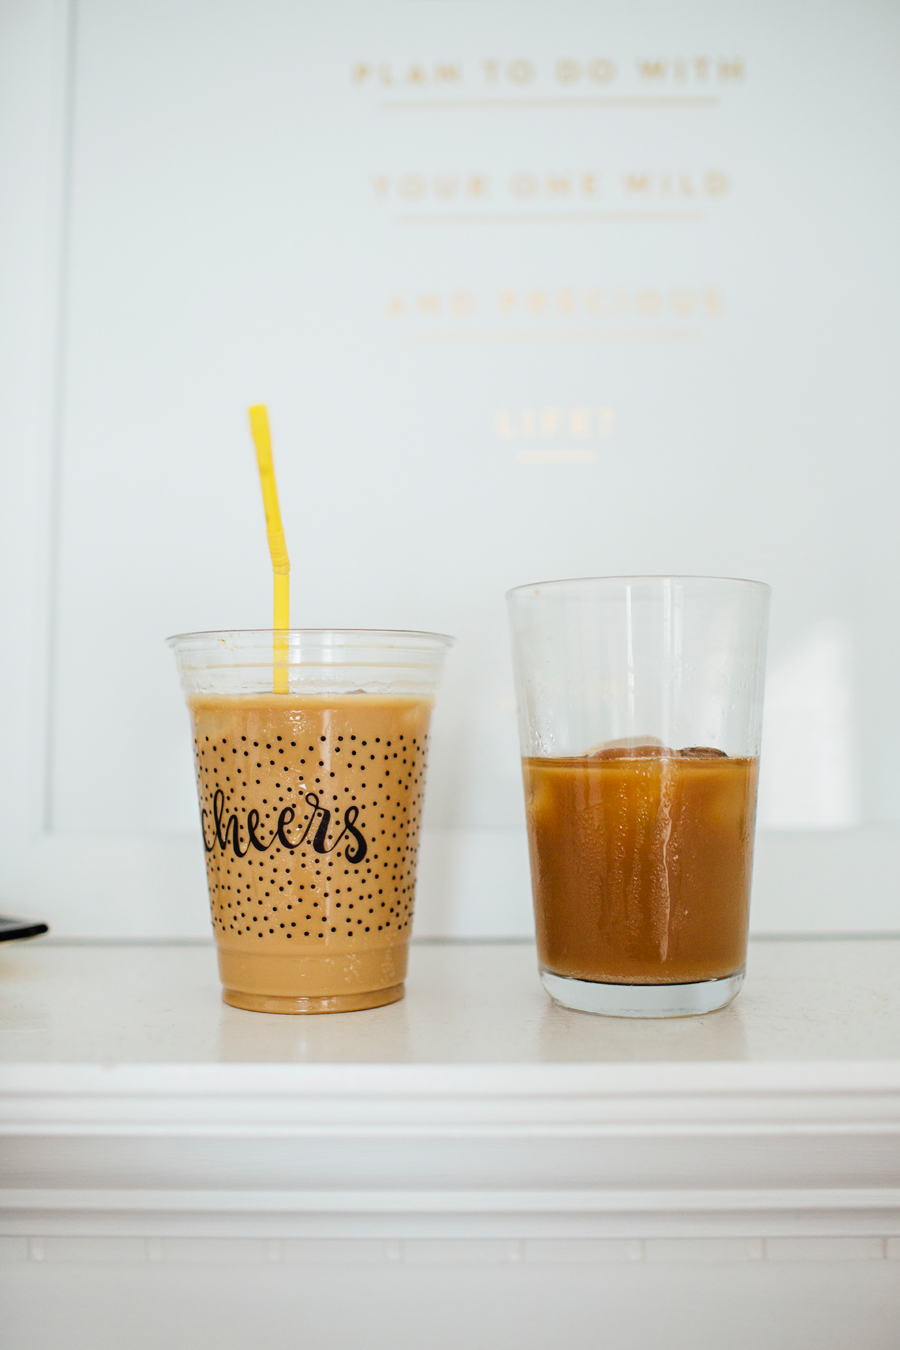
Well, there you have it! I hope this makeover inspires you to tackle whatever it is in your home that you think is a total mess. You can do it! I believe in you! Just drink lots of iced coffee and spray everything in sight with that magical smelling method cleaner and it'll all turn out awesome. 😃
I'd love to know what part of the bedroom makeover was your favorite, too! The table? The art? Leo hanging out on the bed like a king? Yeah, that's my favorite thing too.


