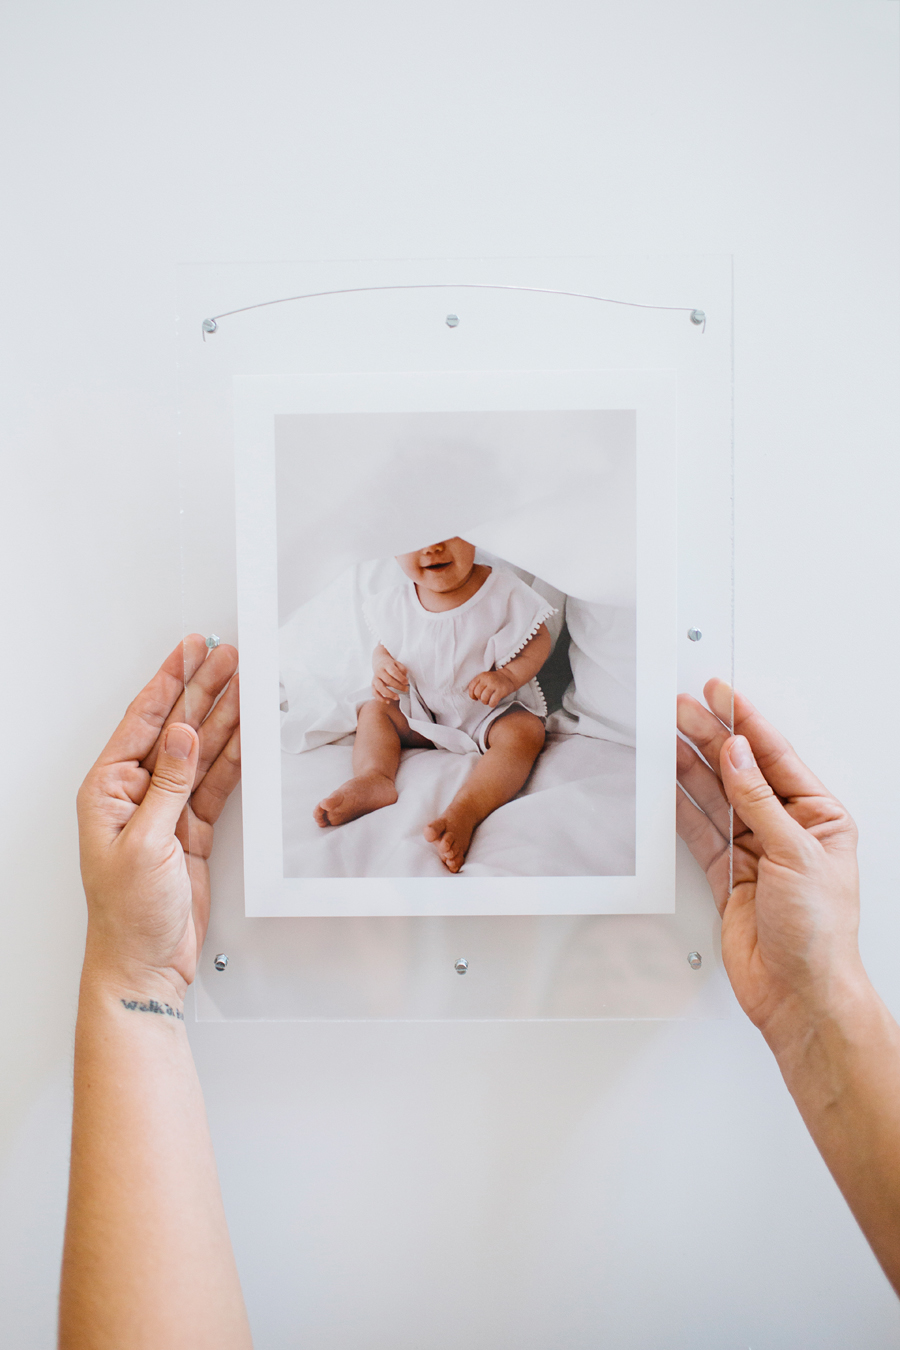
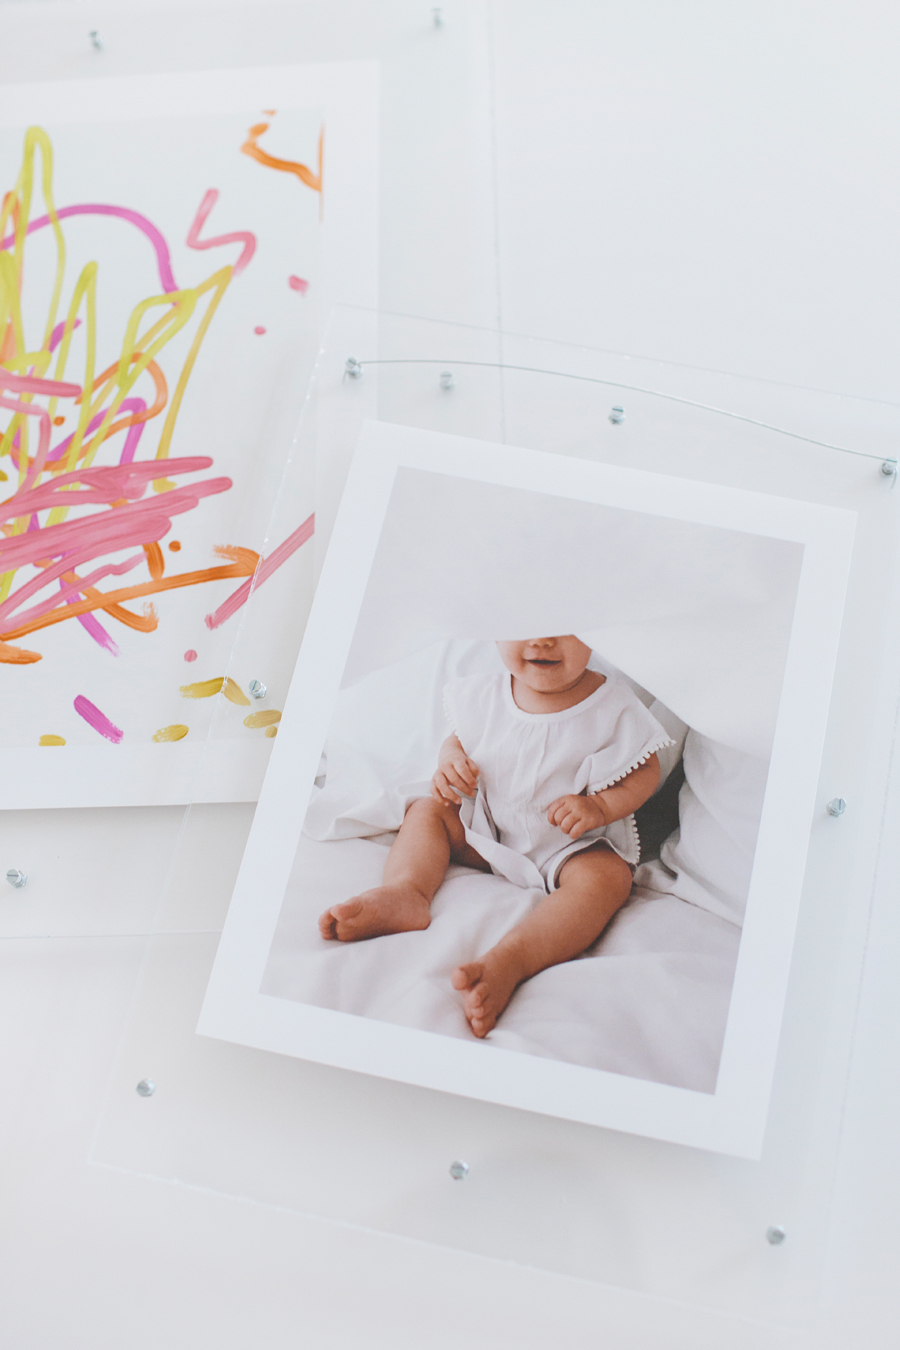
I am so excited to share this DIY Floating Plexiglass Frame tutorial with you all this evening! To be totally honest, I didn't event this - my cousin taught me how to do this when I was in 5th grade. She's a wonderful art teacher and used this method back in the 90's to cheaply frame students artwork and it's just as cool today as it was back then. Just like my glitter scrunchies.
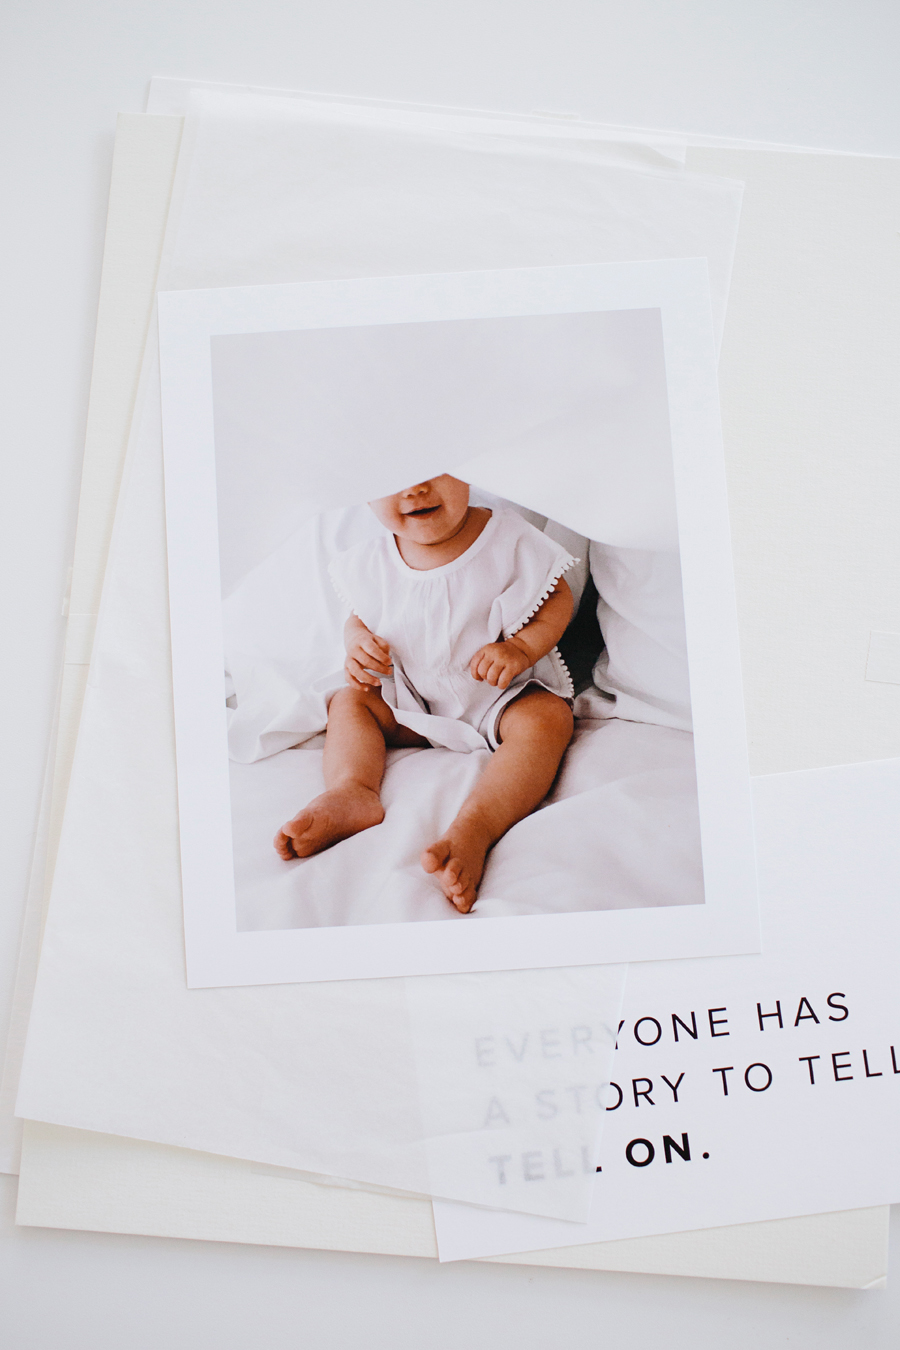
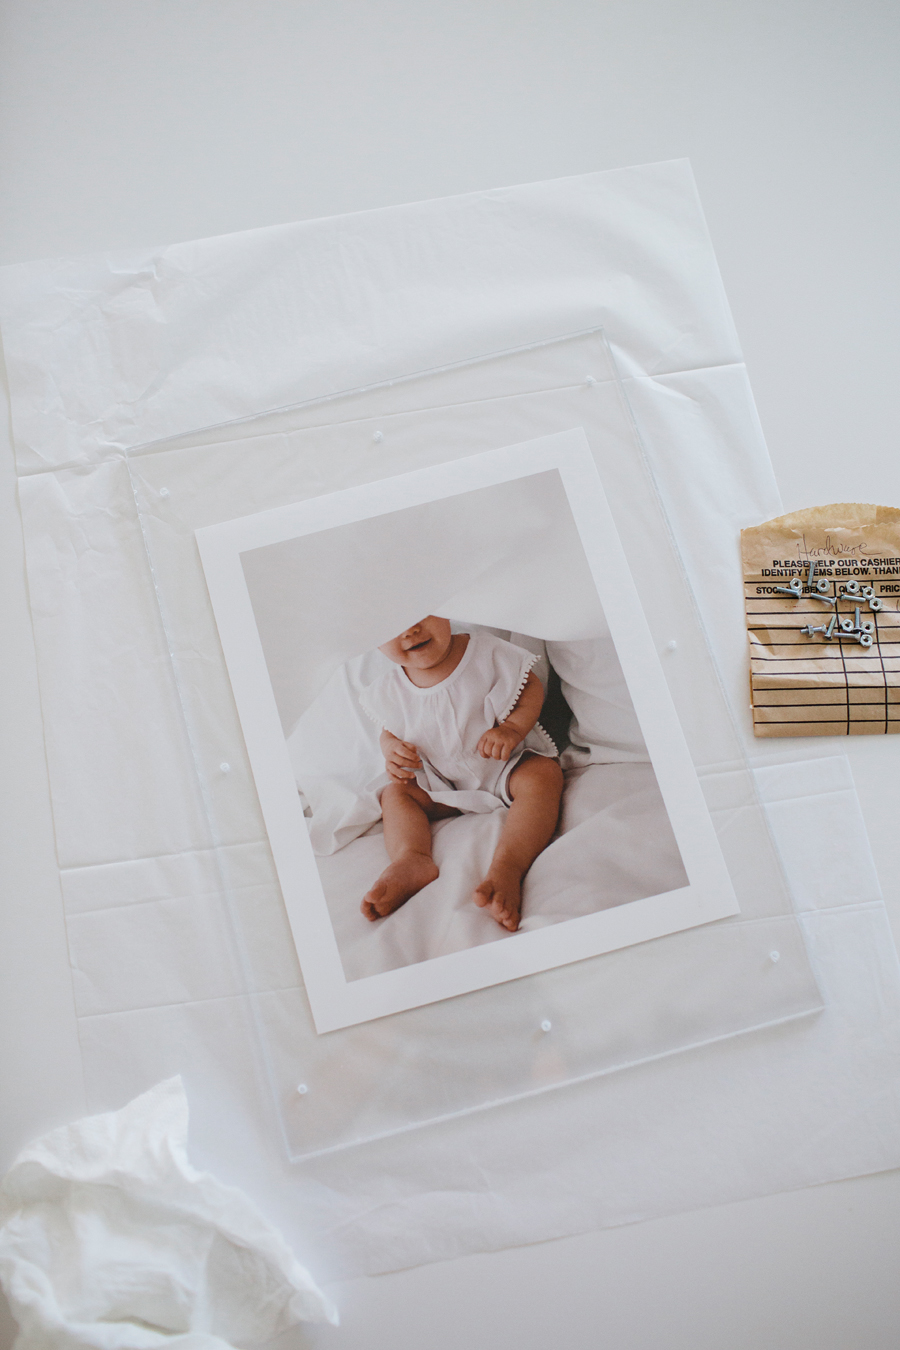
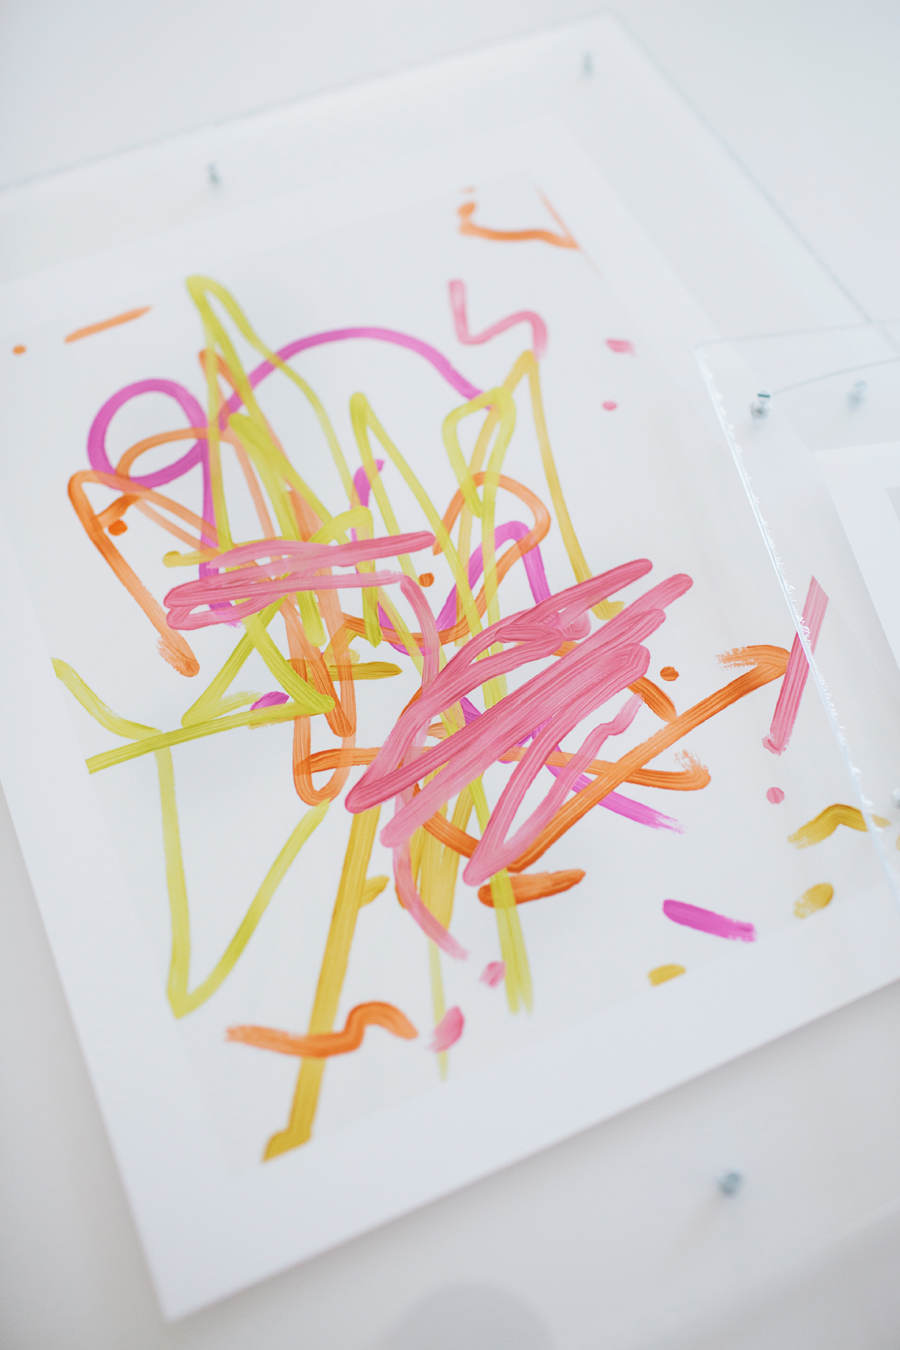
I've mentioned before on my Instagram how much I love the products from Artifact Uprising. Clean, simple, excellent quality. If you aren't familiar with their stuff, you should be! (There is a handy link for you in my sidebar ----->.) I printed this iPhone photo of June from our trip to Hawaii, for our bedroom makeover. I just love how cute and chunky she looks, playing under the sheets in our hotel room, and wanted to wake up to that image every day! I also ordered an iPad drawing she did, which is just so dang precious I can't even handle it.
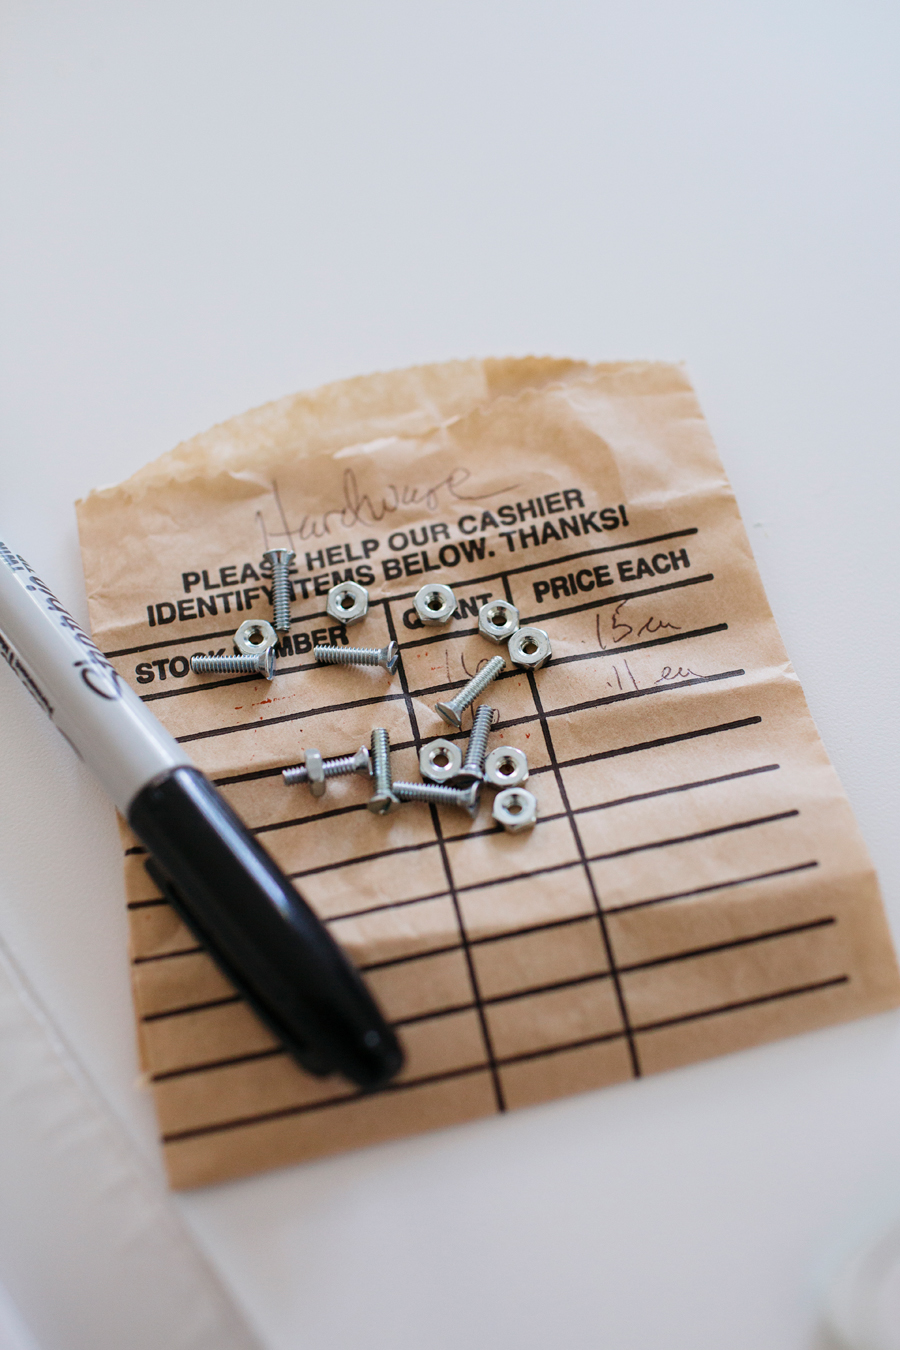
So, anyway, when my prints arrived a few weeks ago from AU, I knew I didn't want to put them in heavy wooden frames. And that's when I remembered my childhood artwork! I went down into the dungeon - I mean - our basement, and dug out my melted crayon garden collage ( 😂 ) and took note of how the simple frame was made. With one easy trip to our local hardware store, and $28 later, I had four pieces of plexiglass (measured for my prints), 16 sets of screws/nuts and picture hanging wire.
It really is super easy to make! You could even use gold hardware if you'd like - kinda wishing I'd thought of that for myself. 😂 Next time!
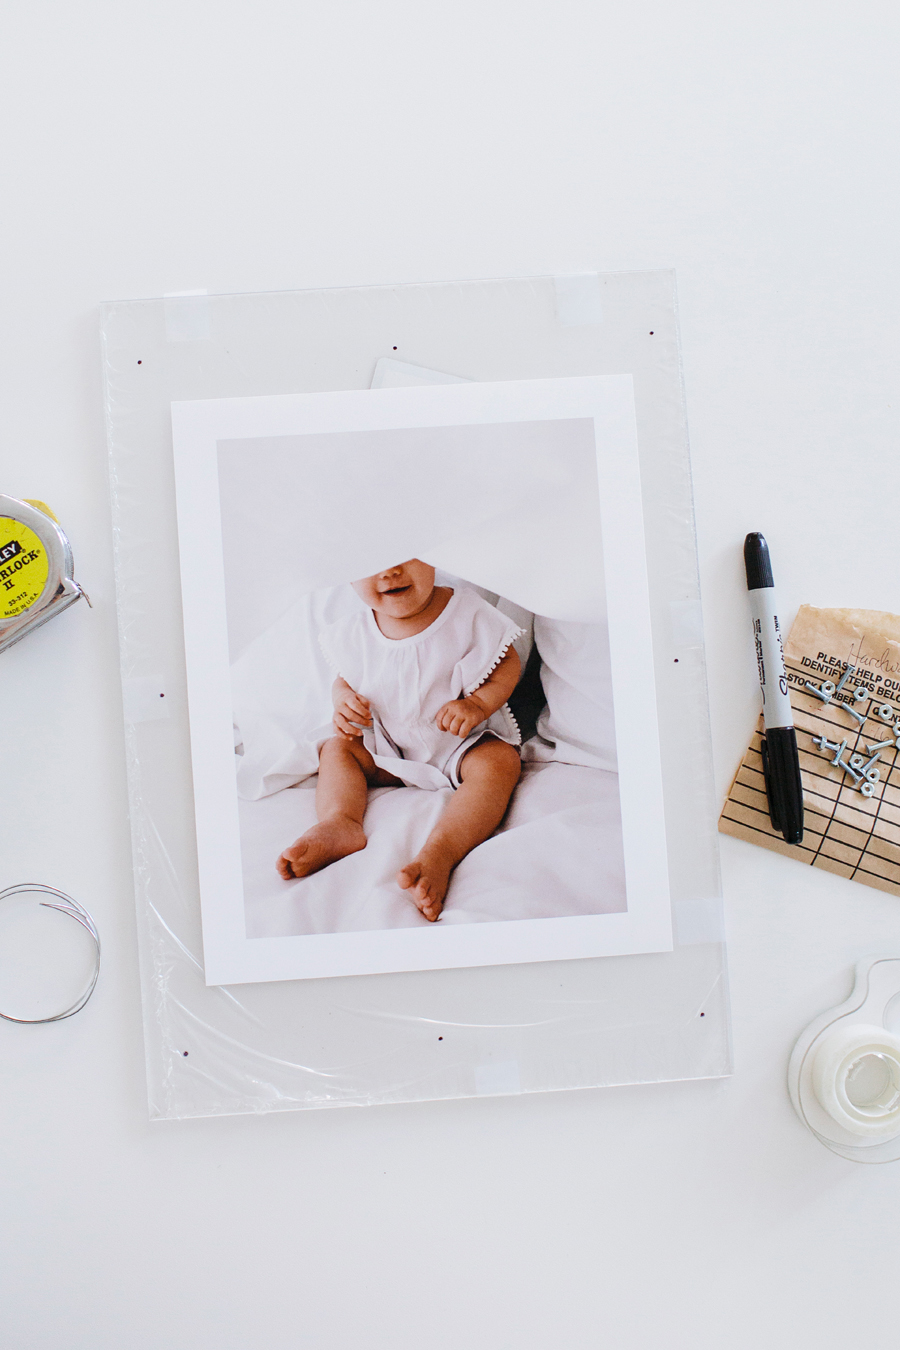
Here's what you'll need for (1) ONE frame:
- 2 pieces of plexiglass - cut to custom size
- 8 sets of screws/nuts - the screws I used were 1/4" long
- Clear tape
- Measuring tape or ruler
- Drill + bit
- Picture hanging wire
- Wire cutters
INSTRUCTIONS:
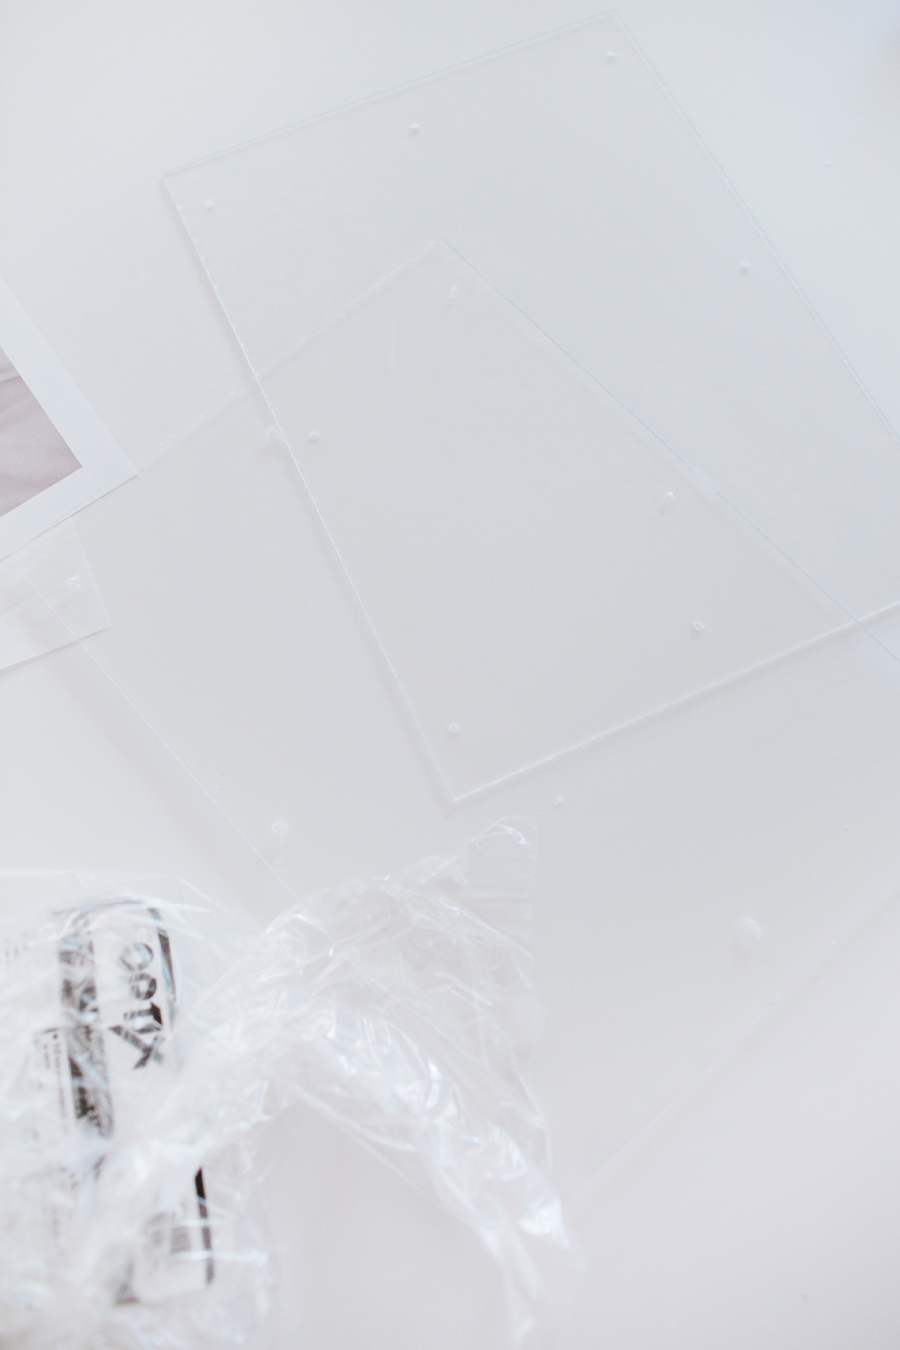
First of all, when you buy the plexiglass, it will be given to you with a protective film on it. LEAVE IT ON! Plexiglass scratches super easily. Don't pull it off until the very end (I'll tell you when below.)
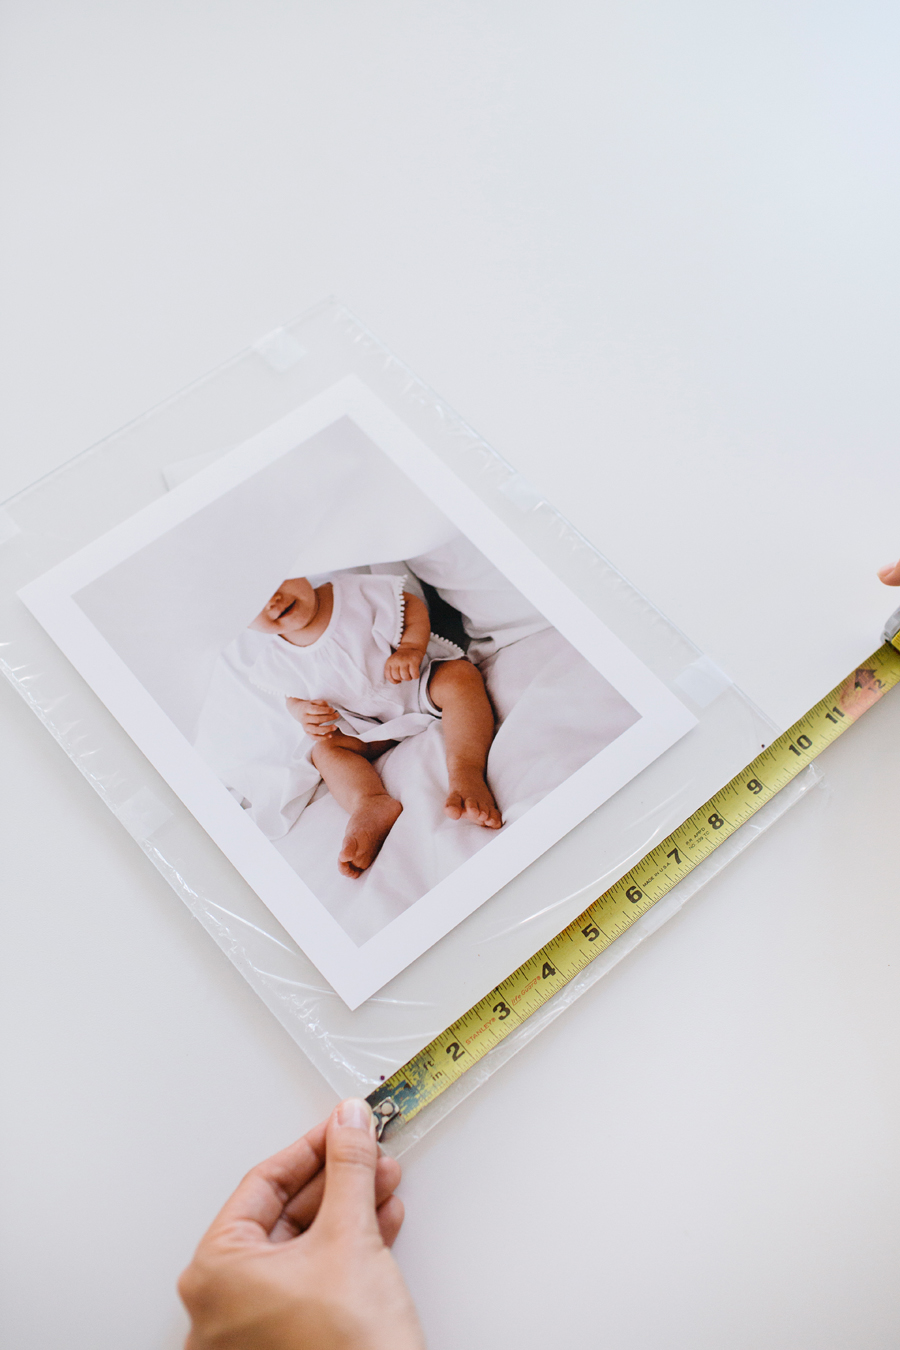
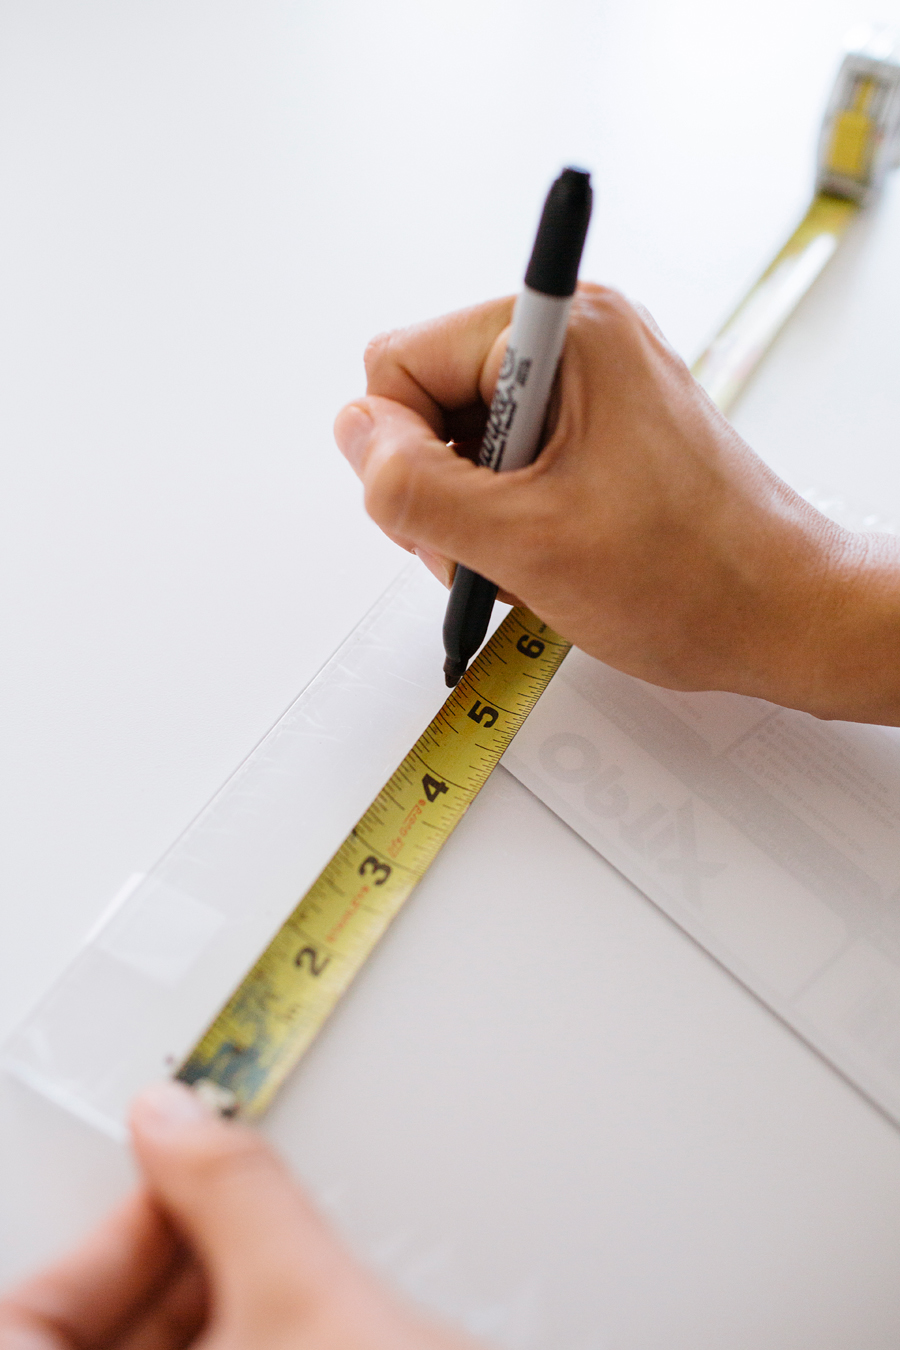
Start by taping together your two pieces of plexiglass on all four sides. You don't want the pieces you move around when you mark them, or drill your holes. Using a rule or tape measure, mark the 8 spots for the screws. While did use a ruler, I also kinda eye-balled it. It was a little bit of both. Don't get to hung up on everything being exact. I placed the photo I was going to frame on top of the plexiglass, just so I could see roughly where it would go when the project was finished.
Using your drill and a drill bit, drill through the 8 spots you've marked with your sharpie. It might smell like melting plastic a bit, which is fine, don't panic. I really had to put my weight into the drill to make sure I was going through both layers of plexiglass in one clean motion. Also, be sure you're drilling on a surface that you don'd mind scratching up or drilling into. I used an old piece of plywood when drilling my holes.
With your drilling complete, gently remove the protective film from all four sides of your plexiglass. If any plastic formed a crust around the areas you just drilled, push or snap it off with your fingers, leaving the 8 holes nice and clean! If you feel your pieces need cleaning before you assemble them together, wash them with any window/glass cleaner and a soft rag - being careful not to scratch anything.
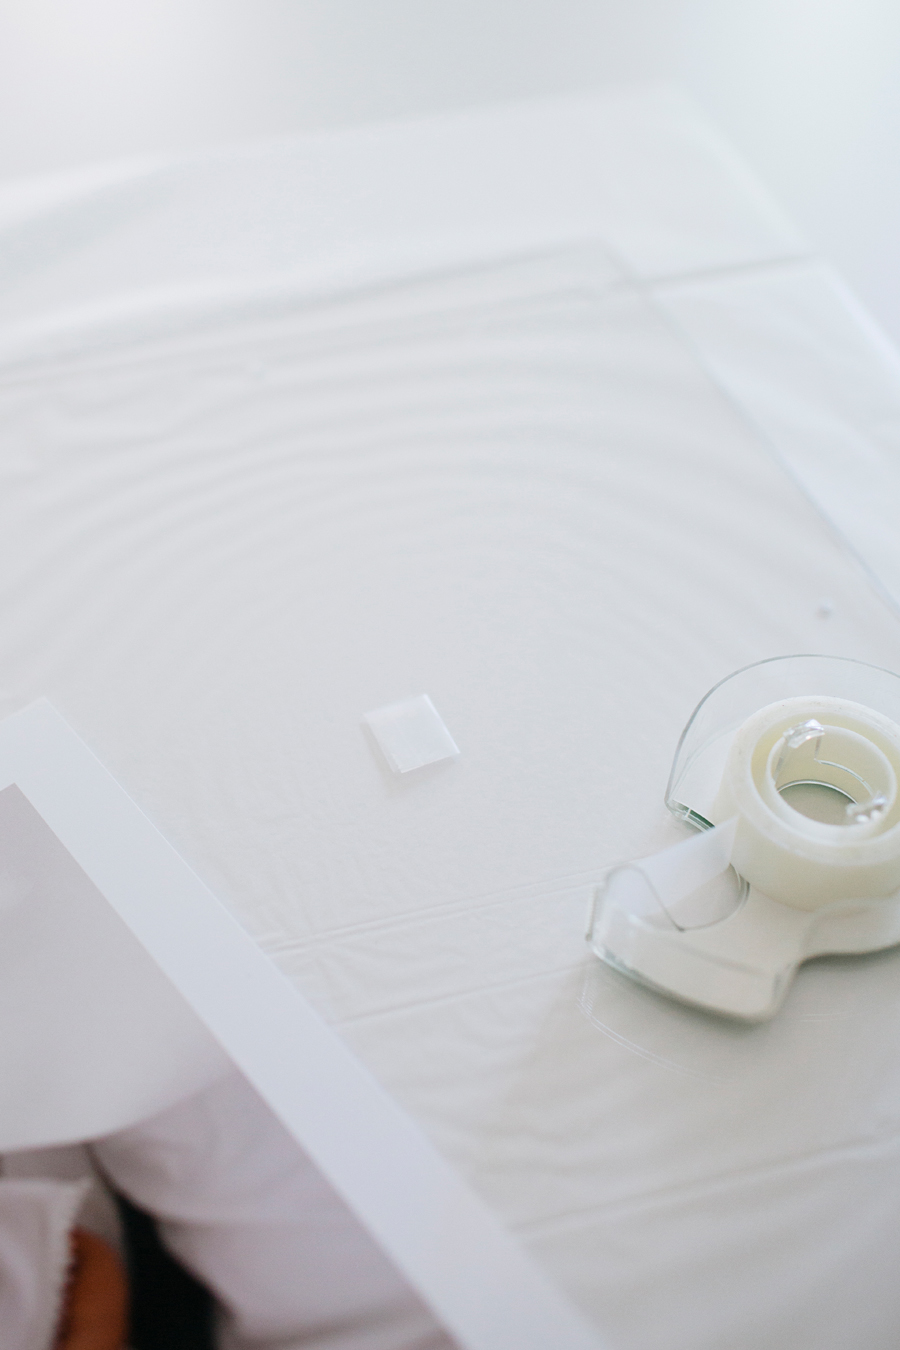
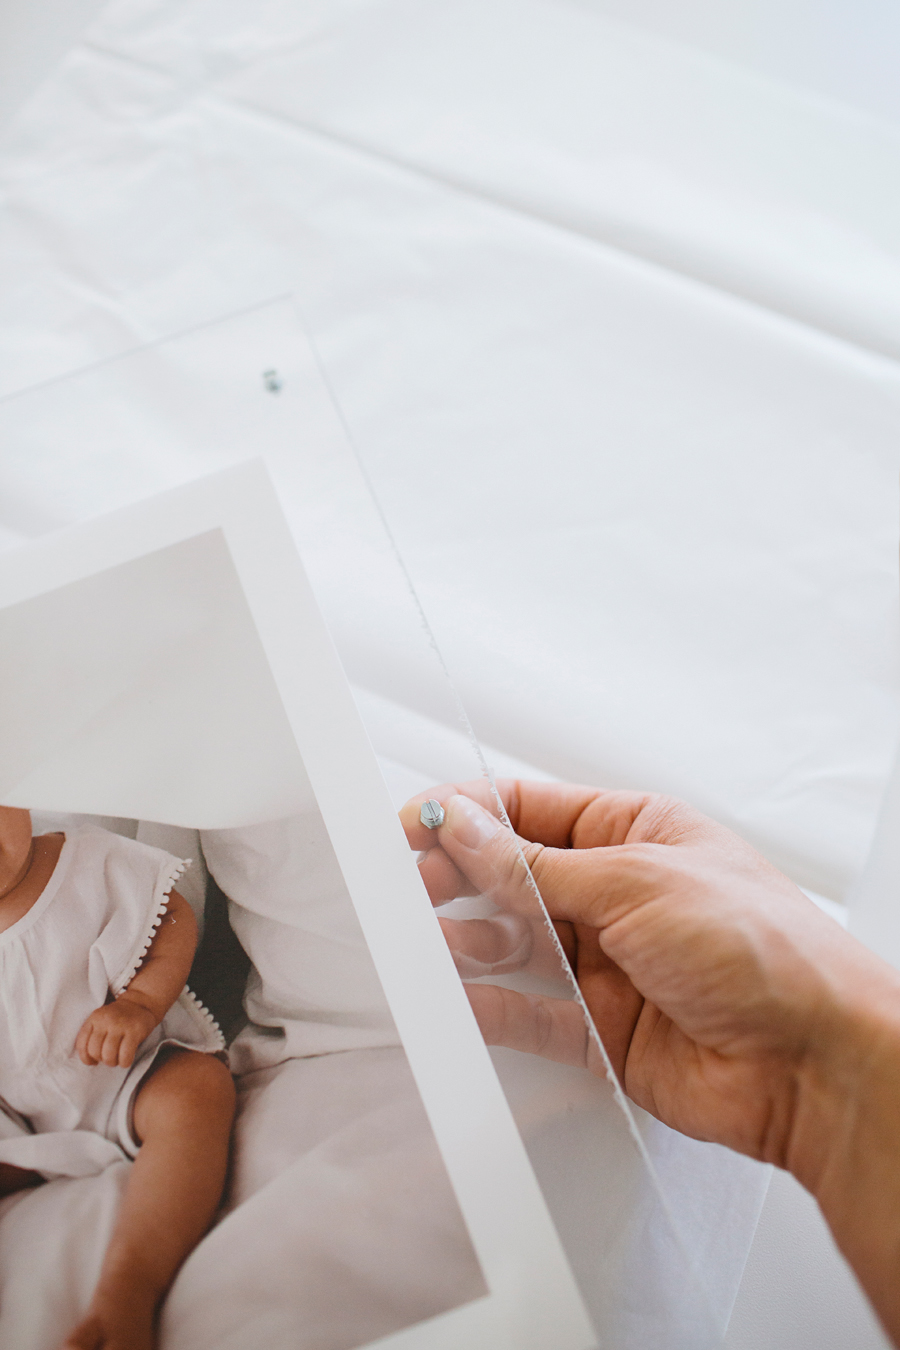
Decide which piece will be your bottom layer and place a small tape-donut in the center. Using a ruler, or just eye-balling it like I did, press your photograph down on the tape to lightly secure it in place.
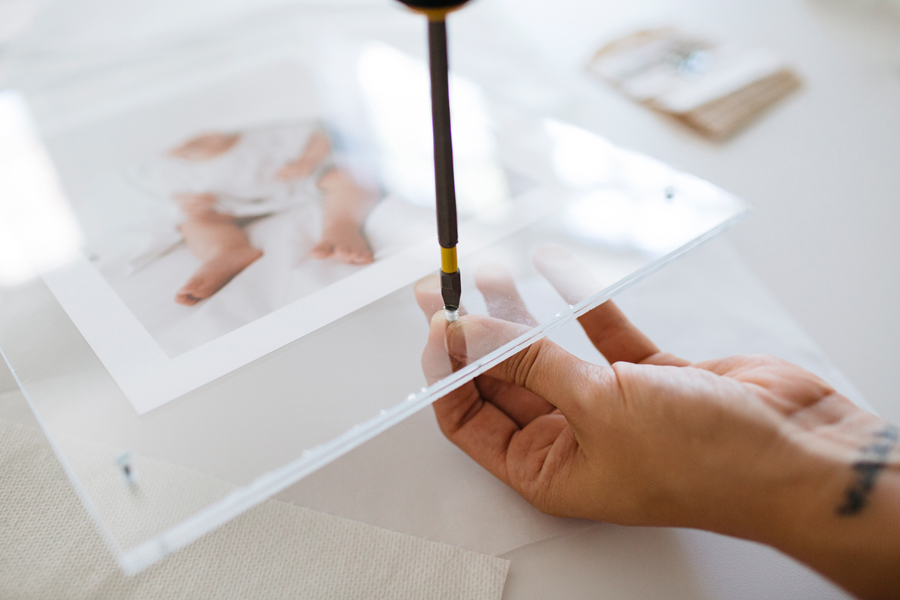
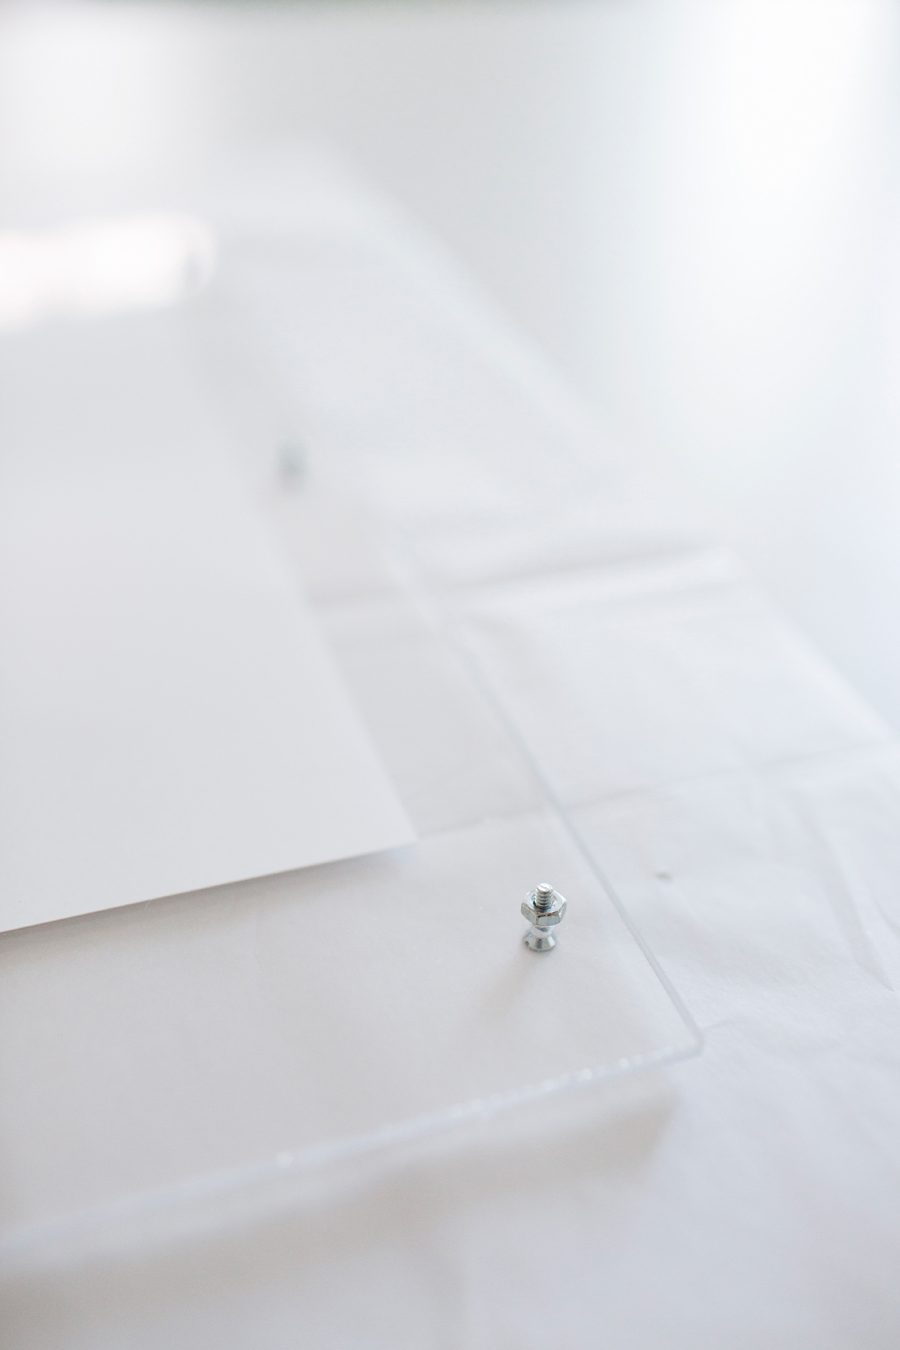
With your photograph in place, start to push the screws through the top and attach them on the back side with the nuts. Some of my screws slid right through, while others required me to use a screwdriver.. either way, it's super easy.
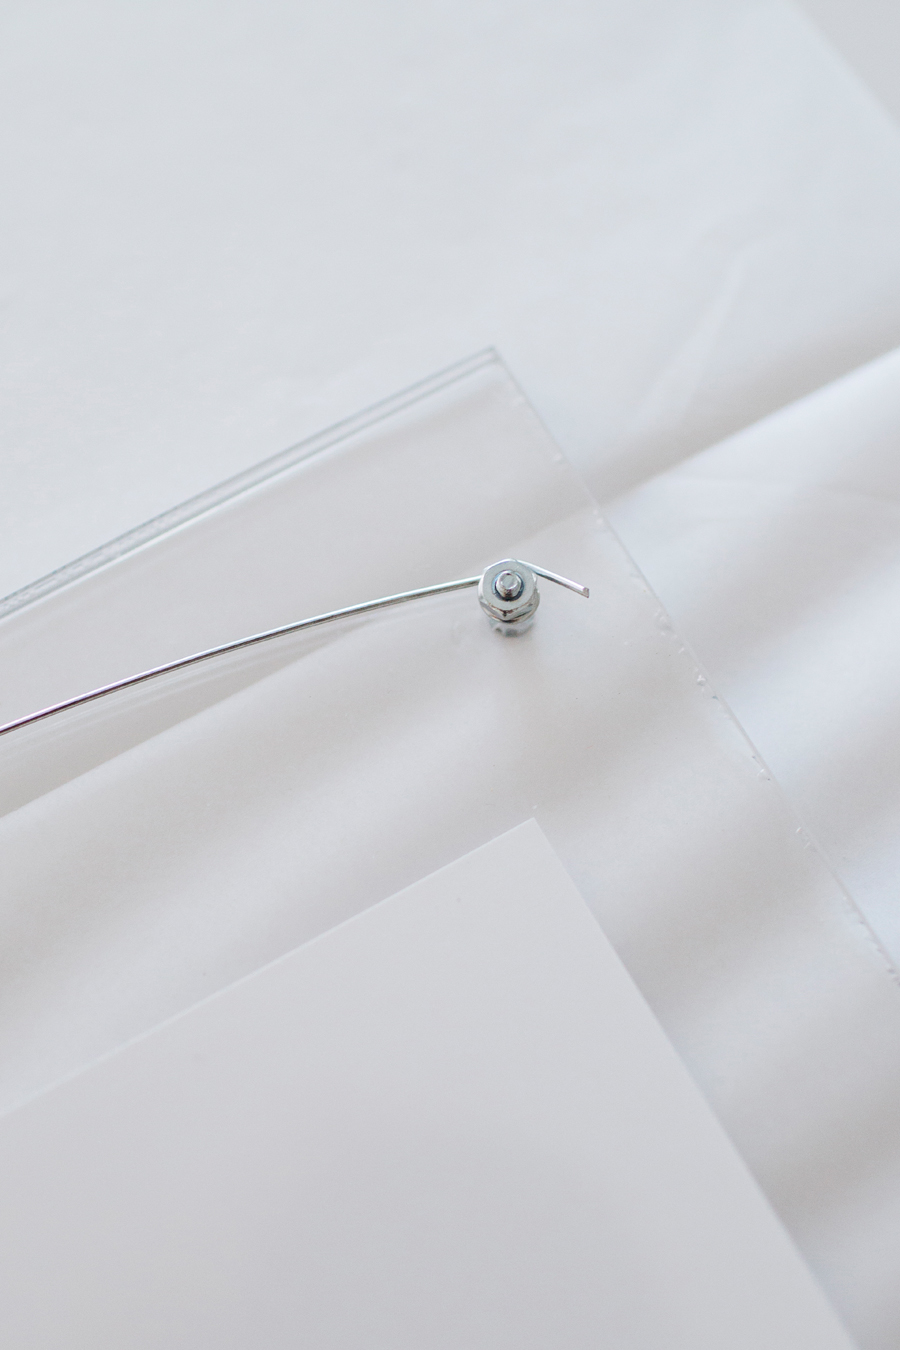
Tighten the screw sets all the way around, minus the top two corners, where you'll attach your picture hanging wire. Cut a piece of wire several inches longer than needed and wrap the wire around the back of the screw, underneath the nut. Then tighten the nut and screw, pressing the wire in place between the two. Trim off any excess wire with wire cutters.
And there you have it! Your very own frame plexiglass frame. I just love how flexible and customizable this type of framing can be. Whether your image is large or small, horizontal or vertical, textured or flat - this'll work - and look super awesome in the end. I hope you'll give it a try! You can see the two frames I made here in my Bedroom Makeover post!

